
Welcome to the Spellbinders 23rd Birthday Celebration Blog Hop!




Comments are closed.


Very cute birthday card. I know a child that would love this card.
Thank you so much
Love how you combined the two Birthday Monsters!
Thank you so much
Fabulous card, love the design. Happy birthday to Spellbinders 🌼
Thank you so much
gorgeous in those beautiful bright colors
Thank you so much
What an absolutely adorable card. The dancing birthday dragon is the cutest!!! Thank you for using the balloon numbers – it was a reminder for me to use my set. I love your card!
Thank you so much
Beautiful cards, great ideas and inspiration! Thank you and Happy Birthday Spellbinders!
Thank you so much
This blog hop looks so fun and vibrant – I love the idea of celebrating a company’s milestone with such a creative event.
Thank you so much
Such a creative card!
thank you so much
Such a colourful, unique and truly adorable card, Heejung. Love it!
thank you so much
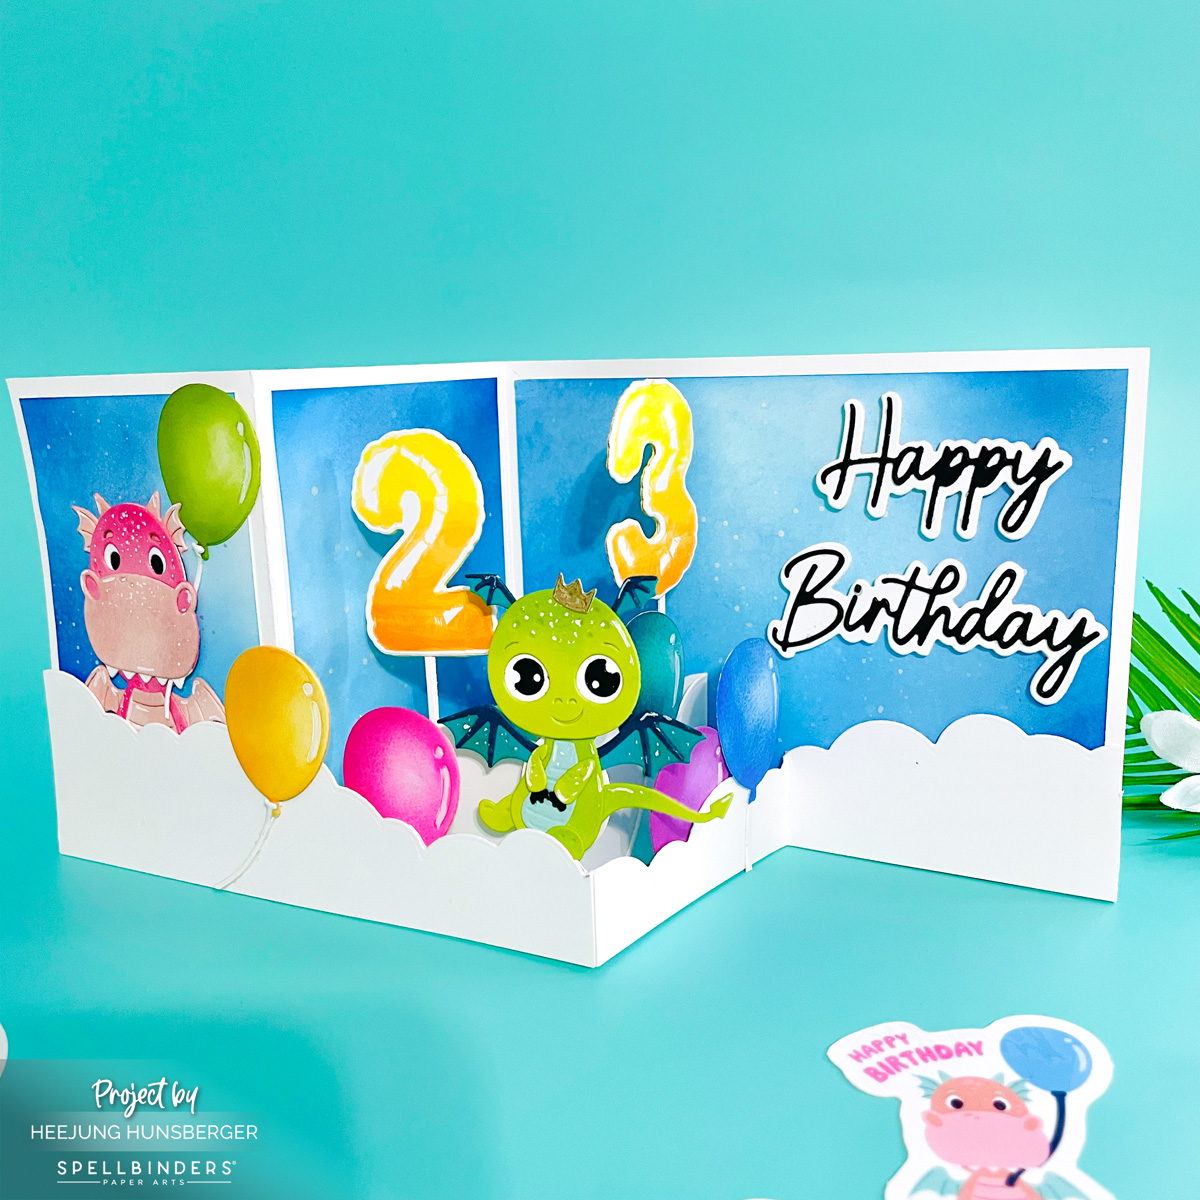
Cute card, and love that it’s a Z-fold!
Thank you so much
Very cute card.
thank you so much
The dragons are precious, especially the older one. I LOVE HIM!
thank you so much
So so cute!
thank you so much
Fun Z card. Sir Spelly and the dancing dragon are so adoreable. Whoever gets this card is gonna love it.
thank you so much
It’s so cute!!!!!
thank you so much
What a fabulously fun and colorful Birthday card.
thank you so much
Very fun card!! Happy 23rd Birthday Spellbinders!!
thank you so much
What a fun card!! I just love this fold.
Your card is adorable!
Super Cute card
Cute Z fold and cute products. Love the dragon.
Beautifully done and I really love the card fold.
Cute card, colors and design!
Very nice clean card. Glad I have come across your work. Absolutely charming!
So cute! Love the bright colors used!
ADORABLE card!!!
Such a cute and creative card. Very fun….Thanks for the inspiration.
Super cute and fun bday card! Thanks for sharing your steps! I want to try recreate this fun fold! 🙂
One of my favorite cards on the hop! Great job
Delightful card….will make everyone smile!!! TFS
That baby dragon is PERFECT for this card!
So colorful and fun! Adorable card!
Happy 23rd Birthday to Spellbinders!
Love this and all the details!
Very adorable card. Always looking for inspiration for a younger crowd. So colorful! Thank you for sharing
What a cute card
Great card x
Love Z-fold cards. Your card is adorable.
Love the tri-fold card. Thanks for sharing.
Love the little dragons on this tri-fold card! Just a fun design all around to celebrate!
Such mischievous dragons. Ha they are so sweet. Adorable card.
your card is my fav so far!!! sooo beautiful!!!! I tried to subscribe to your site but the circle kept spinning around!!!
Thank. you! and it should be working. Thank you very much for letting me know the error. I fixed it.
So sweet. Love your popping up Z-card. fun wings.
thank you so much
What kid wouldn’t love getting this card?! Such a happy, playful scene and wonderful, bright colors!!
Thank you so much
Awww….what a super cute Birthday card for Spellbinders!!! Or any 23 yr old!!! It is simply adorable!!! Love it! Happy 23rd Birthday Spellbinders!!!
What a neat interactive card here. I like the card fold variation and the colorful critters and balloons!
A very adorable birthday card for kids. I love these monsters. I might have to try this card as I have both of these die sets.
Very fun z-card with these adorable critters.
Love the monsters! Great card!!!
So cute! Love the fold and I cannot resist that Birthday Dragon, although I think SB ran out I’m so sad!
What an adorable fun-fold card!
Oooo I LOVE the fun fold and darling little monsters!
Love the different dragons and the z fold!
thank you so much
Cute card.
Great card – thank you for the detailed instructions and the scoring guide (seriously – thank you!!)
I love this fold – thank you for the detailed instructions and the scoring guide!
Such a fun card with the pop-up elements. Your ink blending is really, really good-especially on your balloons which I find very challenging.
A z-fold and pop up card is a perfect birthday card for a creative company that always does more than you expect! Happy 23 Spellbinders and MANY, MANY more..,
Such a cute card! Love the pop-up details!
Such a great fun fold card! The SH balloon numbers are awesome!
What a great card! I love the z fold. Thanks for the directions 🙂
Cute card! Love all the colors and folds.
What a fabulous and fun birthday card! I love it!