Spellbinders- 3DEOM, DOMST, CDOM of Aug. 2025

Hello, crafters!

Welcome to my blog. I’m excited to share two cards I made using the fantastic August 2025 Spellbinders Club Kits! This month’s releases are perfect for creating beautiful ocean-themed projects. I used the 3D Embossing Folder of the Month, the Stitching Die of the Month, and the Clear Stamp & Die of the Month to bring these designs to life.


Card 1: Sending Joy on Paper Sails

This card features a charming boat in a bottle, perfect for sending a little bit of happiness. The detailed wave background and the stamped images create a wonderful underwater scene.


Supplies Used:

  1. Clear Stamp & Die of the Month: CDOM AUG25, Paper Splash

  2. 3D Embossing Folder of the Month: Underwater Waltz (3DEOM, AUG25)

  3. Spellbinders Color wheel Cardstock (Waterfall, Windy, Cascade, Seaside, Cosmic Sky)

  4. Tunnel Clouds Die Set

  5. White pigment ink

Step-by-Step Instructions:

  1. Start with a card base made from Waterfall cardstock, cut to an A2 size.

  2. Using the Ocean Wave die from the “Hand-Folded Stitch” Stitching Die Club, die-cut four wave pieces from different cardstock colors: Windy, Cascade, Seaside, and Cosmic Sky.

  3. Take the wave pieces from Cascade and Cosmic Sky cardstock and place them in the “Underwater Waltz” 3D Embossing Folder. Run them through your die-cutting machine to create a beautiful, textured wave pattern.

  4. Once embossed, lightly swipe a white pigment ink pad over the raised areas of the Cascade and Cosmic Sky waves to highlight the details.

  5. Stamp the boat-in-a-bottle image from the “Paper Splash” Clear Stamp & Die set onto a piece of white cardstock using black ink.

  6. Color in the stamped image with alcohol markers, then use the coordinating die to cut it out.

  7. Die-cut two clouds using the “Tunnel Clouds” die set and adhere them to the top of the card background.

  8. Stamp the sentiment onto the empty space in the top portion of the card.

7. Now, assemble the layered waves. Place the embossed Cascade wave at the very bottom of the card front.

8. Layer the three other wave pieces (Windy, Seaside, and the embossed Cosmic Sky) on top of each other, slightly overlapping them. Attach these three layered waves to the bottom of the card using foam stickers for dimension.

9. Finally, use foam stickers to attach the die-cut bottle and boat image on top of the waves, completing the layered scene.

Card 2: Folded with Love

This is a stunning card that uses the unique stitching die to create a beautiful origami-style boat against a starry night sky. The stitched details and layered waves make this card a true work of art.


Supplies Used:

  1. Stitching Die of the Month: Hand-Folded Stitch DOMST-AUG25

  2. 3D Embossing Folder of the Month: Underwater Waltz 3DEOM-AUG25

  3. Spellbinders Color Wheel Cardstock (Indigo, Teal Topaz, Blue Spruce, White, Poppy)

  4. White ink or paint for splattering

  5. Blue ink for blending

  6. Blending brush

  7. Silver metallic thread

  8. Stitching needle

  9. Crystal gems

Step-by-Step Instructions:

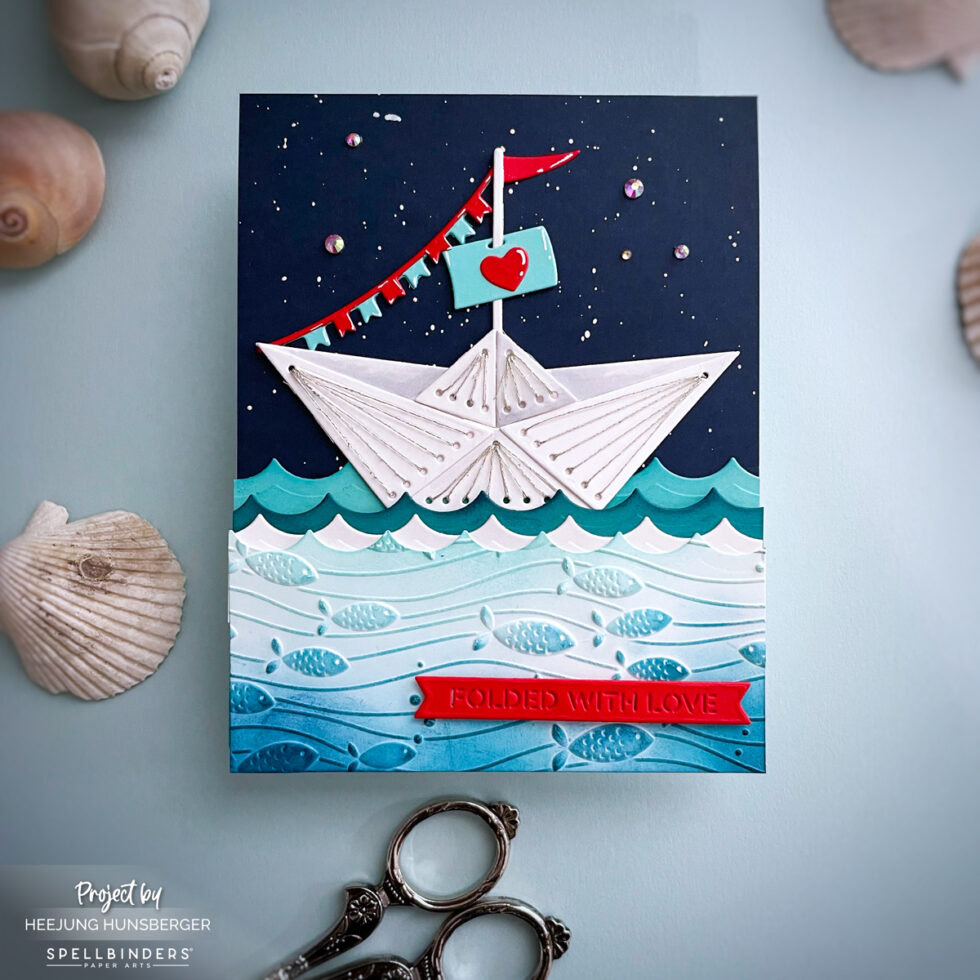
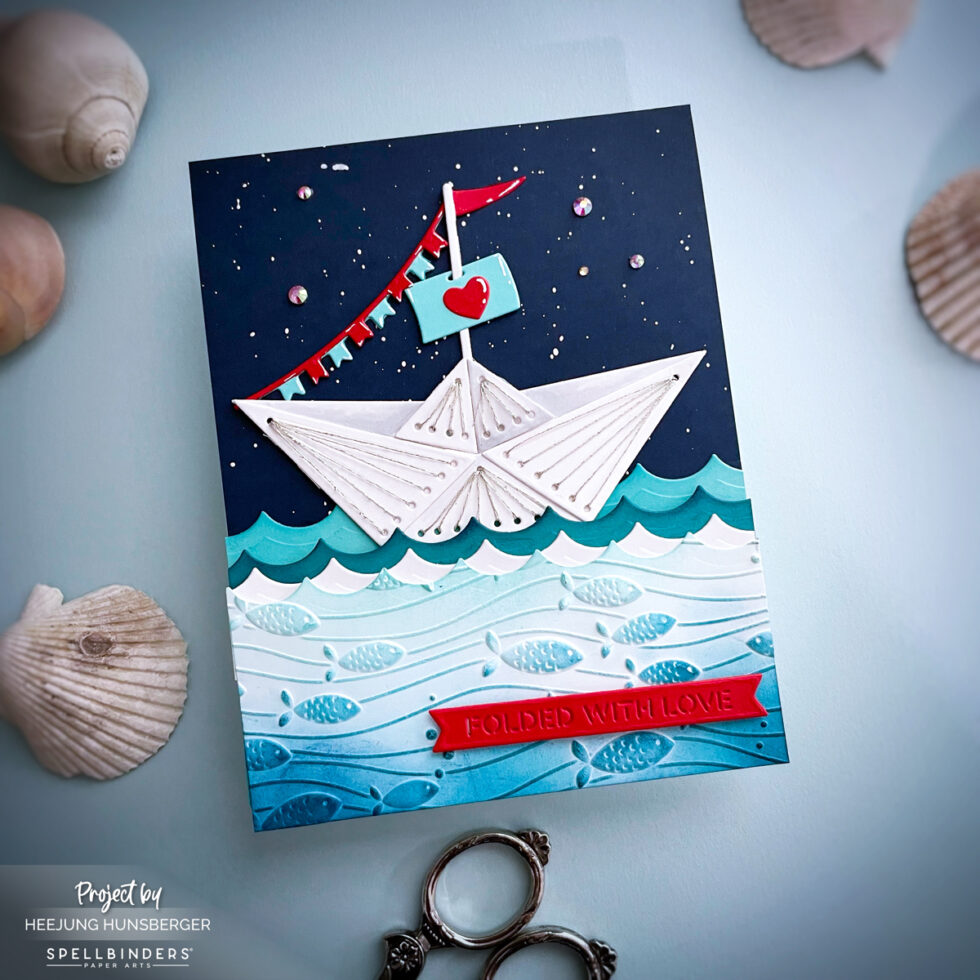
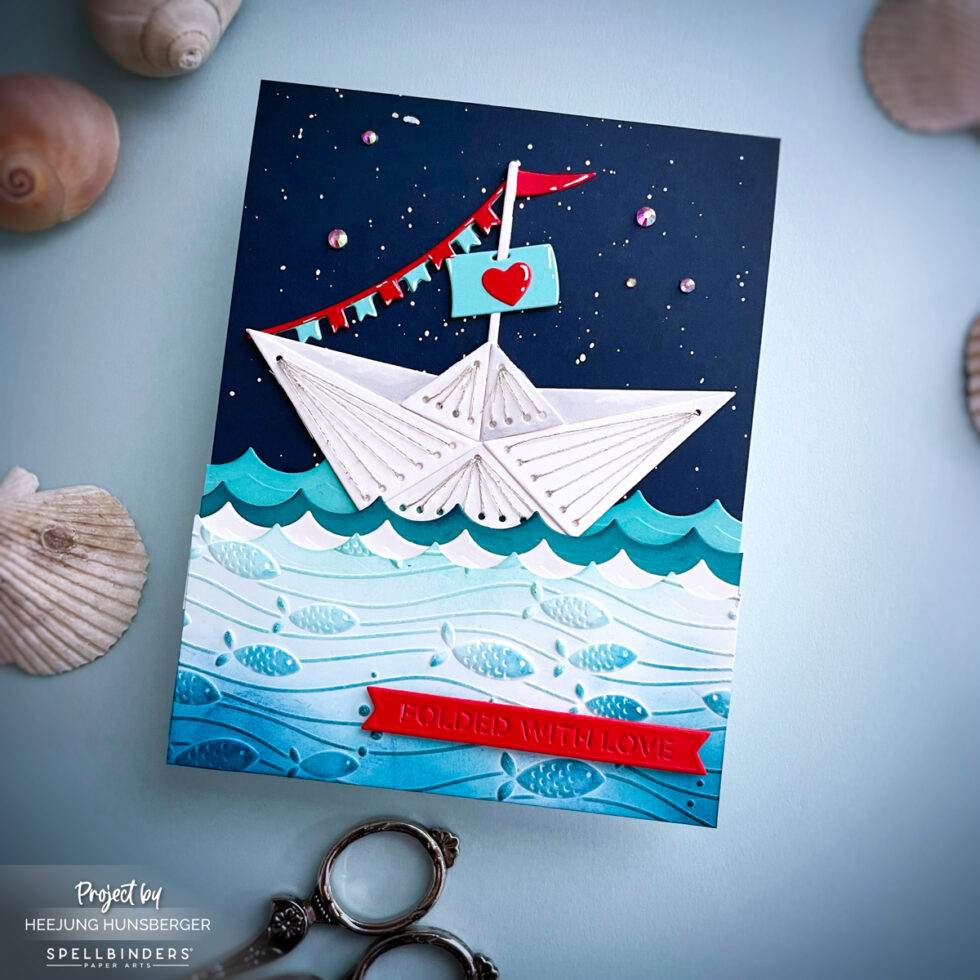
  1. Create the starry night sky background by cutting a piece of Indigo cardstock to an A2 size. Splatter white ink or paint onto the cardstock to create a star effect.

  2. Using the Wave Line die from the “Hand-Folded Stitch” club, die-cut four wave pieces from Teal Topaz, Blue Spruce, and two pieces of white cardstock.

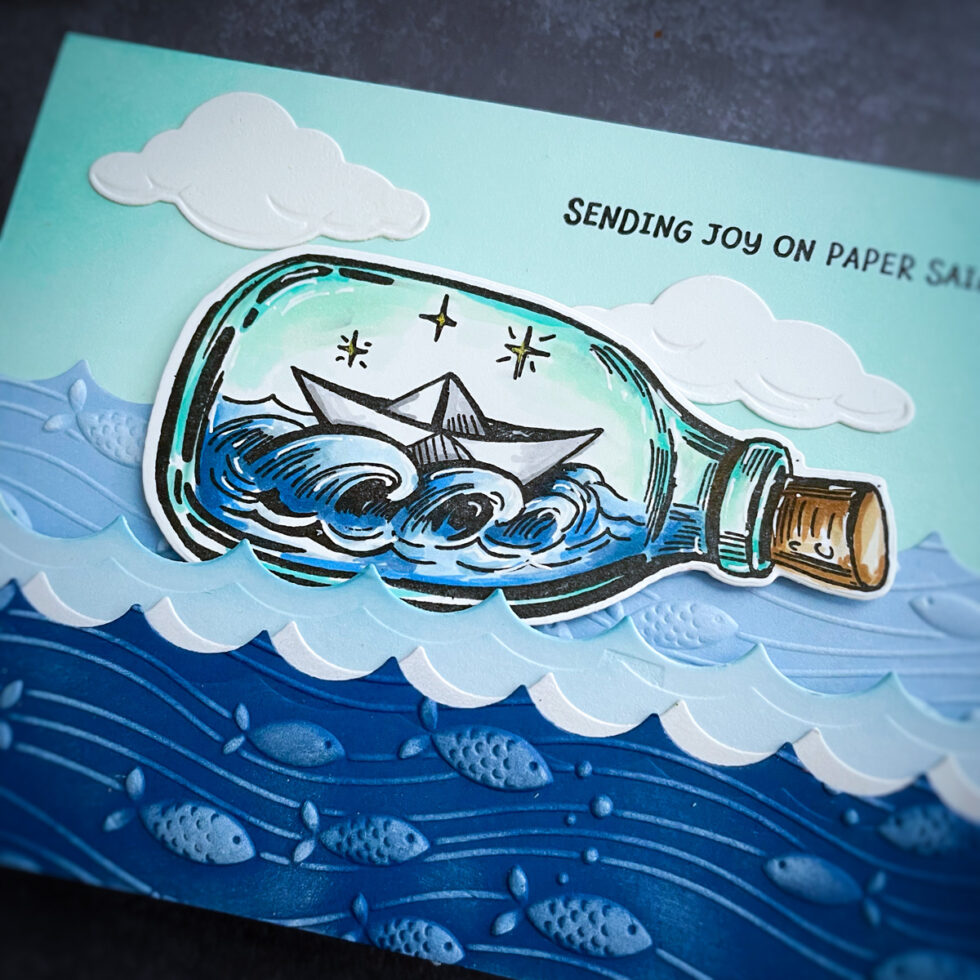
  3. Take one of the white wave die-cuts and place it in the “Underwater Waltz” 3D Embossing Folder. Run it through your die-cutting machine to add a beautiful, textured wave pattern.

  4. Using a blending brush, apply blue ink over the embossed white wave to highlight the texture.

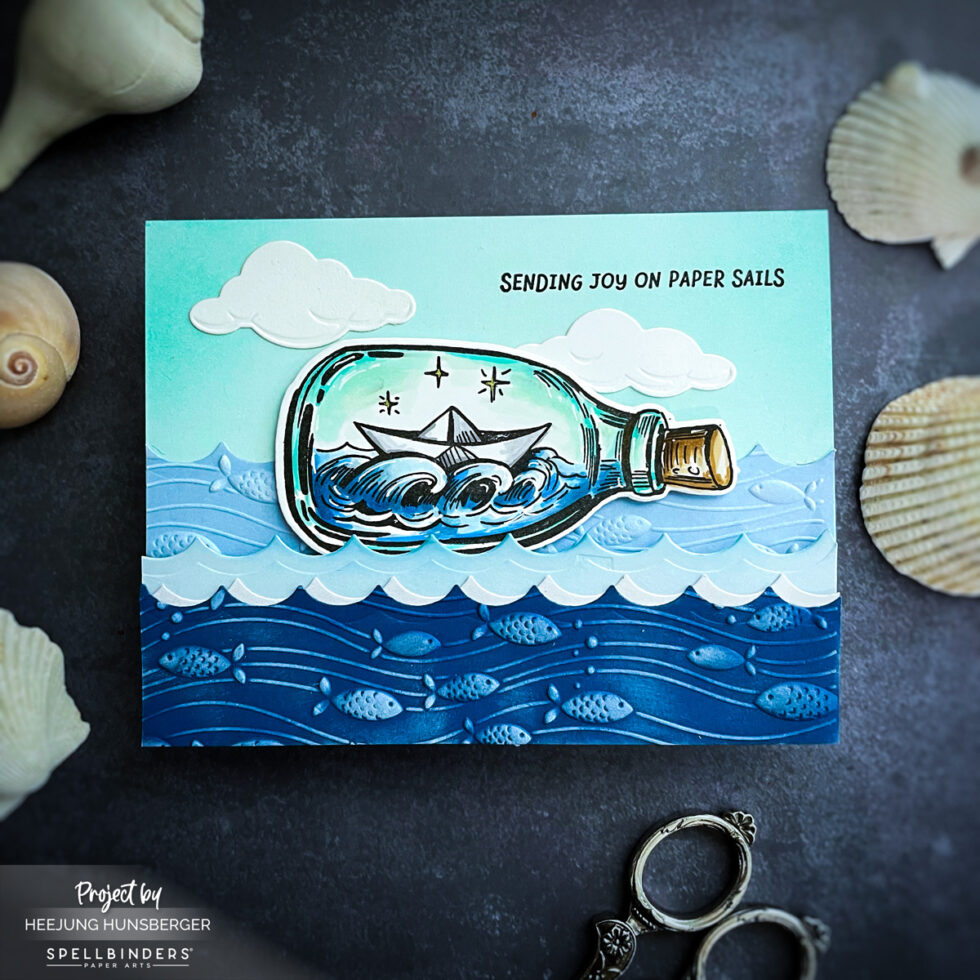
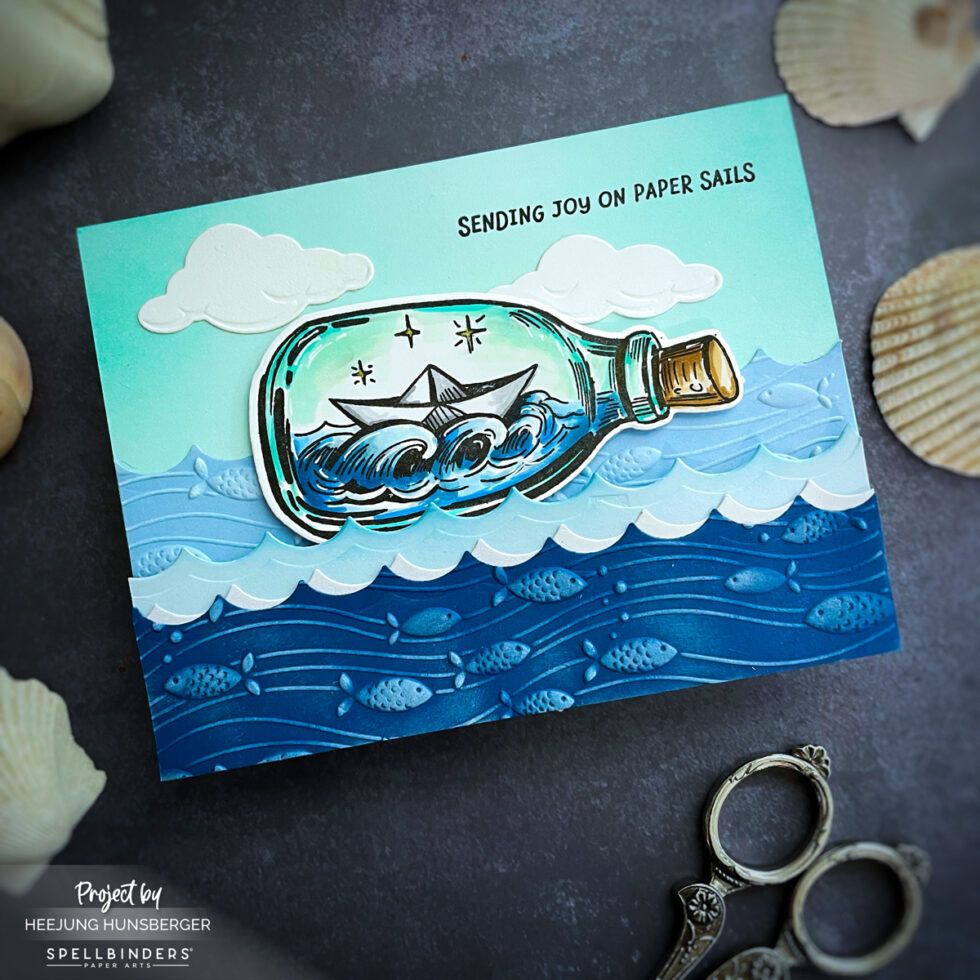
  5. Assemble the layered waves at the bottom of the card. The order is: Teal Topaz on the bottom, then Blue Spruce, followed by the two white wave layers (one plain, one embossed and blended). Attach the waves with foam stickers for dimension.

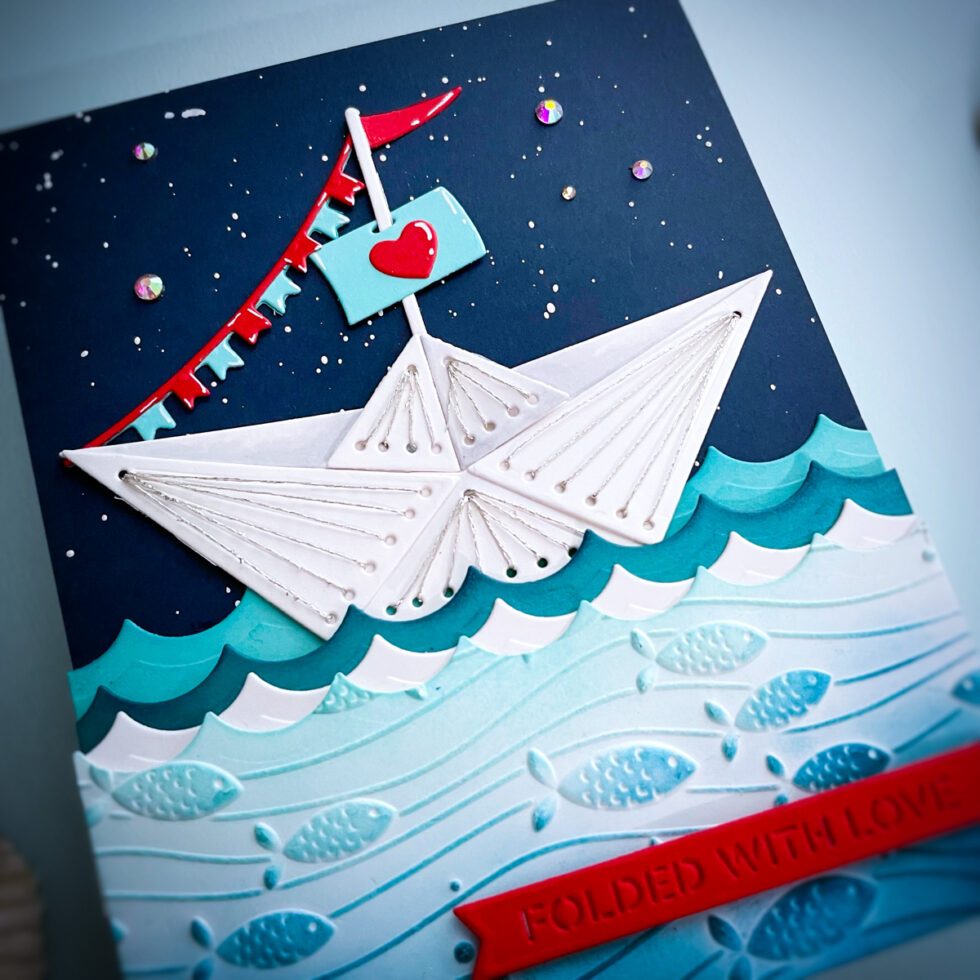
  6. Die-cut the paper boat from white cardstock using the stitching die. Use silver metallic thread to stitch along the perforated lines for a special touch.

  7. Die-cut the sentiment banner from Poppy cardstock using the die from the “Hand-Folded Stitch” set.

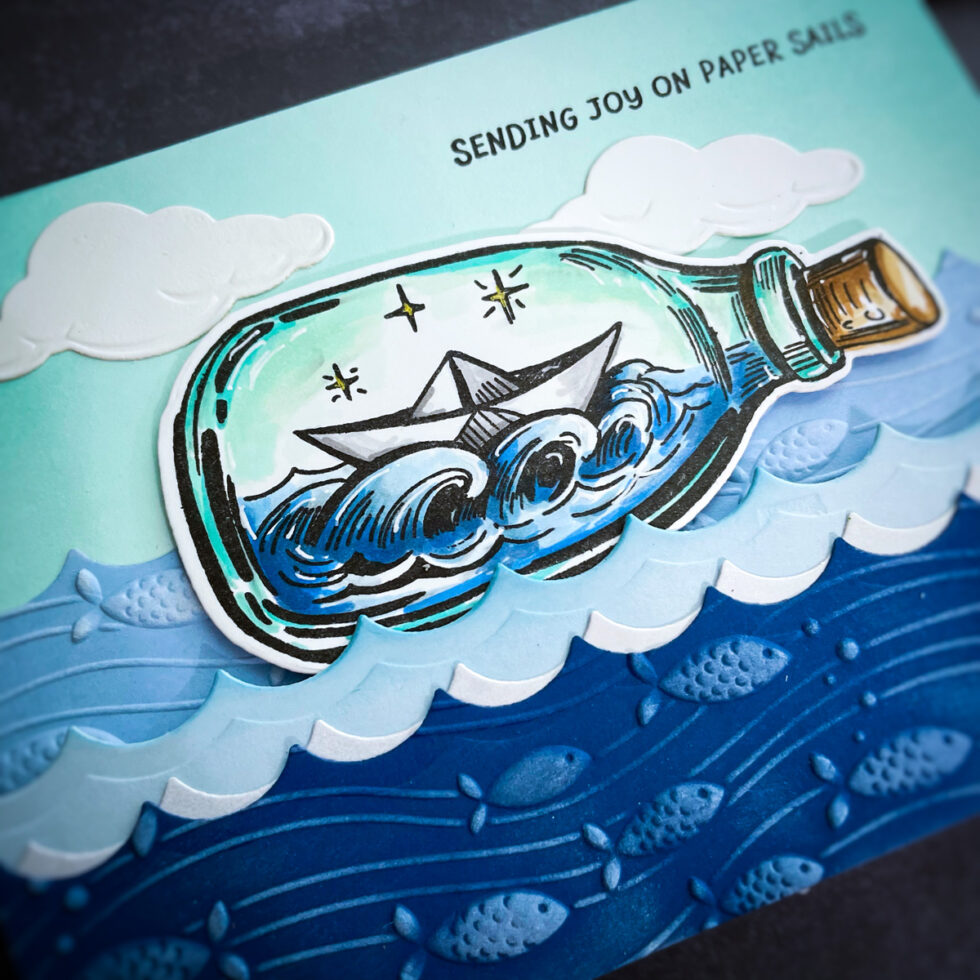
  8. Attach the stitched boat and the banner to the card front with foam adhesive.

  9. Finish the card by adding sparkling crystal gems to the night sky to make the stars twinkle.

Creating these cards was a pure joy, and the quality of the Spellbinders club kits truly makes a difference. If you’re interested in these products, be sure to check out the Spellbinders website.

Thanks for reading, and happy crafting!

Heejung Hunsberger

SUPPLIES LIST

When you make purchases through affiliate links, it won’t cost you anything extra. I am grateful for your support!