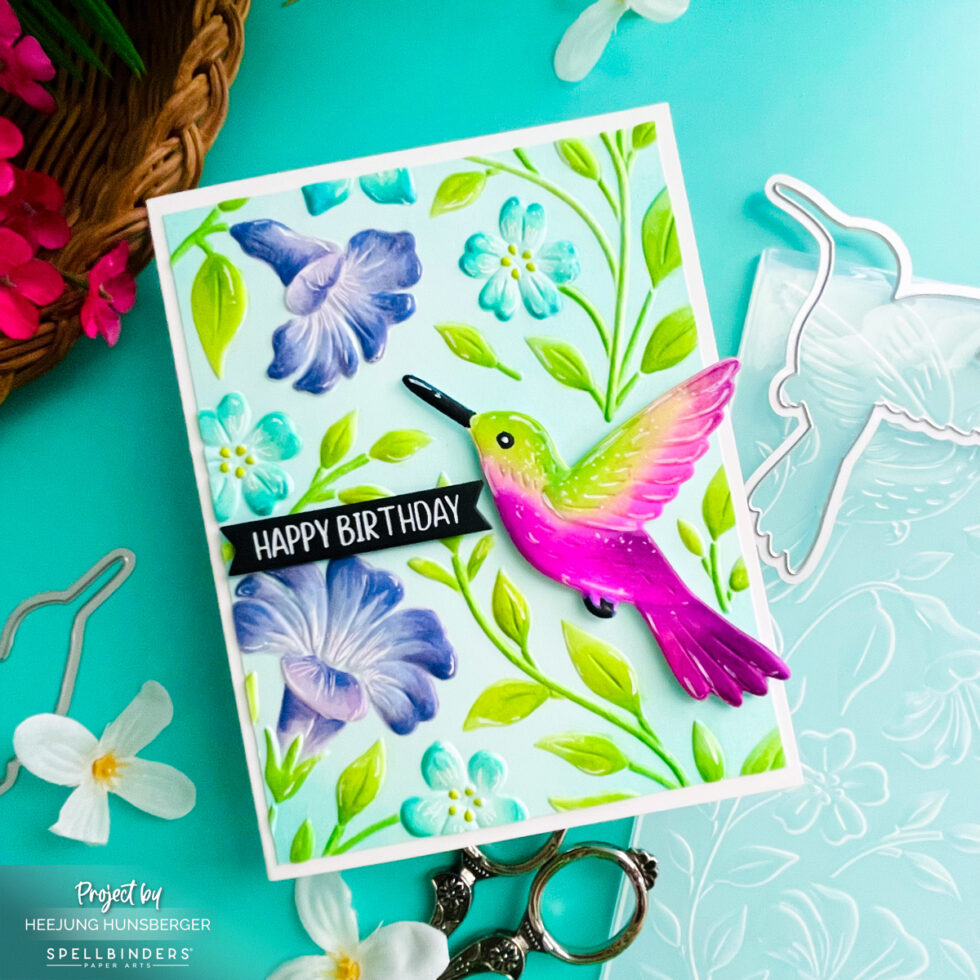
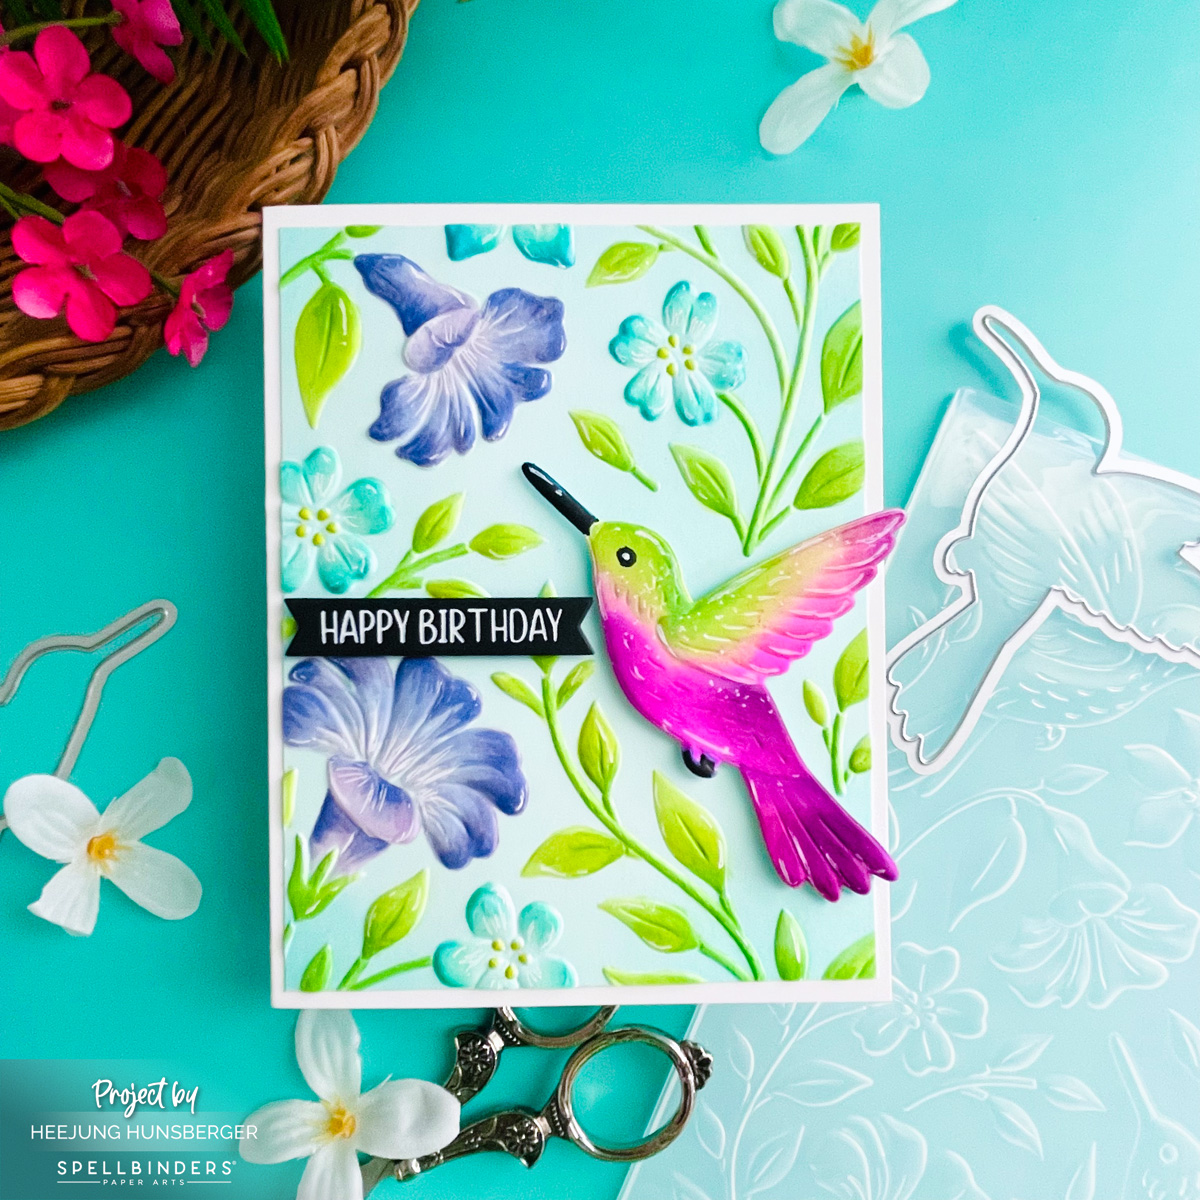
Hello, crafty friends! Today, I am thrilled to share a vibrant birthday card featuring the gorgeous Hummingbird Garden 3D Embossing Folder & Die Set by Simon Hurley, part of the Timeless Textures collection from Spellbinders. This unique set allows you to emboss and die-cut simultaneously, making it incredibly easy to create beautifully detailed, dimensional focal points.
Creating the Embossed Background
Start with a piece of Seaside cardstock for a soft, beautiful backdrop.
Place the cardstock inside the Hummingbird Garden 3D Embossing Folderand run it through your die-cutting machine to create the stunning, raised floral background texture.
Pro Tip: While there is a coordinating stencil available for this collection, I chose to bring this background to life by coloring the embossed flowers and leaves directly with markers. If you do own the stencils, I highly recommend using them to blend your ink first, and then aligning the paper with the embossing folder afterward for perfect placement!
Embossing and Die-Cutting the Focal Hummingbird
Take a piece of white cardstock large enough to fit the hummingbird.
Place the cardstock inside the embossing folder, carefully positioning the coordinating hummingbird die over the matching image inside the folder.
Secure them together so they don’t shift, and run them through your die-cutting machine. This brilliant technique embosses the intricate details of the bird while simultaneously die-cutting it perfectly!
Coloring and Detailing
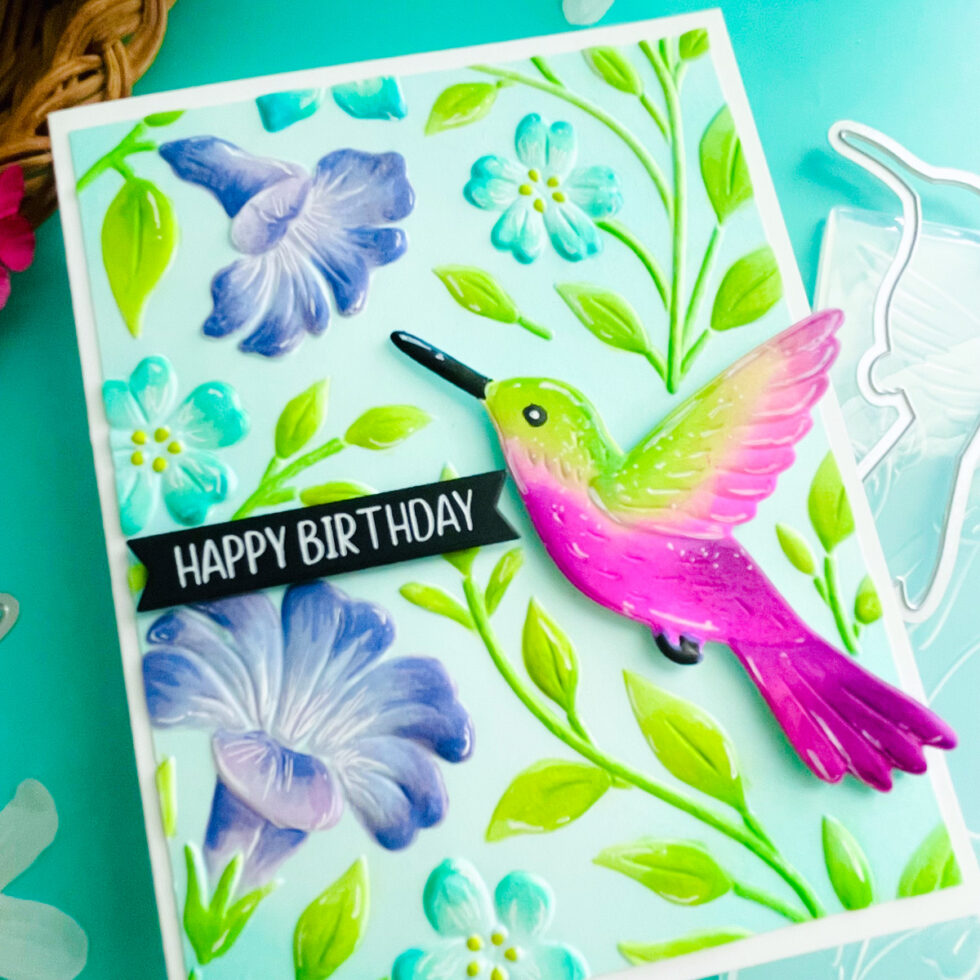
Use blending brushes to apply shades of green and purple inks onto the die-cut hummingbird. This blending technique beautifully captures the iridescent, magical quality of natural hummingbird feathers.
To add extra depth, use markers to enhance the shadows and fine details on both the bird and the embossed flowers on the background.
Add brilliant highlights using a white gel pen to make the details pop.
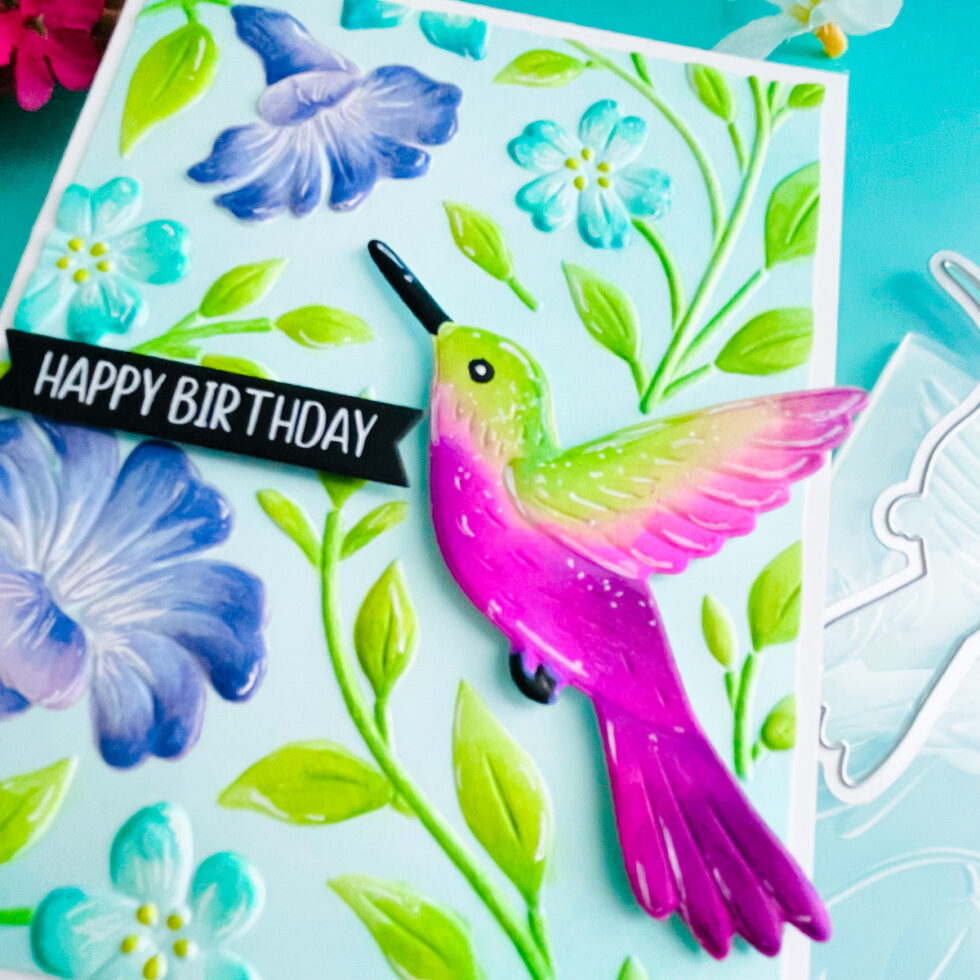
Die-cut the sentiment strip and adhere it to the card using foam stickers for dimension.
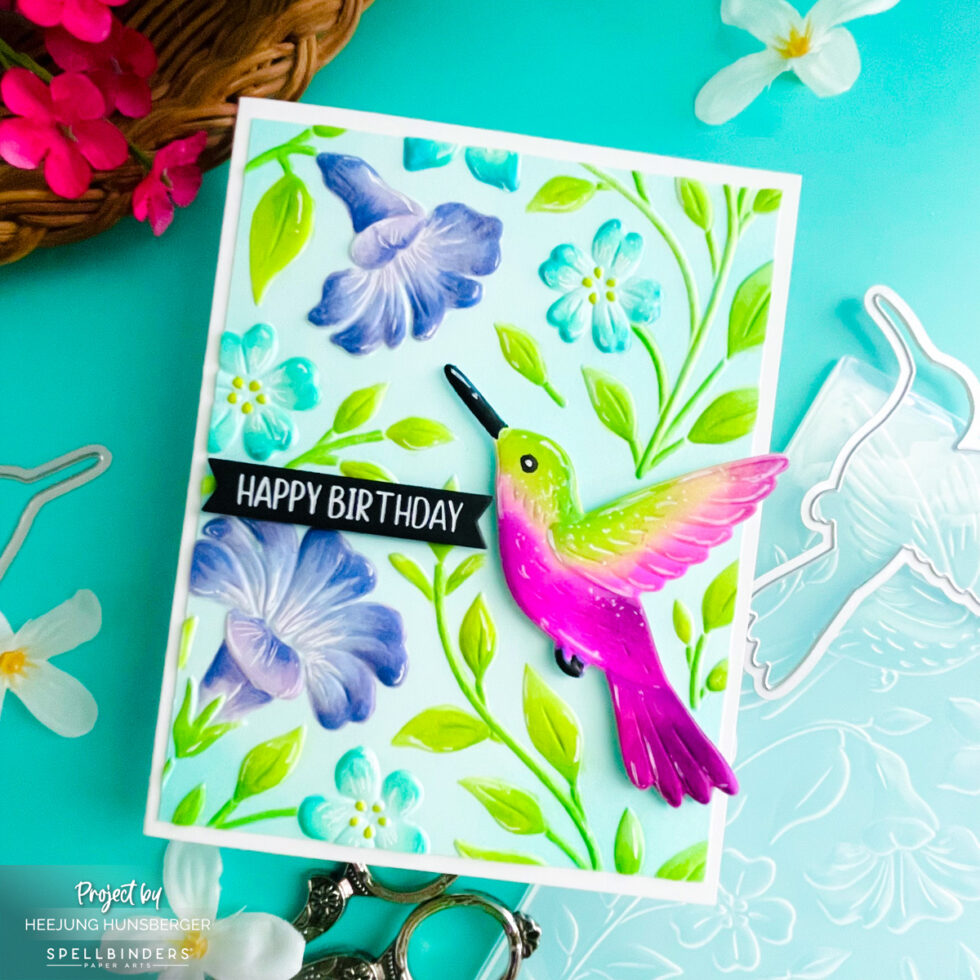
Finally, place foam stickers on the back of your colored, die-cut hummingbird and layer it perfectly over the embossed bird on the background panel. Pop the whole panel onto an A2 card base to complete the card!
I hope this card inspires you to try out the amazing 3D embossing and die-cutting technique! It truly adds a whole new level of depth and realism to your paper crafting projects. Thank you so much for stopping by today. I would love to hear your thoughts on this vibrant hummingbird in the comments below! Have a wonderful, crafty day, and see you in the next post!
SUPPLY LIST
When you make purchases through affiliate links, it won’t cost you anything extra. Thank you so much for your support! 💗
2 thoughts on “Vibrant Hummingbird Birthday Card with Simon Hurley’s Timeless Textures”
That looks absolutely stunning! I’ve been looking for a way to add more dimension to my cards, so this set seems perfect.
That looks absolutely stunning! I’ve been looking for a way to add more dimension to my cards, so this set seems perfect.
thank you so much