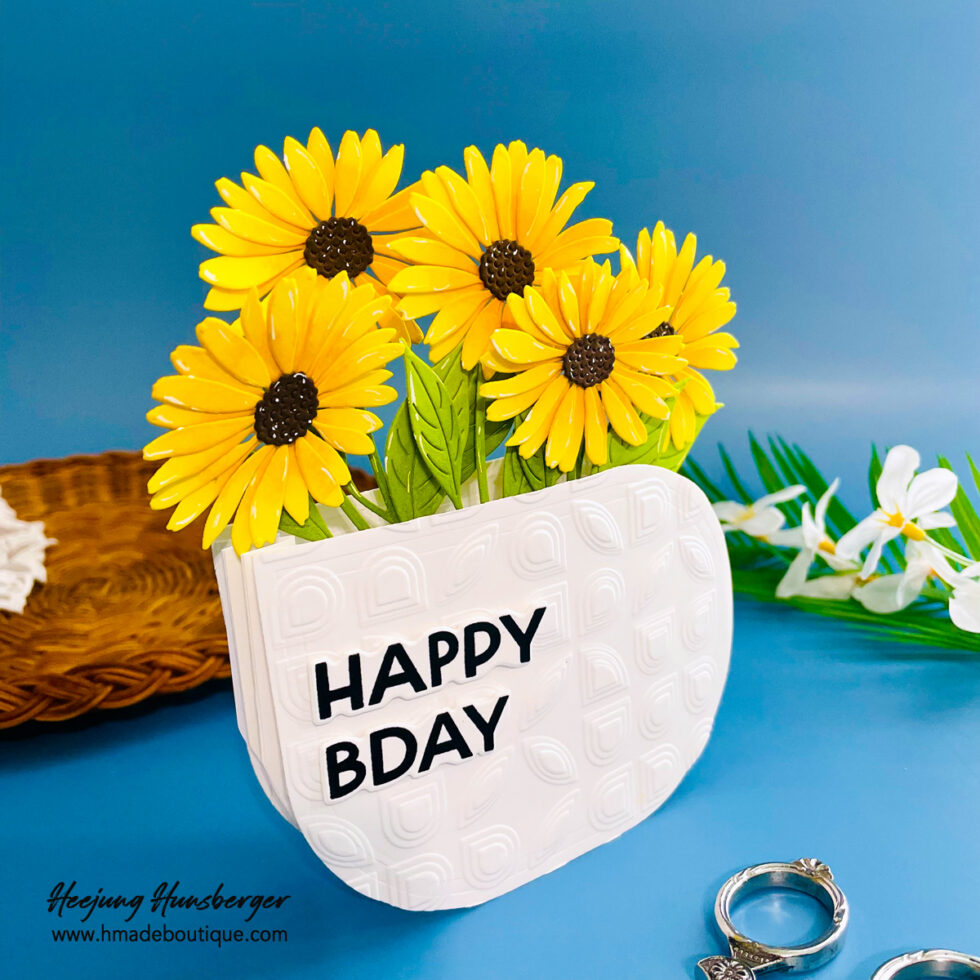
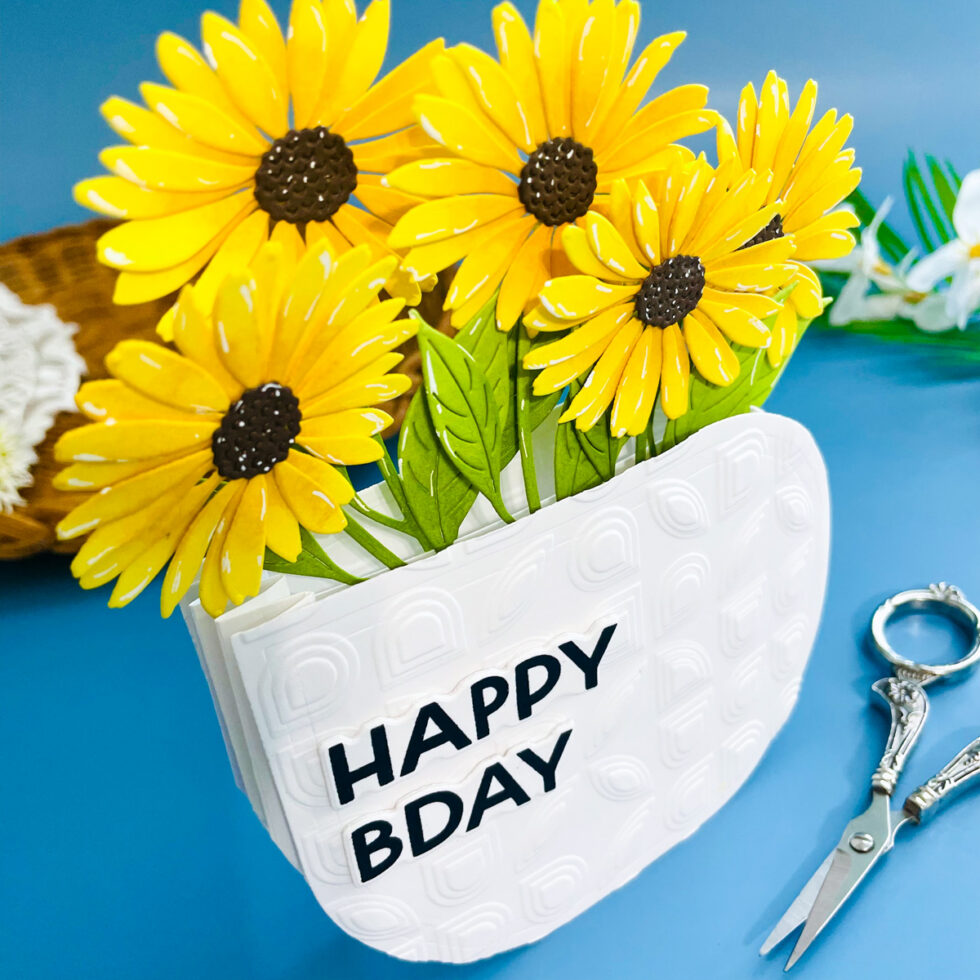
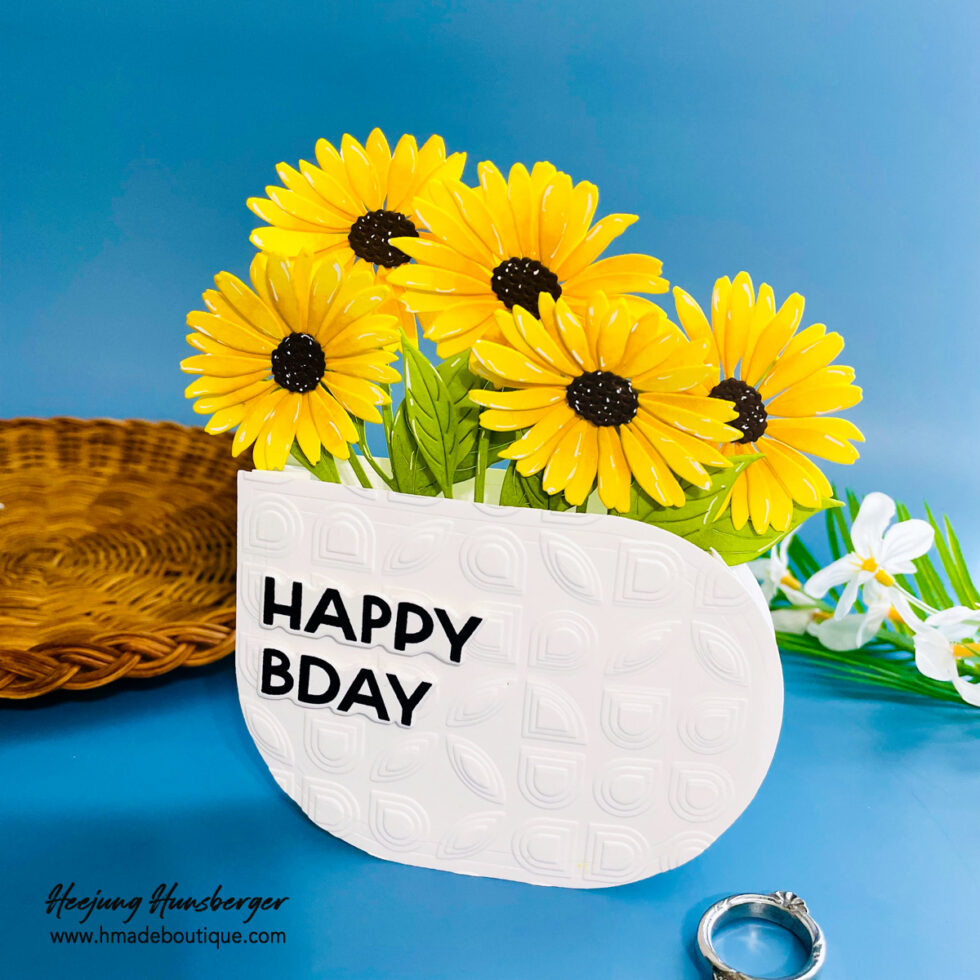
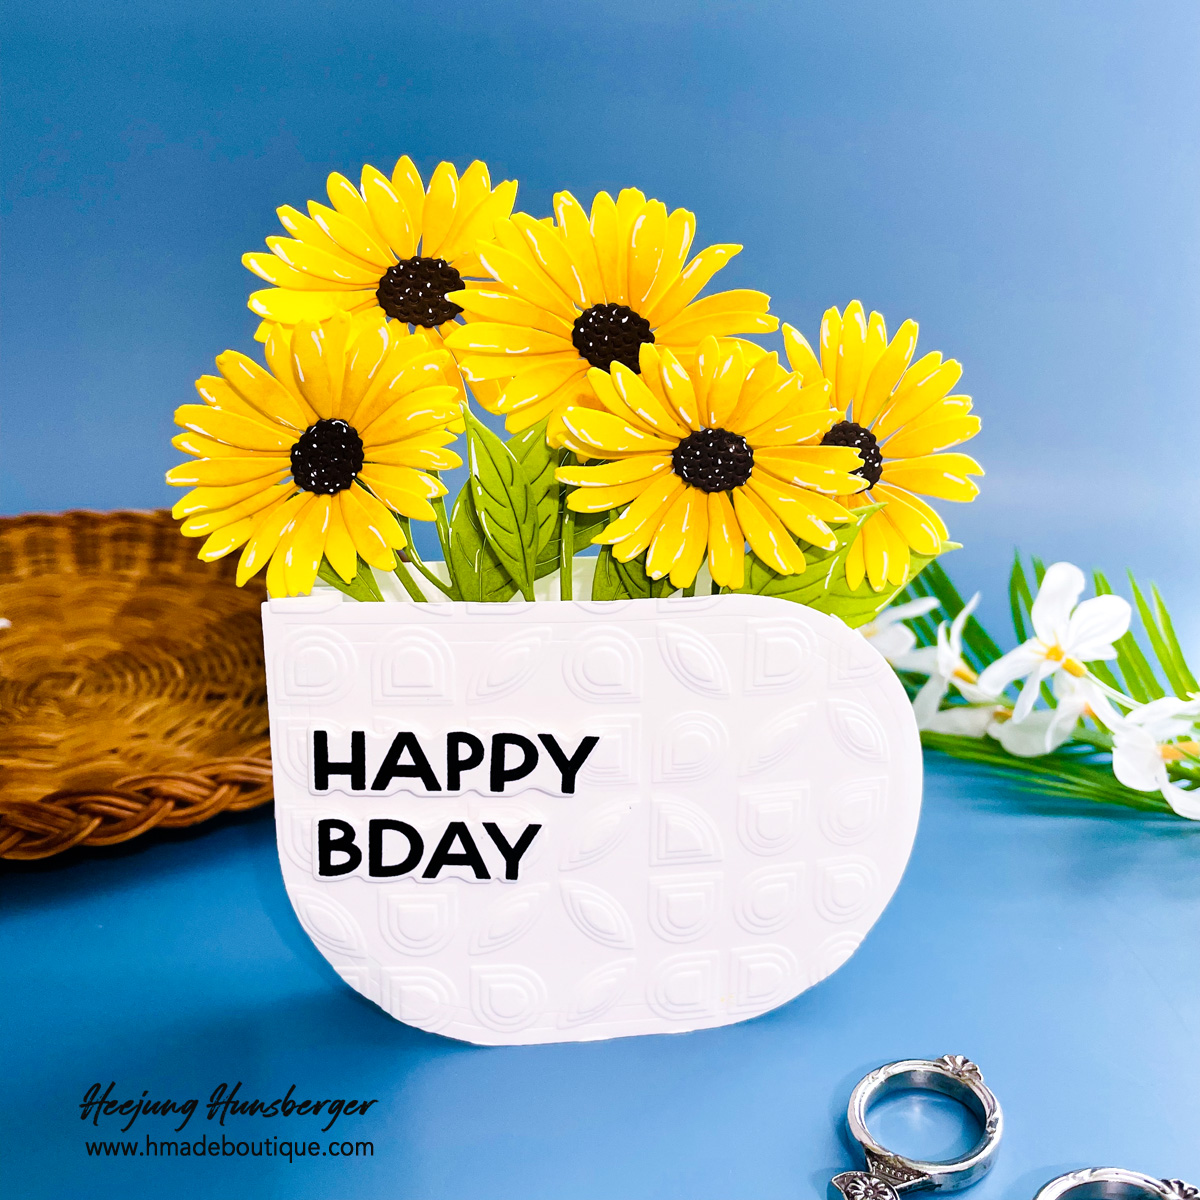
Hello crafting friends! Today, I’m thrilled to share another brand-new project featuring the latest Simon Says Stamp release. I wanted to create something full of warmth and dimension, so I designed a 3D pop-up vase filled with gorgeous, sunny daisies. Using a clever accordion fold mechanism inside the vase, this card stands beautifully on its own and holds a layered bouquet that looks so realistic. Let’s walk through how to build this dimensional floral surprise!
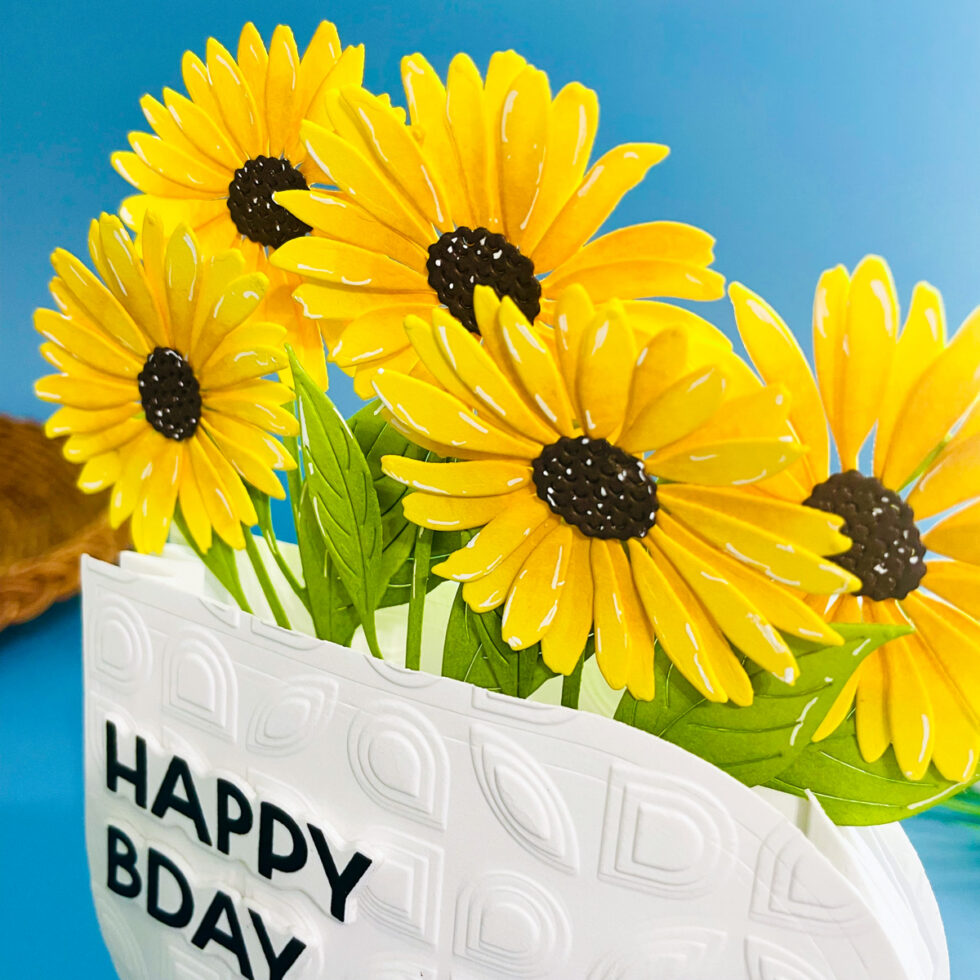
Creating the Dewdrop Daisies: I started by die-cutting the stunning new Dewdrop Daisy dies. I used Beeswax cardstock for the vibrant flower petals and classic green Simon Says Stamp cardstock for the leaves. To give them more life, I added soft shading to each petal and leaf using matching ink colors. For the perfect finishing touch, I used a white gel pen to draw delicate highlights, making the blooms look incredibly bright and detailed.
Prepping the Vase Base: For the vase, I die-cut two panels using the Embossed Squovals die set. To give the front of the vase a chic, textured pattern, I ran just one of the panels through my die-cutting machine using the Mid Century Assemblage embossing folder. This textured panel serves as the beautiful front face of our flower vase.
Engineering the 3D Accordion Mechanism: To make the vase 3D, I cut two pieces of paper measuring 3.5 inches wide by 1.5 inches high. Along the 3.5-inch side, I scored at 0.5-inch intervals six times. I folded these score lines in an alternating mountain-and-valley pattern to create two accordion-style hinges.
Assembling the Vase & Custom Trimming: I adhered these accordion hinges to the left and right inner edges of the two squoval vase bases. Because the right side of the squoval shape has a unique curve rather than a straight line, I used my scissors to trim away the excess accordion paper along the outer curved outline after gluing. Next, I cut two inner support strips measuring 1 inch wide by 4.5 inches long and secured them across the accordion folds inside the vase to create multi-level slots. Again, I trimmed off any edges that peeked out of the curved silhouette.
Arranging the Bouquet & Sentiment: With the inside slots ready, I tucked and adhered my prepared daisies and leaves into the different rows, creating a lush, multi-layered look. For the greeting, I used the Perfect Pairs Stamp & Cutset from Hero Arts. I stamped the birthday message onto white cardstock using black pigment ink, coated it with clear embossing powder, and melted it with my heat tool. Once die-cut, I mounted it right onto the front of the embossed vase!
I absolutely love how the bright yellow daisies pop against the crisp, textured white vase! The accordion design is such a fun and versatile way to add incredible depth to your floral cards. I hope this step-by-step breakdown inspires you to build your own 3D bouquet.
Thank you so much for stopping by, and happy crafting!
Heejung
SUPPLY LIST
When you make purchases through affiliate links, it won’t cost you anything extra. Thank you so much for your support! 💗
3 thoughts on “3D Pop-Up Vase Card featuring Simon Says Stamp Dewdrop Daisy”
That looks absolutely lovely! I really love how the accordion fold creates the illusion of depth – it’s a clever design.




That looks absolutely lovely! I really love how the accordion fold creates the illusion of depth – it’s a clever design.
thank you so much
Great content! Keep up the good work!