Today, I’m excited to share two fun projects created with the Spellbinders November 2025 Club Kits. Both projects feature the beautiful November Embossing Folder – Luxe Lattice, which adds elegant texture to any card or 3D project.
I had such a great time working with these kits—a fully dimensional paper handbag and a playful brunch-themed card. Even though the styles are completely different, the Luxe Lattice embossing brings such a cohesive touch to both designs.
Lightly brush the raised areas with an acrylic paint marker (or colored pencils) to enhance the pattern.
2. Make and Attach the Handles
Cut two strips of Fawn cardstock at ½” × 7″ for the straps. Draw faux stitching lines with a fine pen to mimic leather.
Attach the straps with small bronze brads— they add a realistic hardware touch and help secure the handles.
3. Build the 3D Structure Bottom Panel
Cut a 7″ × 2″ piece of cardstock.
Score the 2″ side at ½” intervals, keeping the center 1″ strip as the base.
Glue this panel between the two handbag pieces.
4. Side Panels
Cut two pieces: 2¼” × 2″.
Score the 2″ side into four ½” segments to create accordion sides.
Attach to the handbag body to form a fully enclosed bag.
Now the handbag can actually open and hold small treats or gifts!
5. Add the Charms
Die-cut the bear, cherries, coin purse, and chains from the Large Die Club. Assemble and hang them from the handles like real bag charms—such a fun finishing touch!
Trim a white cardstock panel to A2 size and emboss it using the Luxe Lattice Embossing Folder. This creates a clean, textured backdrop for the brunch elements.
Coffee Cup: Die-cut using the Mugs & Mittens die set and color the inside with markers to create a warm coffee tone.
4. Assemble the Card
Arrange the waffle, egg, and bacon on the textured plate. Add utensils die-cut from matte gold metallic cardstock (retired Dish It Up set). Use foam tape to add dimension and finish with the Happy Brunch-Day banner.
These November club kits were such a joy to create with. I love how the same Luxe Lattice Embossing Folder works beautifully for both a stylish paper handbag and a fun brunch card. If you’re looking for versatile club kits this season, November’s releases are definitely worth exploring.
Happy Crafting! Heejung 🤍
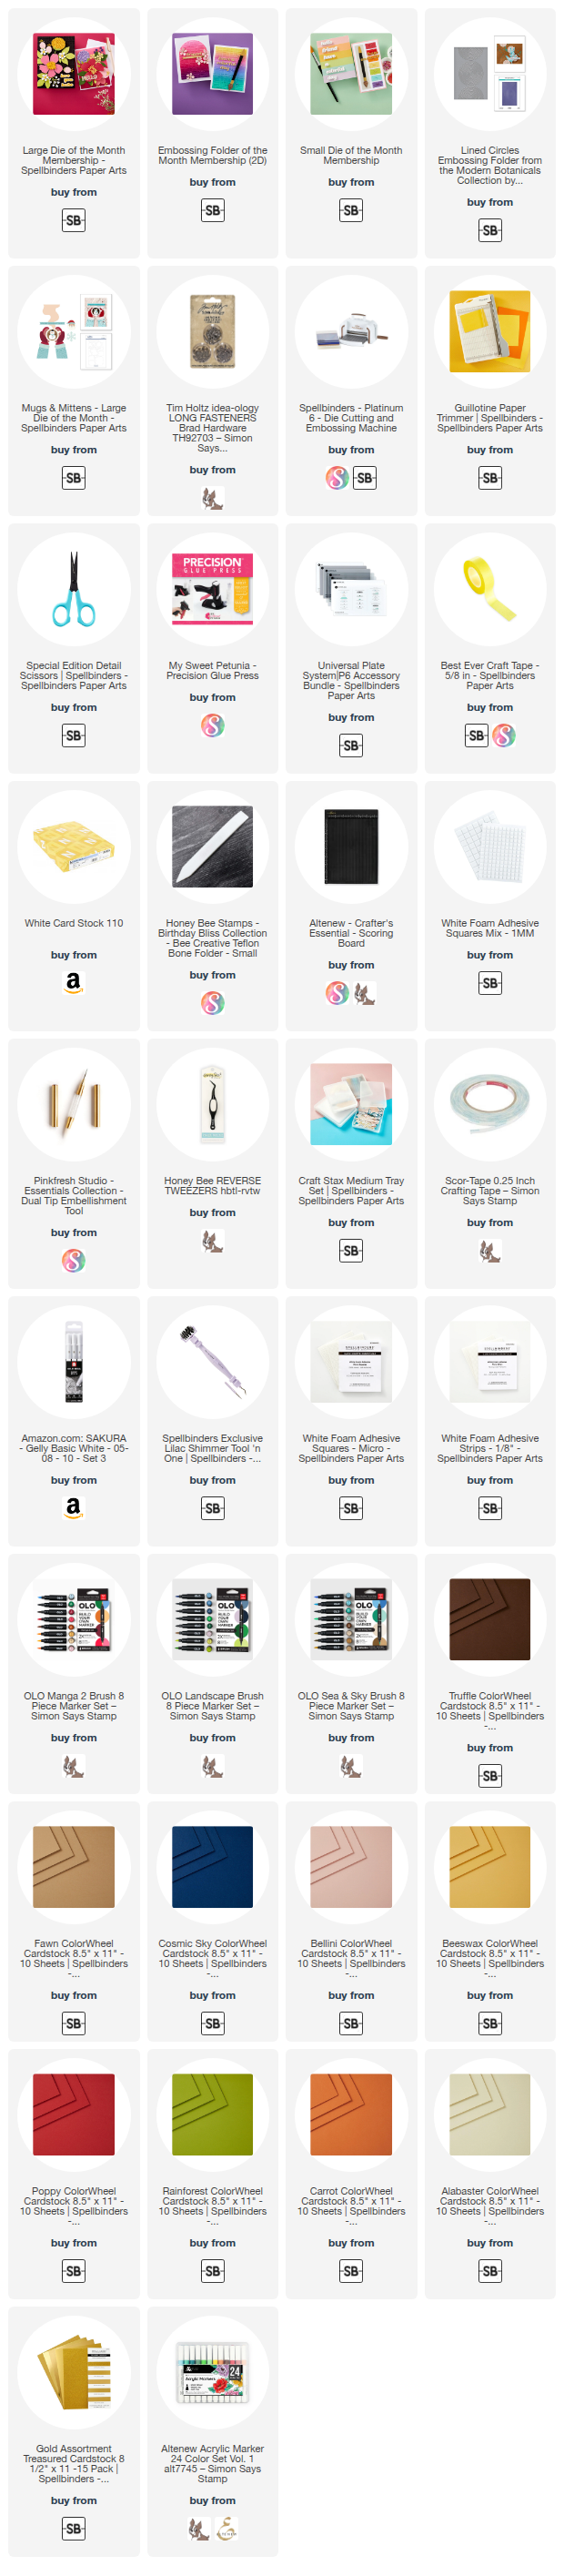
SUPPLY LIST
When you make purchases through affiliate links, it won’t cost you anything extra. Thank you so much for your support! 🩷