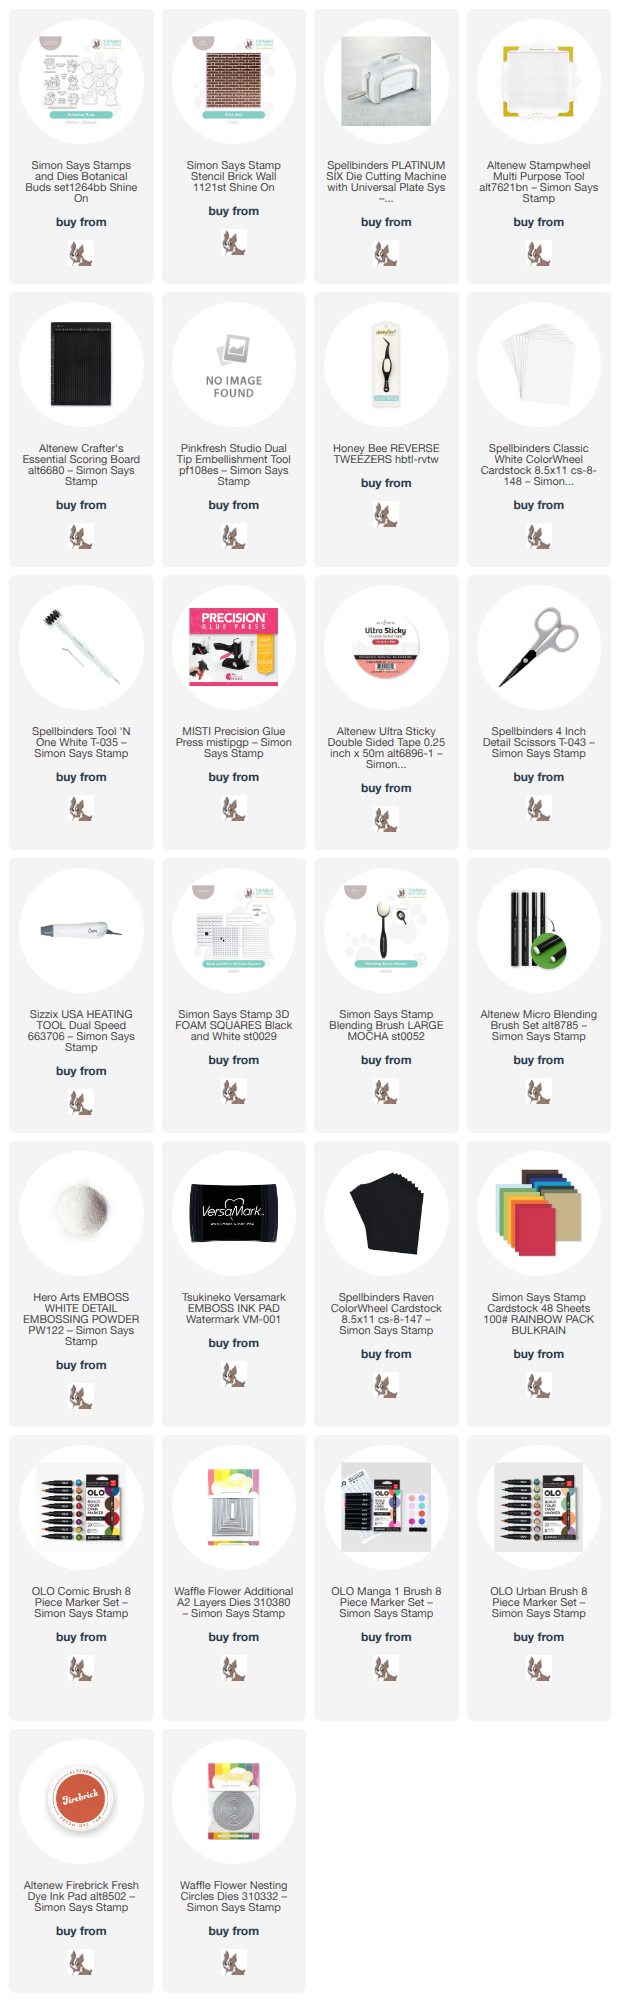
Creating a 3D Mini Garden Window with Simon Says Stamp Botanical Buds
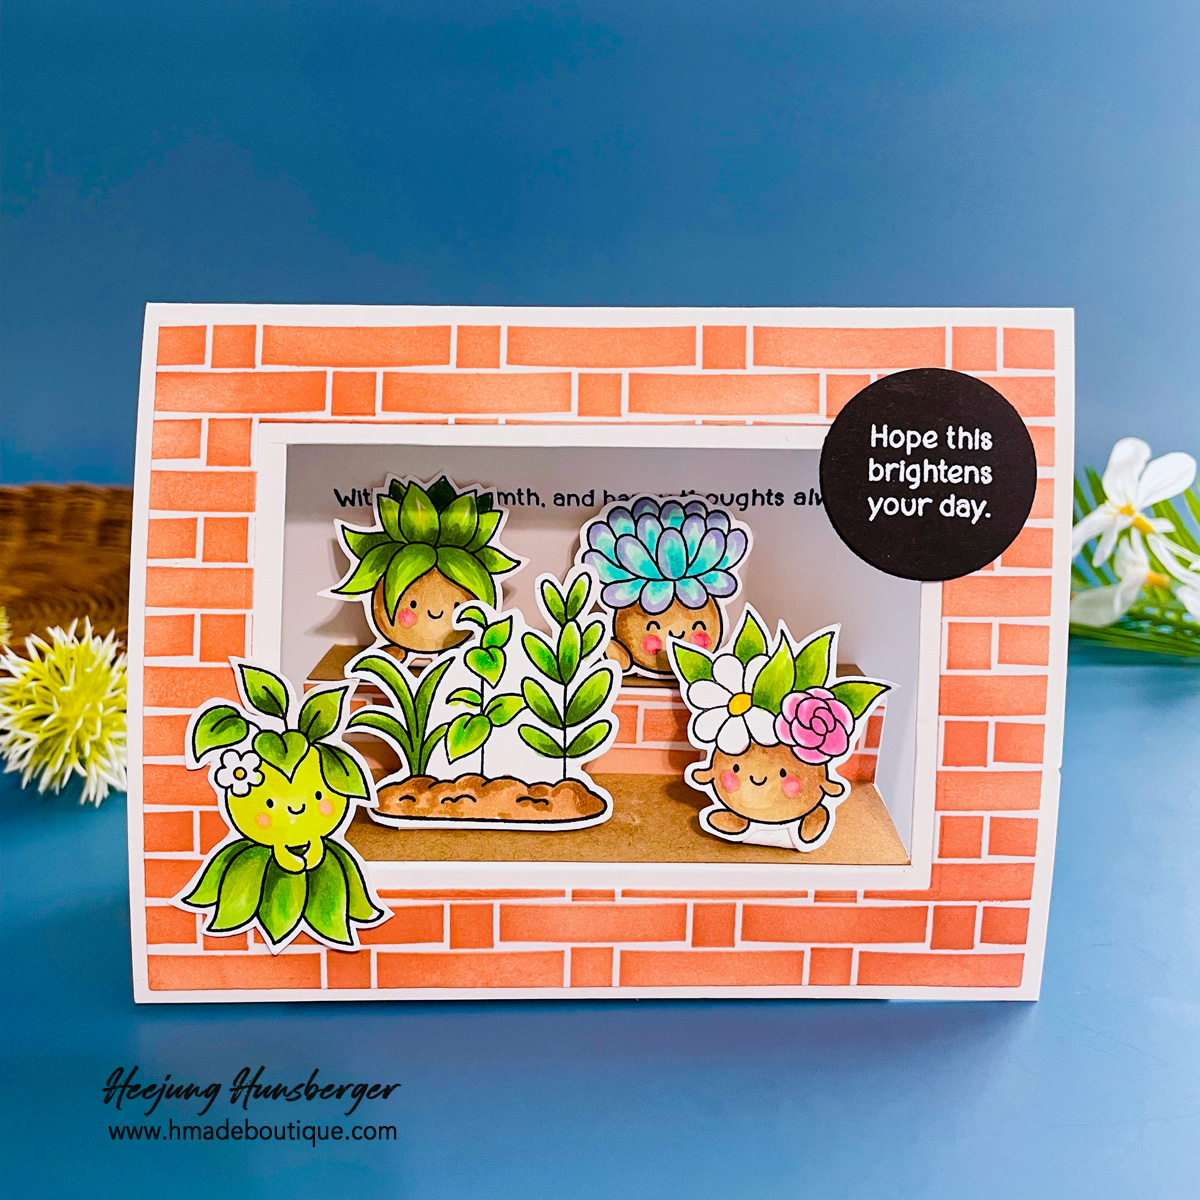
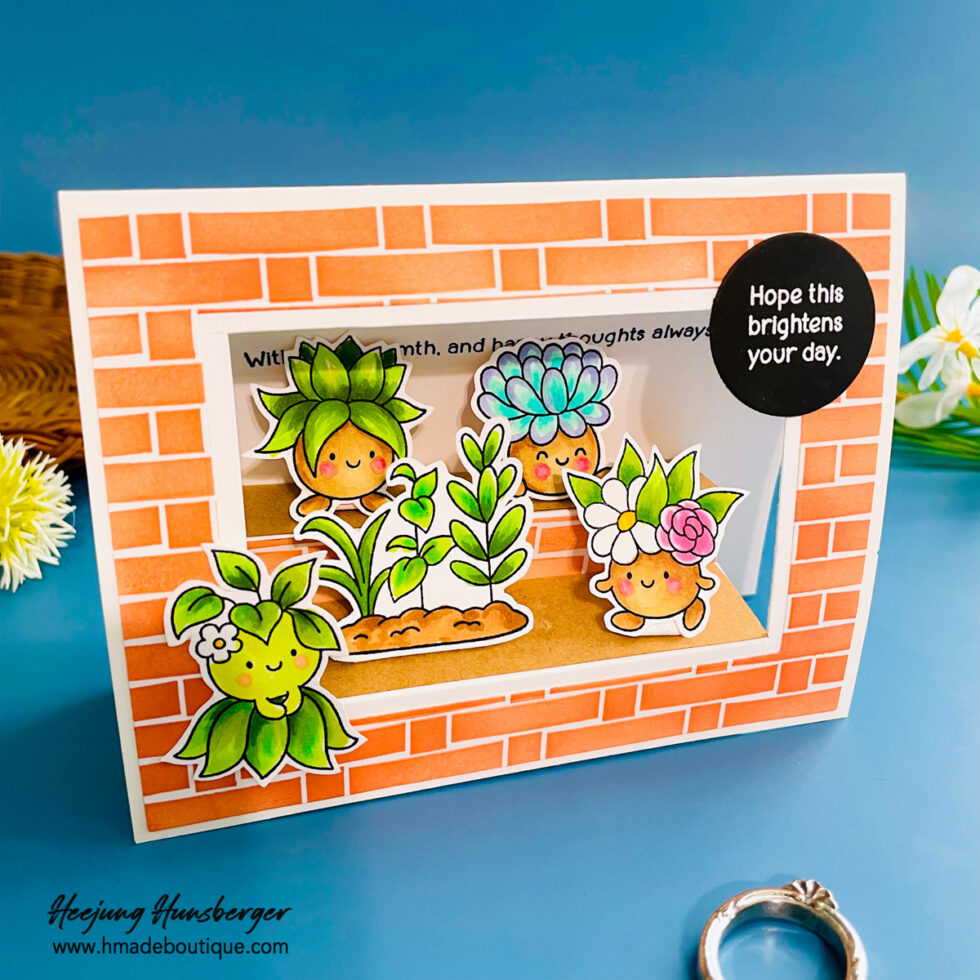
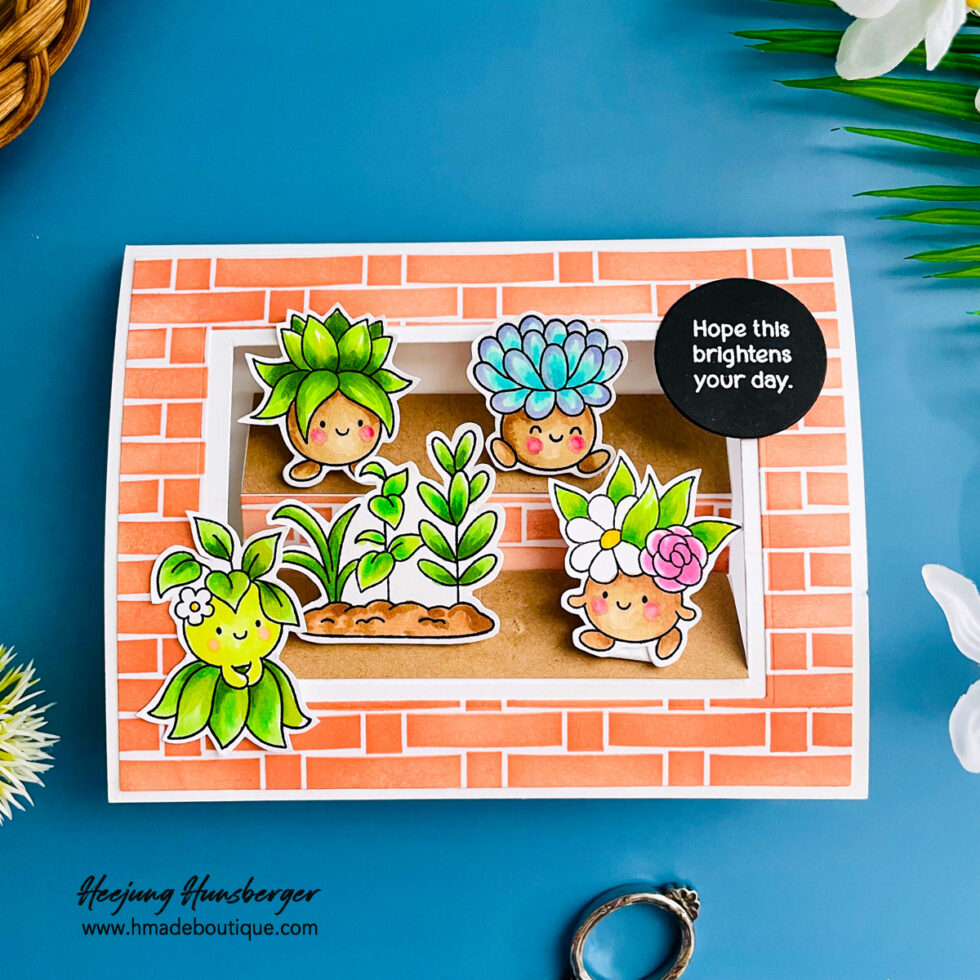
Welcome back to my craft space! Today is an exciting day because it’s the new release day for Simon Says Stamp! To celebrate, I’ve created a special interactive card featuring the adorable Botanical Buds stamp set and the striking Brick Wall stencil. I wanted to create a mini diorama that looks like a cozy garden window, so I designed a unique inside pop-up step card structure. This card opens vertically and reveals a multi-layered, dimensional scene hidden inside. Let’s dive into how this magical, carefully engineered little garden came together!
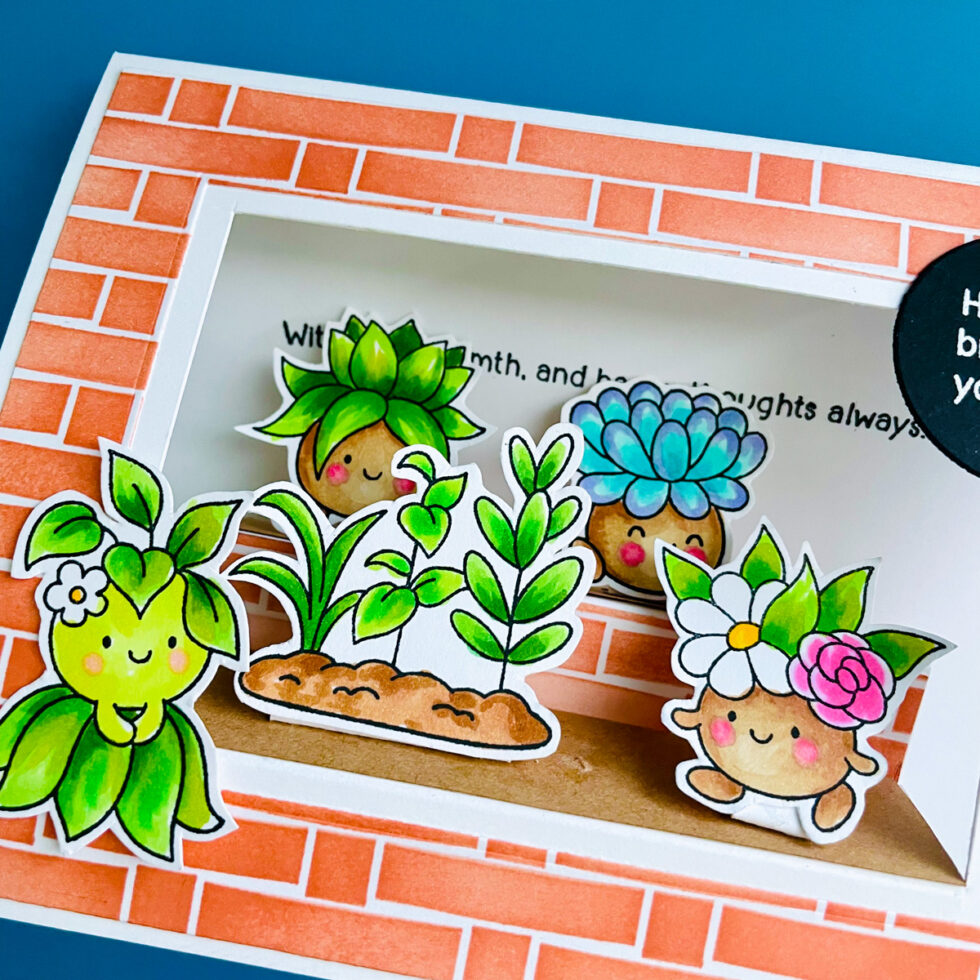
Stamping & Coloring the Main Characters: I started by stamping all the cute characters from the Botanical Buds stamp set onto white cardstock using black ink. After that, I colored them in with markers to bring out their playful personalities. Since coordinating dies weren’t available for this set, I carefully fussy-cut each image with my scissors to get a clean finish.
Creating and Die-Cutting the Stenciled Frame: For the vibrant background, I took a piece of white cardstock and used the new Brick Wall stencil. I blended over it using Altenew’s Terracotta dye ink to achieve a warm, realistic brick appearance. Next, I used a rectangle die to cut out the center section, aligning it perfectly with the display window to create a beautifully finished brick frame for the front of the card. Don’t toss the leftover stenciled center cutout—we will use it later!
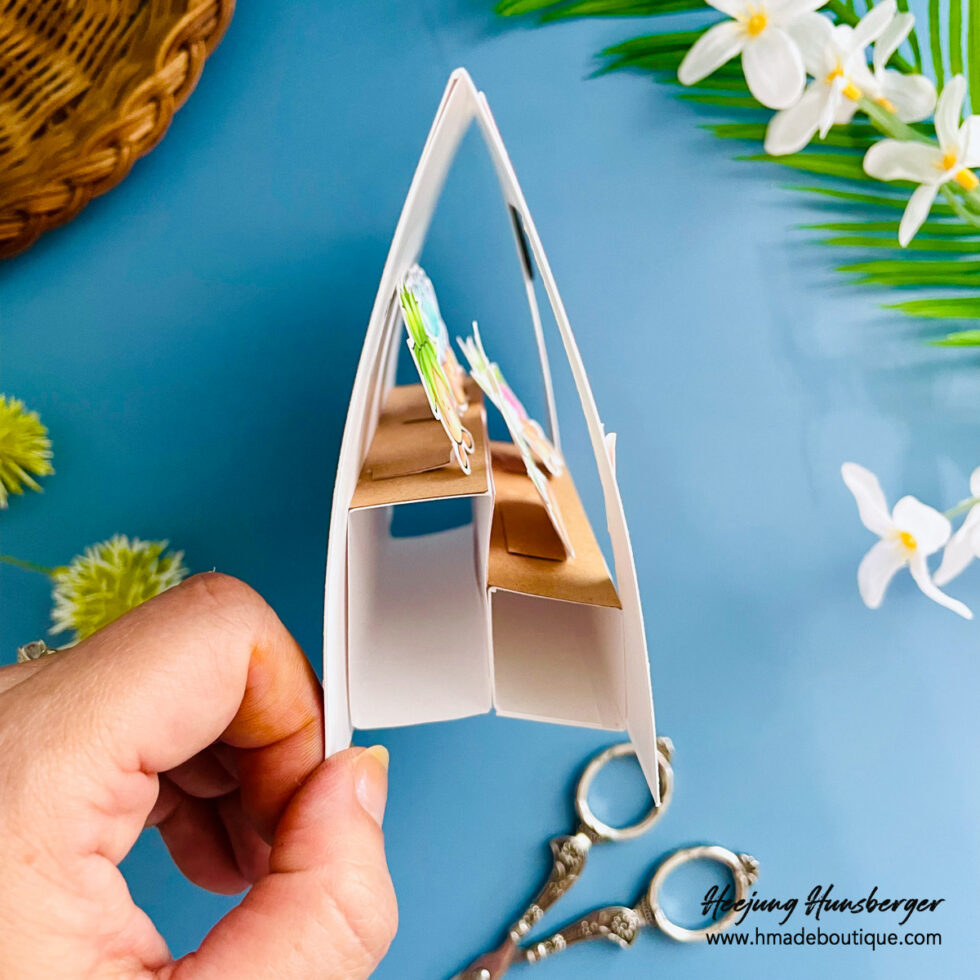
Constructing the Base Inside Pop-Up Window: Next, I prepared a standard horizontal A2 card base measuring 5.5 inches wide by 4.25 inches high, designed to open from the bottom up. To create the display window on the front, I measured 7/8 of an inch inward from the edges to outline a rectangle. I cut along the top and both sides of this inner rectangle, leaving the bottom edge intact. Instead of cutting the bottom, I scored it so that it folds back into the inside of the card.
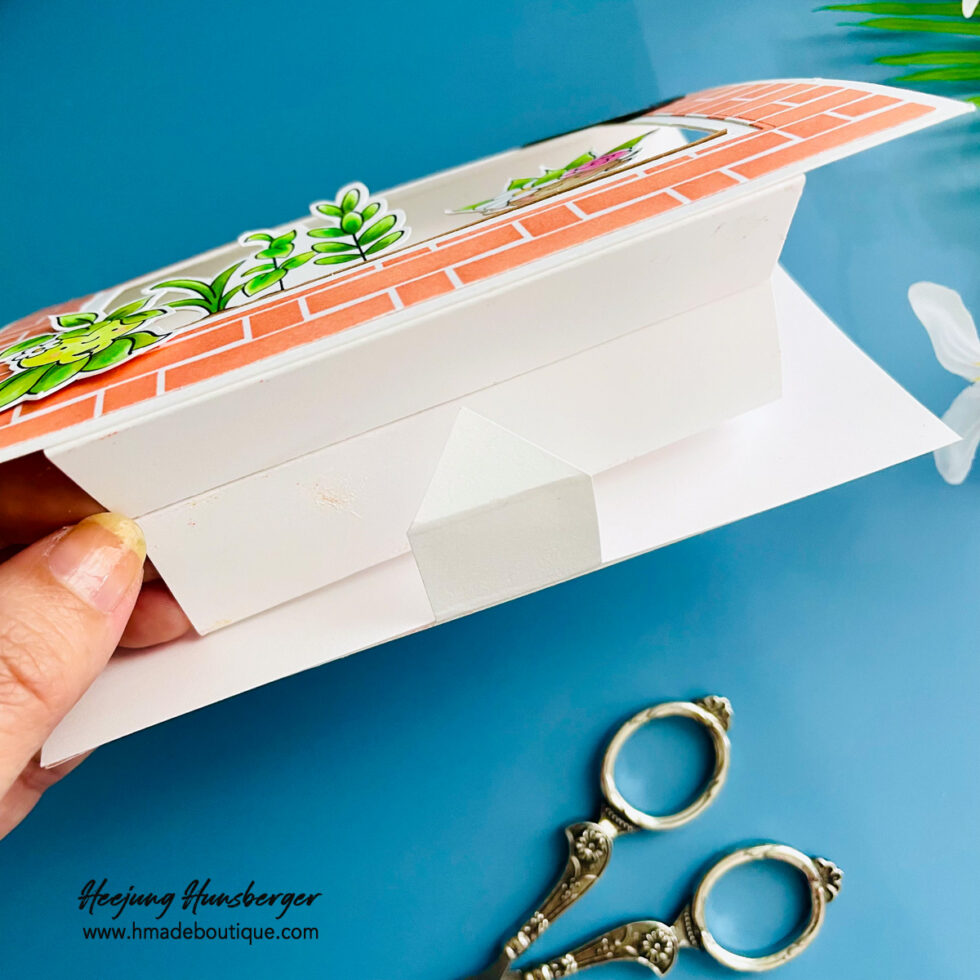
Engineering the Dimensional Pop-Up Steps: To turn that folded panel into a sturdy rectangular column, I scored the inward section at a 7/8-inch width. Since it needed a complete enclosed column structure, I cut an additional piece of paper to the exact same size to complete the missing sides and glued it inside to form the first rectangular step. This card features a clever double-step mechanism. For the second step, I took a piece of cardstock measuring 3 3/4 inches by 5 1/4 inches and scored it at 7/8″, 2 3/8″, 3 1/4″, and 4 3/4″. This piece was adhered directly behind the first pop-up element. Crucially, when attaching these columns, I left a 1-inch gap right in the middle between the two pillars to make room for a stabilizing belt.
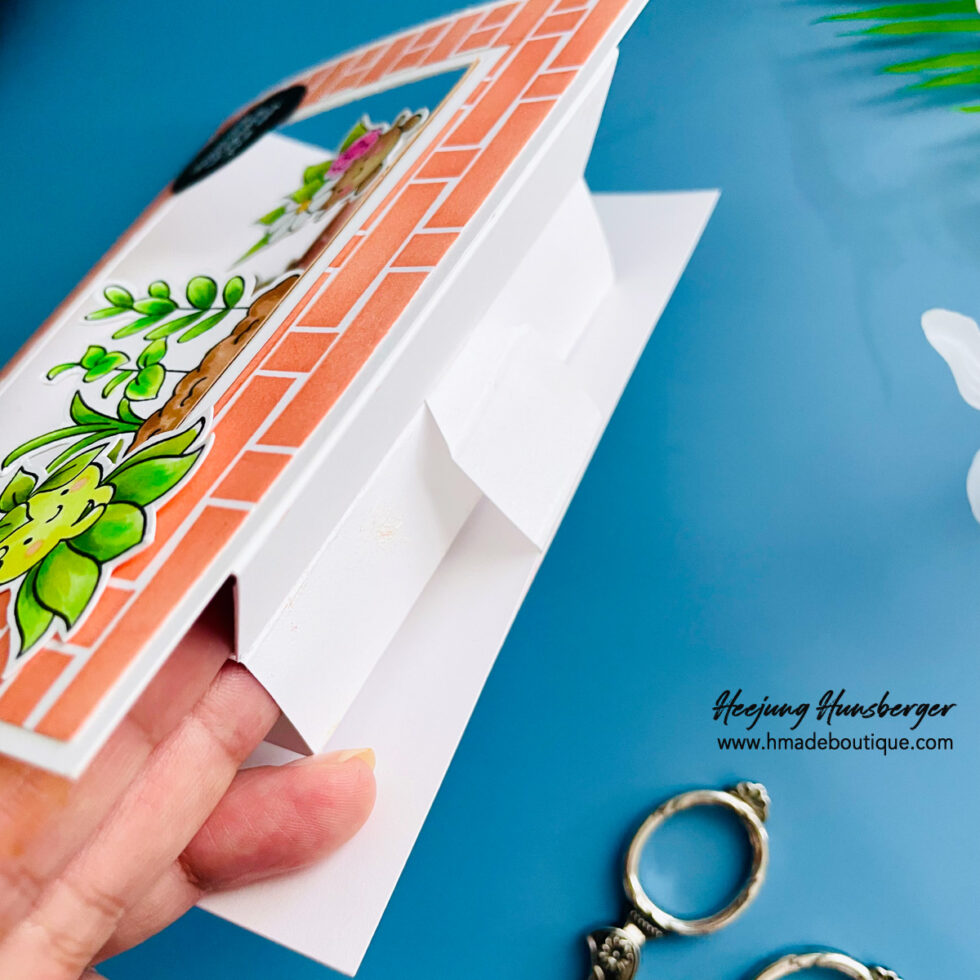
Crafting and Attaching the Stabilizer Belt: To ensure the card stands firmly without collapsing, I crafted a custom interlocking belt. I cut a strip of cardstock measuring 1 inch wide by 4 3/4 inches long, and scored it at 3″ and 3 7/8″. I trimmed the interlocking end into a neat triangle shape so it can slide smoothly between the main pillar gap without getting caught. Before adhering the inside background panel, I aligned and attached this stabilizer belt along the very first score line of the pop-up structure.
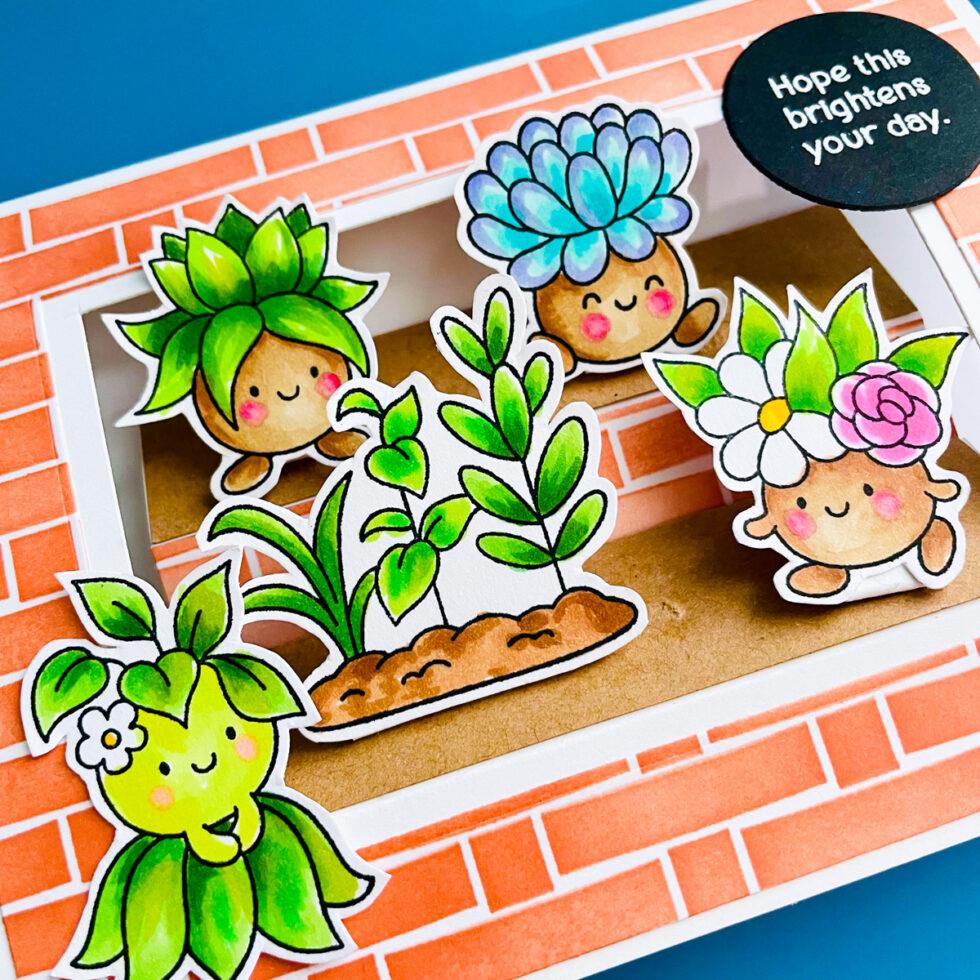
Adding Textures and Scene Details: To build a realistic garden floor, I trimmed strips of Kraft cardstock and adhered them onto the flat, horizontal step surfaces to look like natural ground. Then, I took the stenciled brick cutout left over from die-cutting the front frame, trimmed it into strips, and glued them onto the exposed vertical step faces. This seamlessly continues the brick wall aesthetic inside the window display!
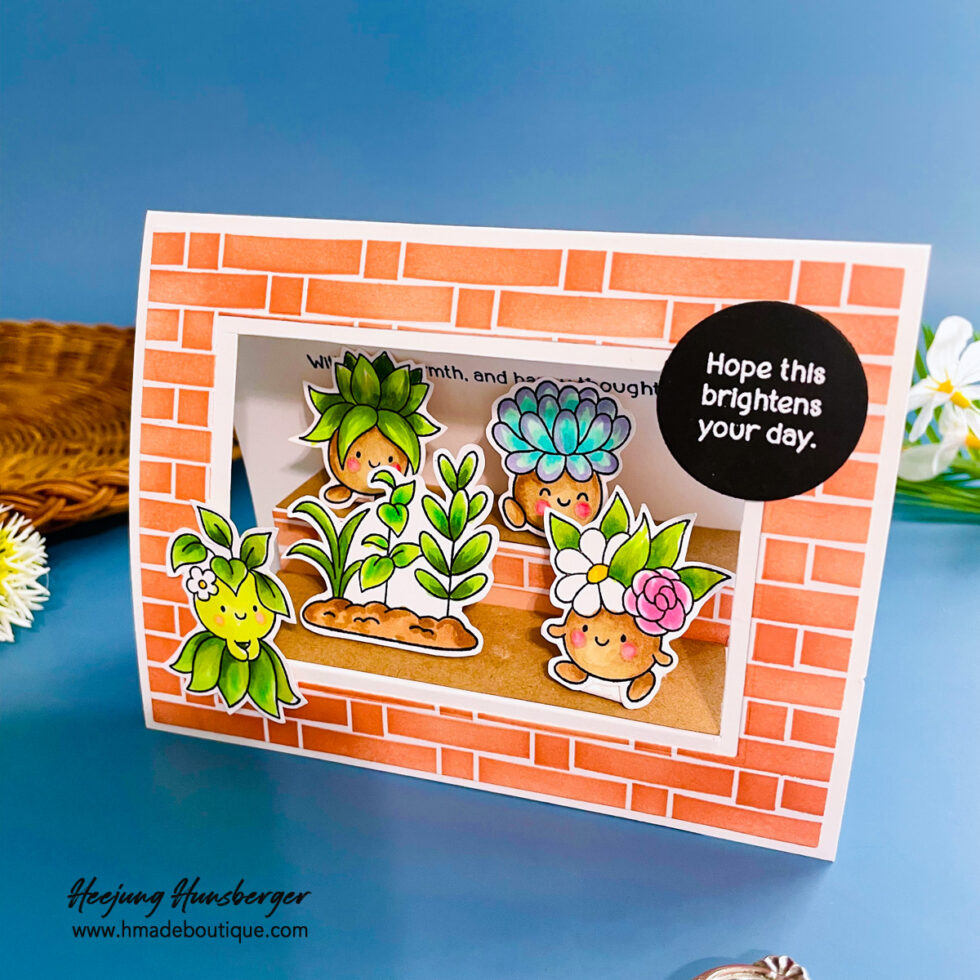
Secret Inside Sentiment & Mechanism Assembly: On a clean piece of white cardstock meant for the card’s interior, I stamped a beautiful sentiment from the same Botanical Buds stamp set. I positioned the stamping precisely so that when the card pops open, the words peek out perfectly from right behind the flower pots. I then glued this stamped panel down directly over the attached belt mechanism.
Attaching Characters with L-Shaped Tabs: To make sure all the cute characters fold flat when the card is closed and stand upright smoothly when opened, I attached them using L-shaped cardstock hinges. These small paper tabs act as a flexible mechanism under each fussy-cut image.
Final Sentiment Pop: To finish the card front, I heat-embossed the final sentiment onto black cardstock using white embossing powder. I die-cut it with a circle die and adhered it perfectly onto the top-right corner of the brick window frame!
Building interactive cards is always a fun adventure, and combining smart paper-saving hacks with functional L-shaped tabs makes the final pop-up experience incredibly rewarding. I hope this technical breakdown inspires you to try a new dimension for your next project! Thank you so much for stopping by, and happy crafting!
Heejung
SUPPLY LIST
When you make purchases through affiliate links, it won’t cost you anything extra. Thank you so much for your support! 💗