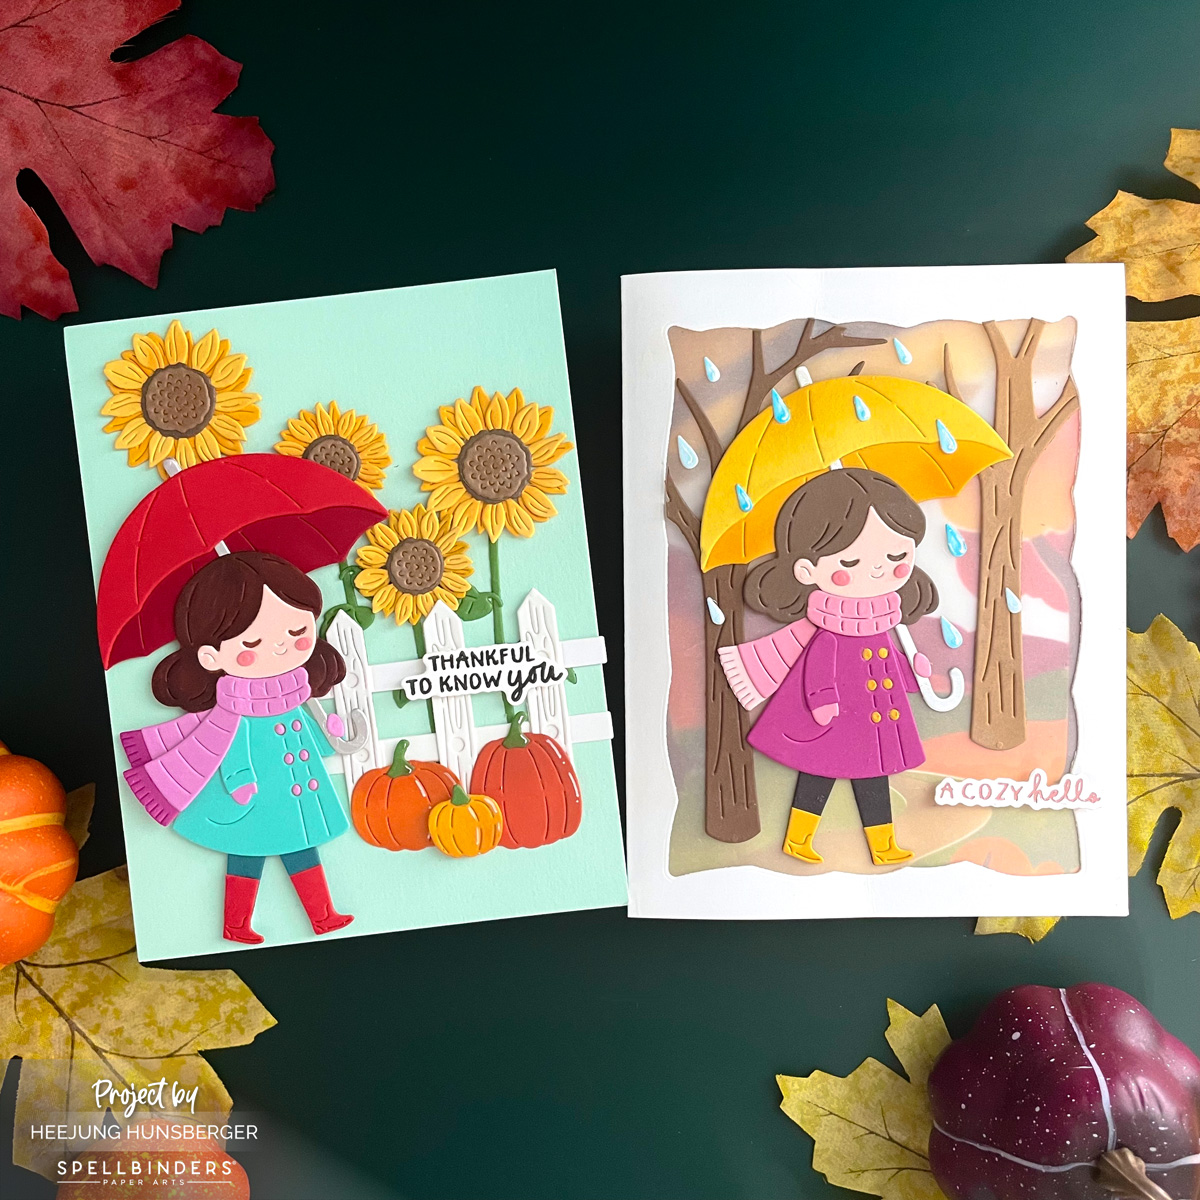
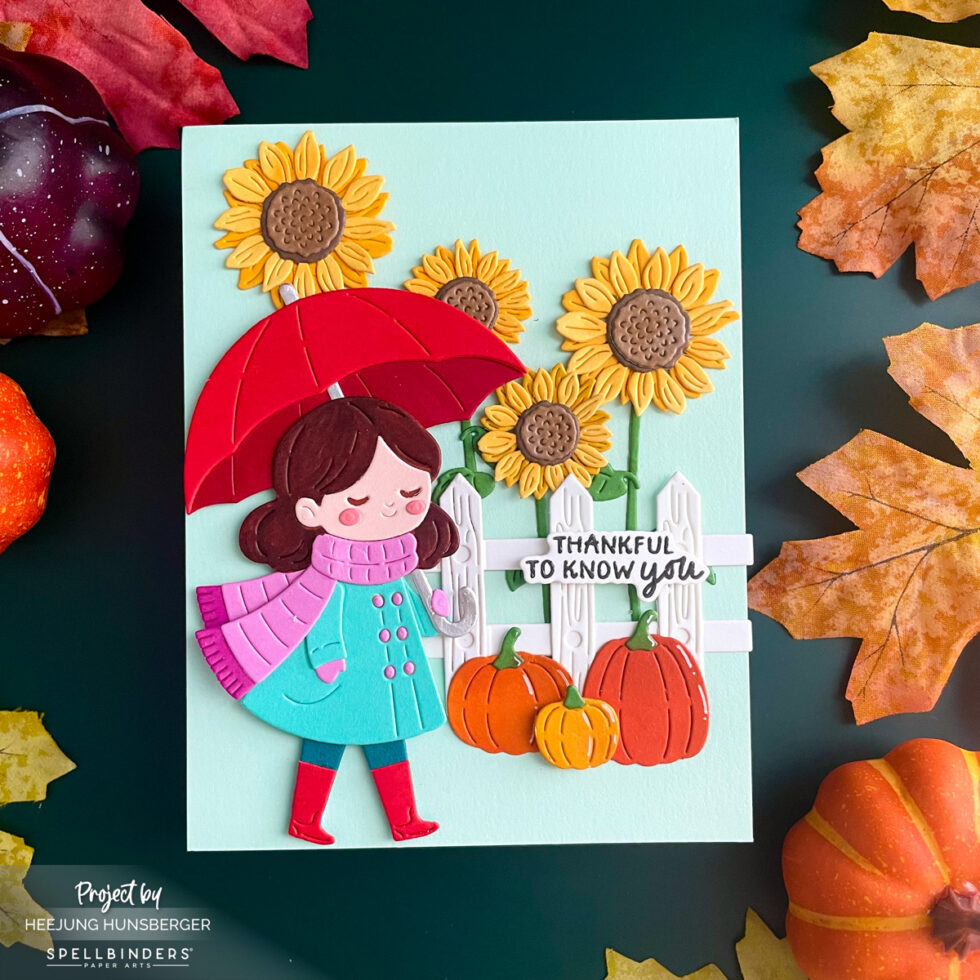
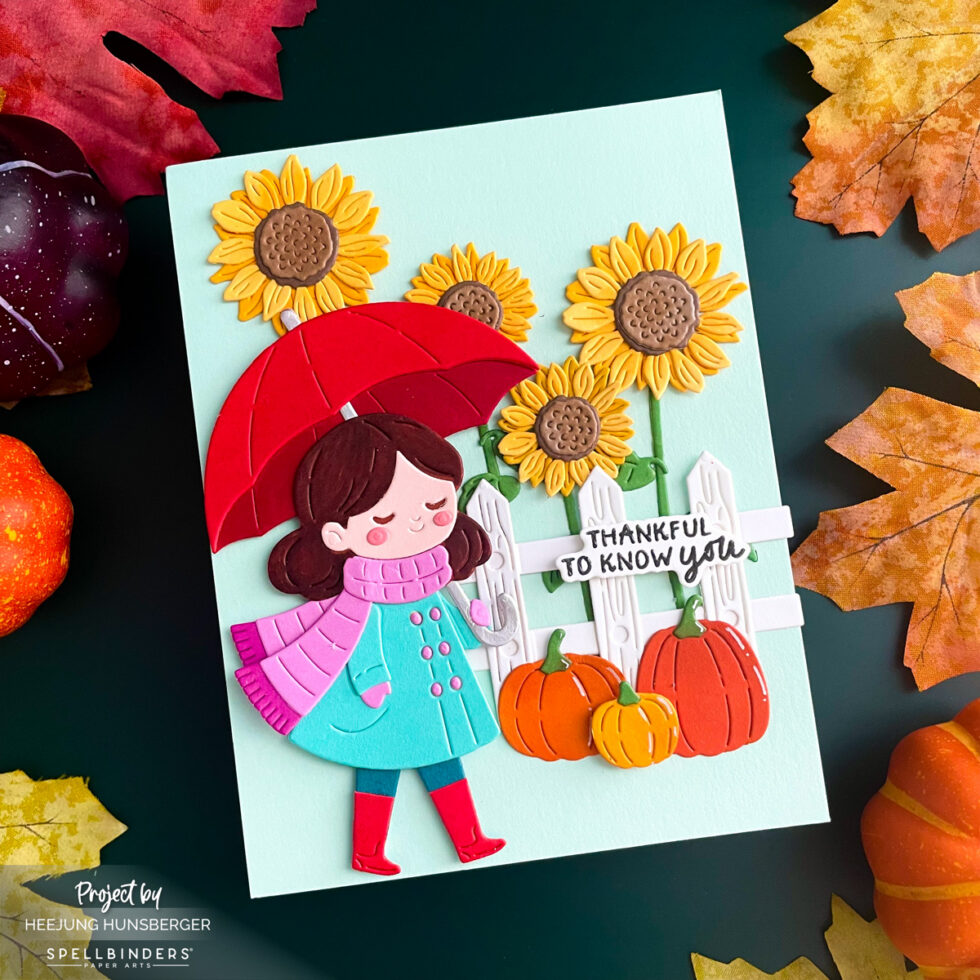
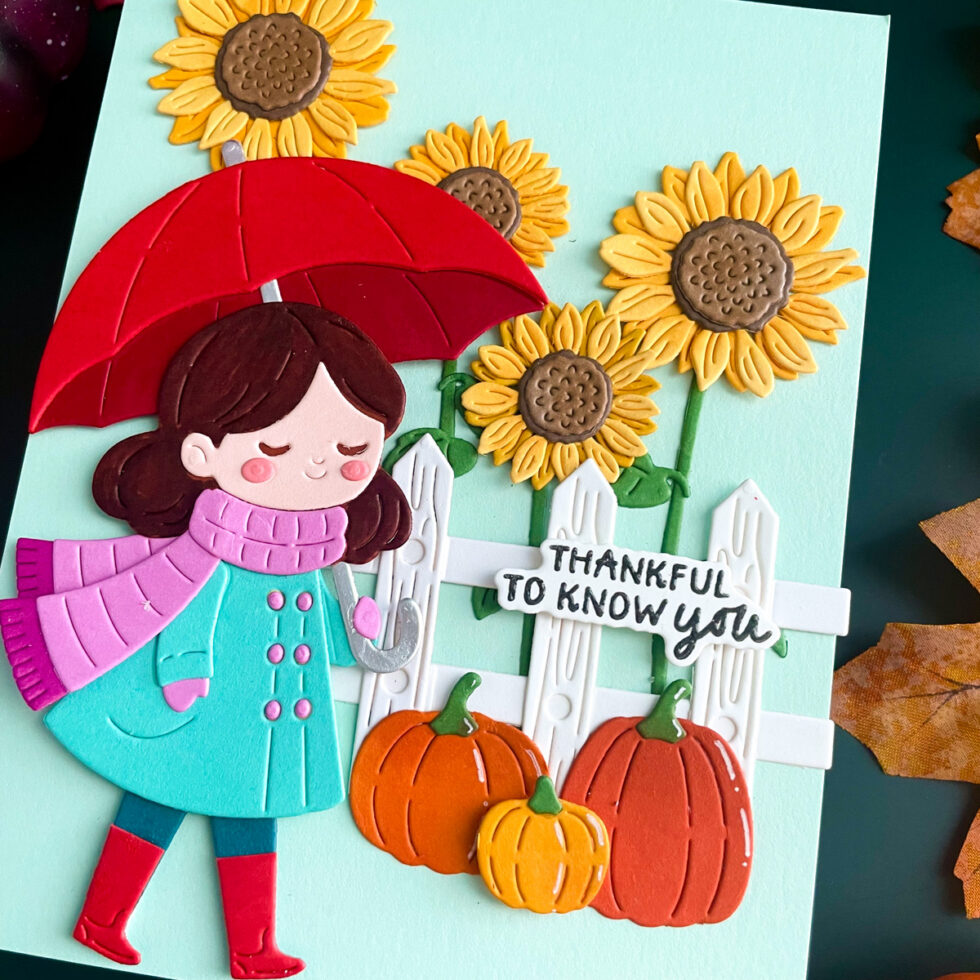
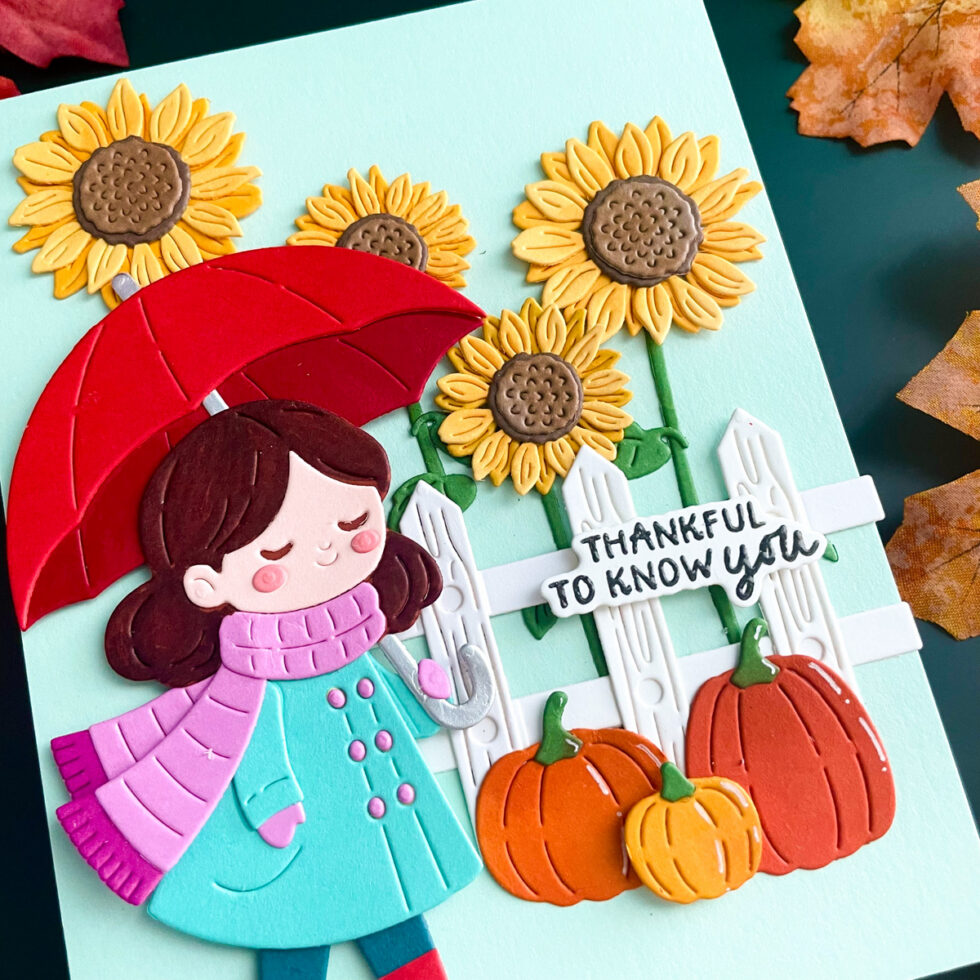
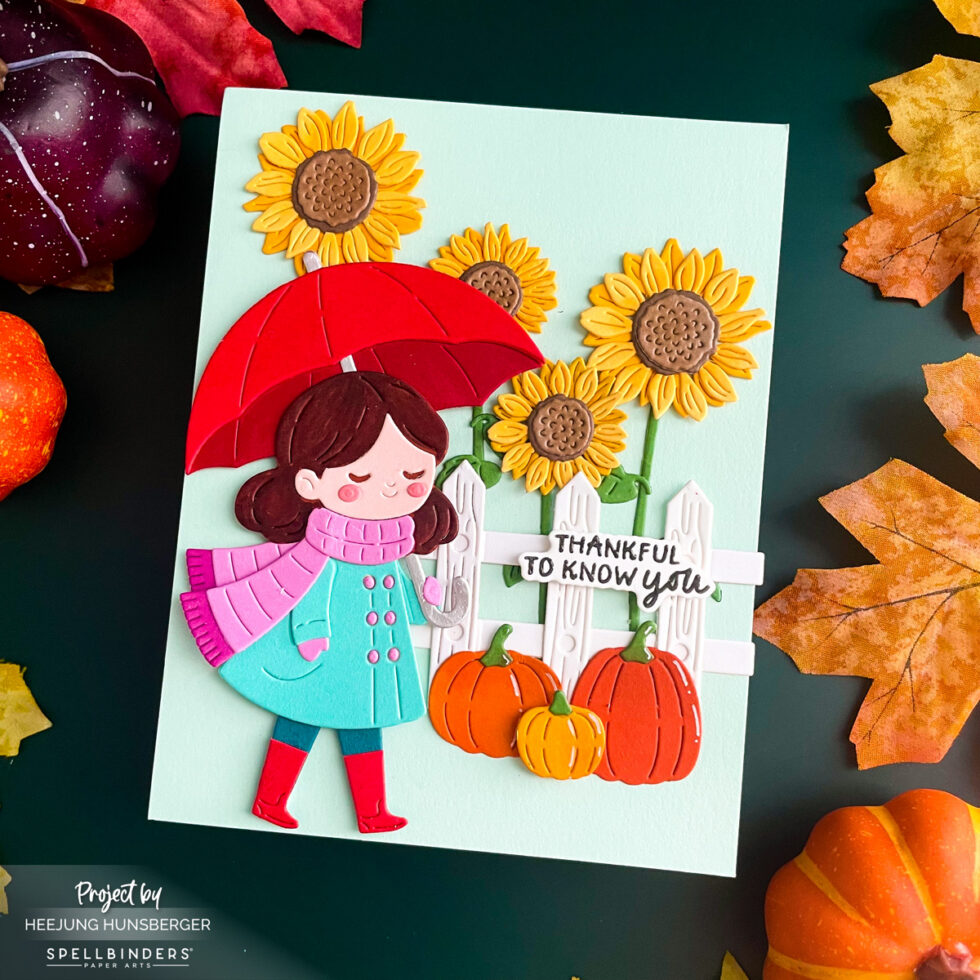
For the first card, I created a bright sunflower and pumpkin garden scene set against a soft sky background.
Background & Base: Prepare an A2-sized card base using Seaside cardstock for a soft, refreshing sky look.
Die-Cutting & Assembly:
Die cut the girl’s umbrella and boots using Poppy cardstock.
Die cut her coat from Waterfall cardstock, pants from Oceanside cardstock, and scarf from Orchid and Mulberry cardstock.
Die cut the sunflowers using Beeswax, Acorn, and Truffle cardstock with Fern stems and leaves.
Die cut the pumpkins using Saffron and Carrot cardstock with Fern stems.
Assemble the girl figure and elements.
Building the Scene: Adhere a white picket fence near the bottom, then arrange the sunflowers standing behind the fence. Place the pumpkins and the assembled girl figure in the foreground using foam tape for added dimension.
Sentiment: Stamp “THANKFUL TO KNOW YOU” from this month’s Clear Stamp & Die Club in black ink, die cut it, and mount it onto the fence.
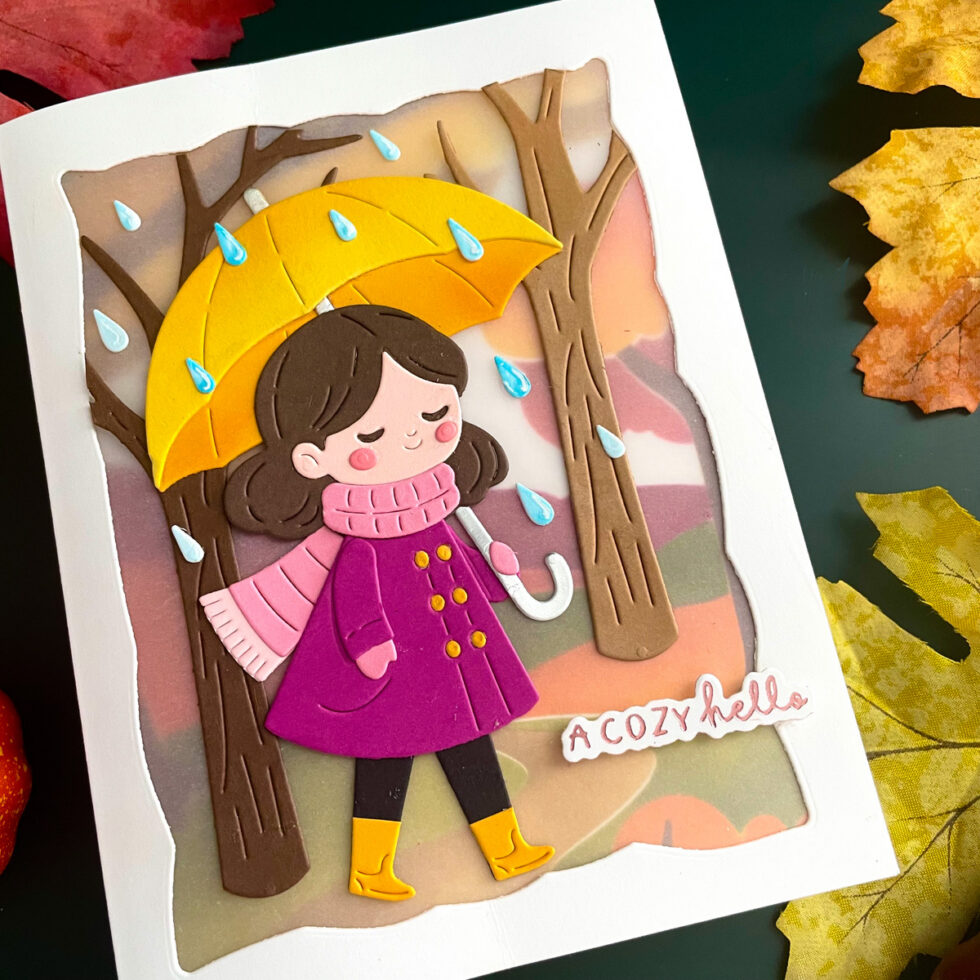
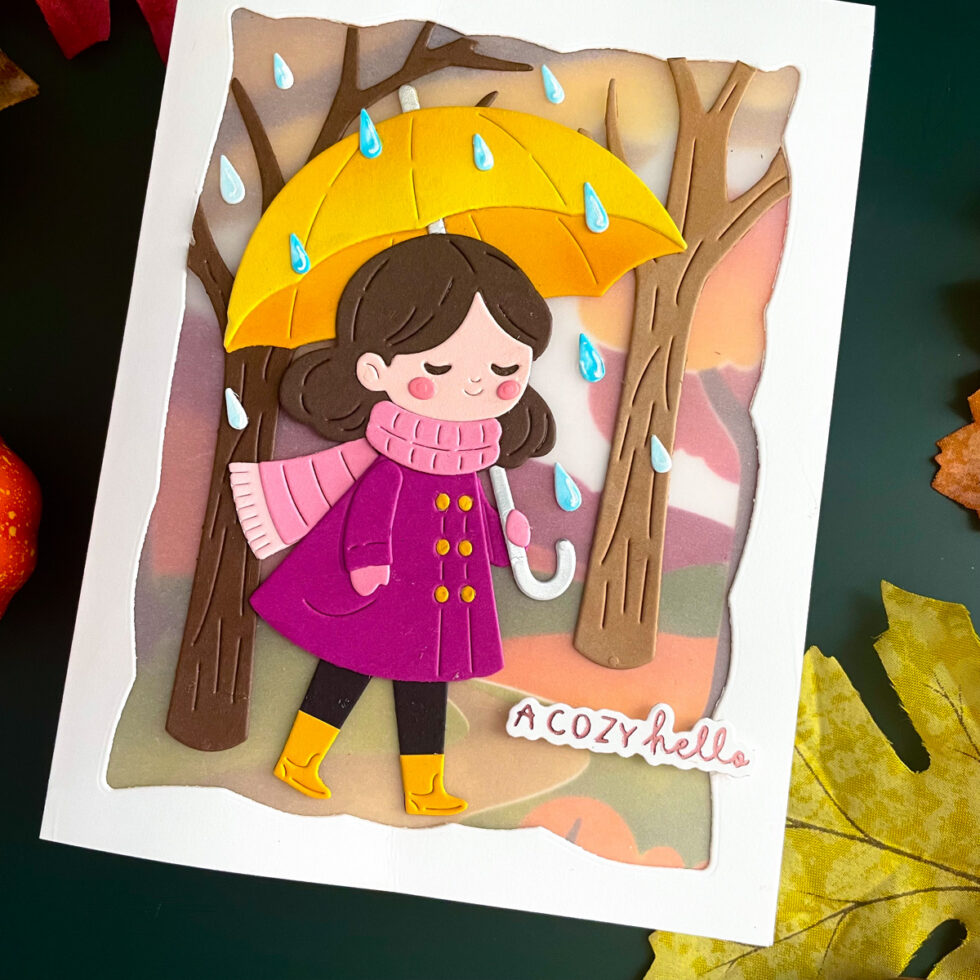
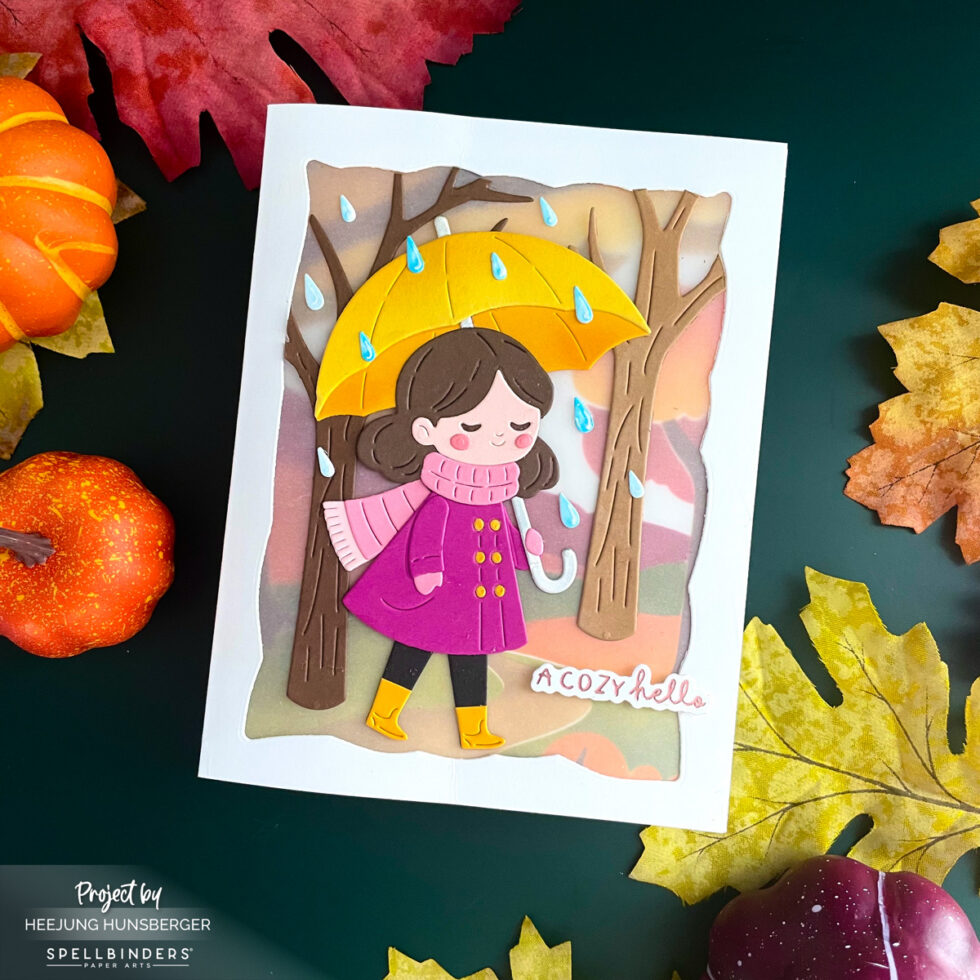
Interactive Rainy Autumn Shadowbox Card
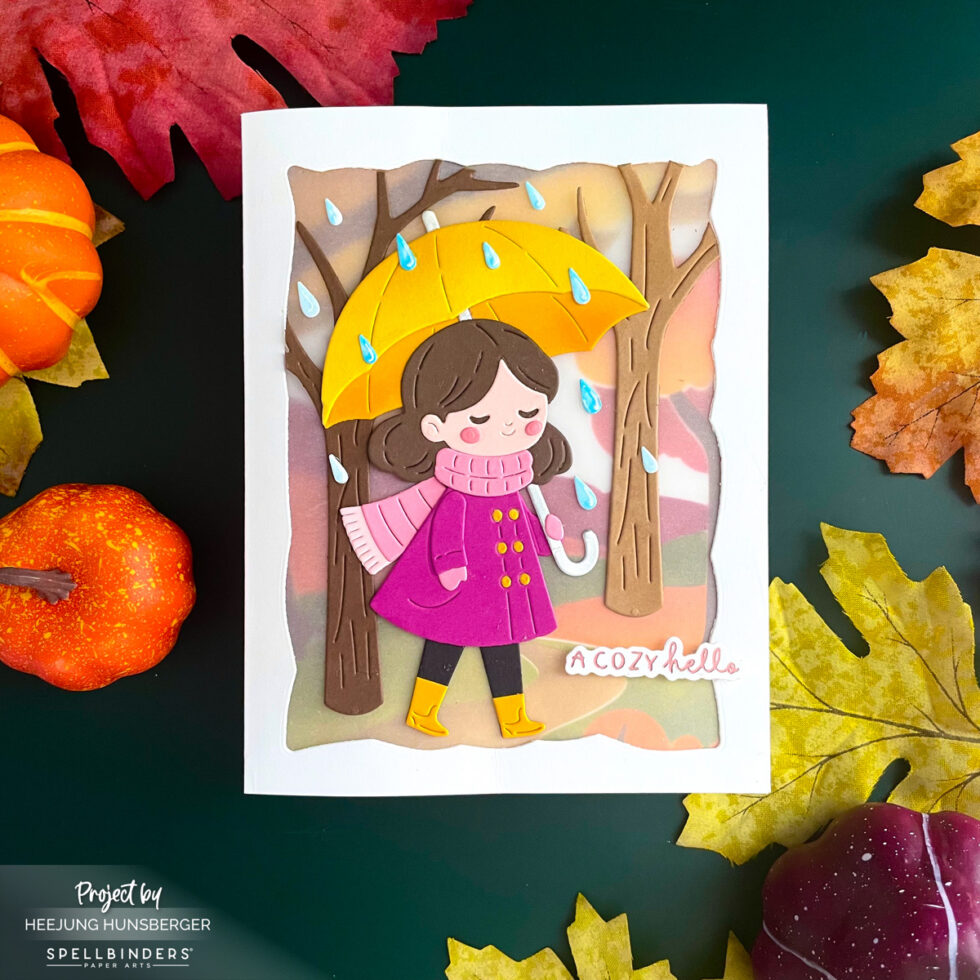
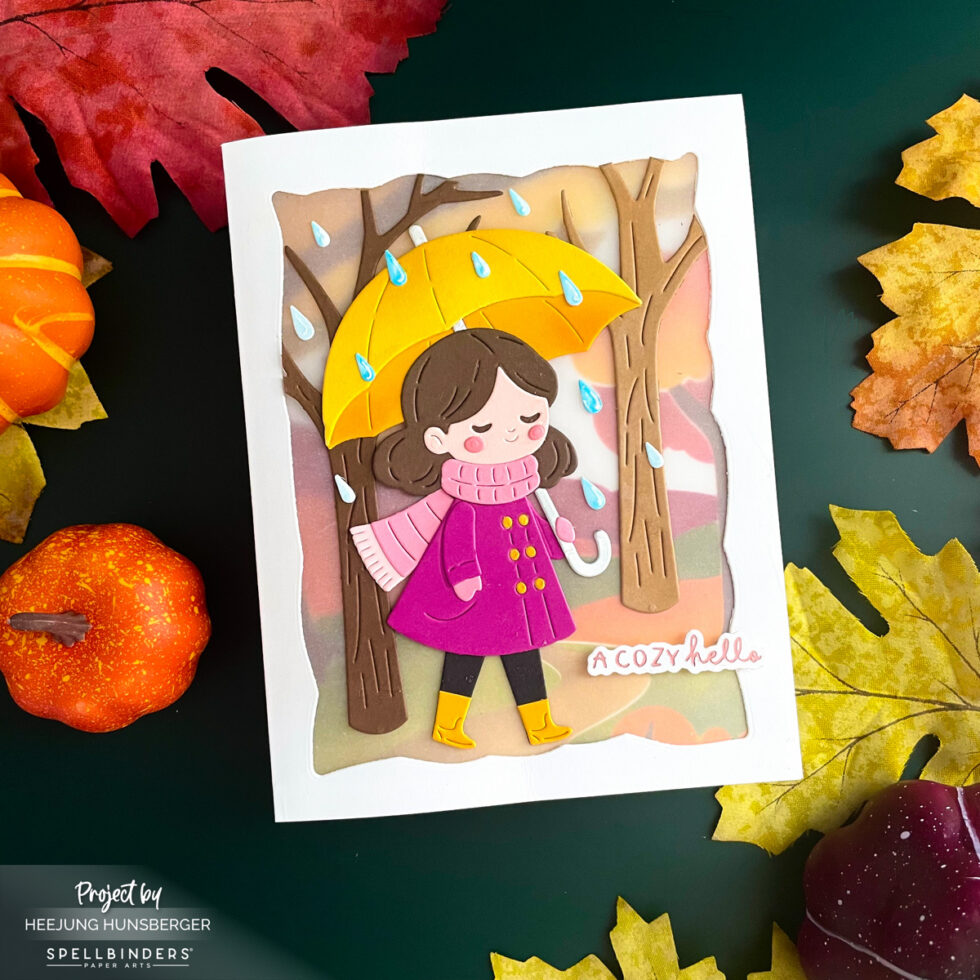
For the second card, I created a magical interactive shadowbox card featuring a cozy scene with trees, a yellow umbrella, and gentle raindrops. The vellum front frame opens up to reveal a hidden stenciled autumn landscape inside!
Shadowbox Base & Vellum Frame: Build the shadowbox card base to allow it to pop open into a 3D box structure. Die cut a white cardstock panel using the Playful Stitched Panels Etched Dies to form a decorative stitched window frame, then adhere a sheet of vellum cardstock behind the frame opening for a soft, dreamy look.
Outer Layer Assembly:
Die cut and assemble the girl figure using Mulberry cardstock for her coat, Tutu cardstock for her scarf, and Beeswax & Saffron cardstock for her umbrella and rainboots.
Adhere the girl and autumn trees directly onto the vellum panel on the front frame.
Foiled Front Sentiment: Hot-foil the sentiment using the Thankful Friends Press & Foil Plates in stunning Rose Gold foil (included in this month’s kit!), die cut it out, and mount it onto the outer frame with foam adhesive.
Stenciled Interior Backdrop: For the inside back panel of the shadowbox, blend fall ink colors step-by-step through the“Changing Seasons” Stencil to create a rich, stenciled autumn scene.
Interior Sentiment: Stamp the sentiment from the “Stuffed With Gratitude” Clear Stamp Set in black ink, die cut it with the coordinating die, and adhere it inside the shadowbox backdrop.
Thank you so much for stopping by today! I hope these cozy fall cards inspire your autumn crafting.
Happy Crafting!
Heejung
SUPPLY LIST
When you make purchases through affiliate links, it won’t cost you anything extra. Thank you so much for your support! 💗