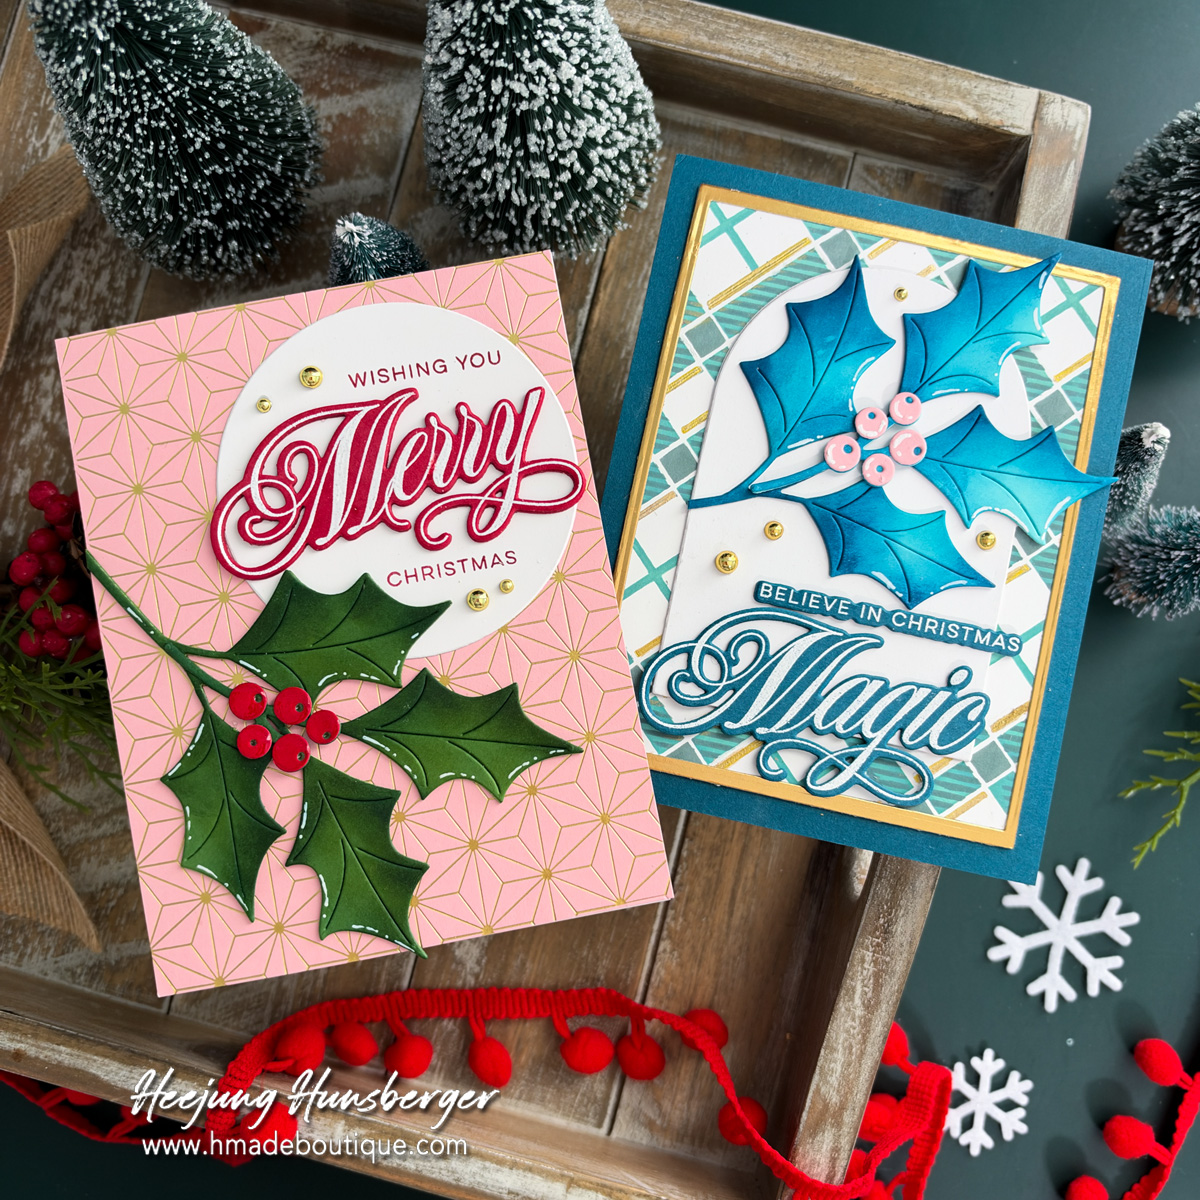
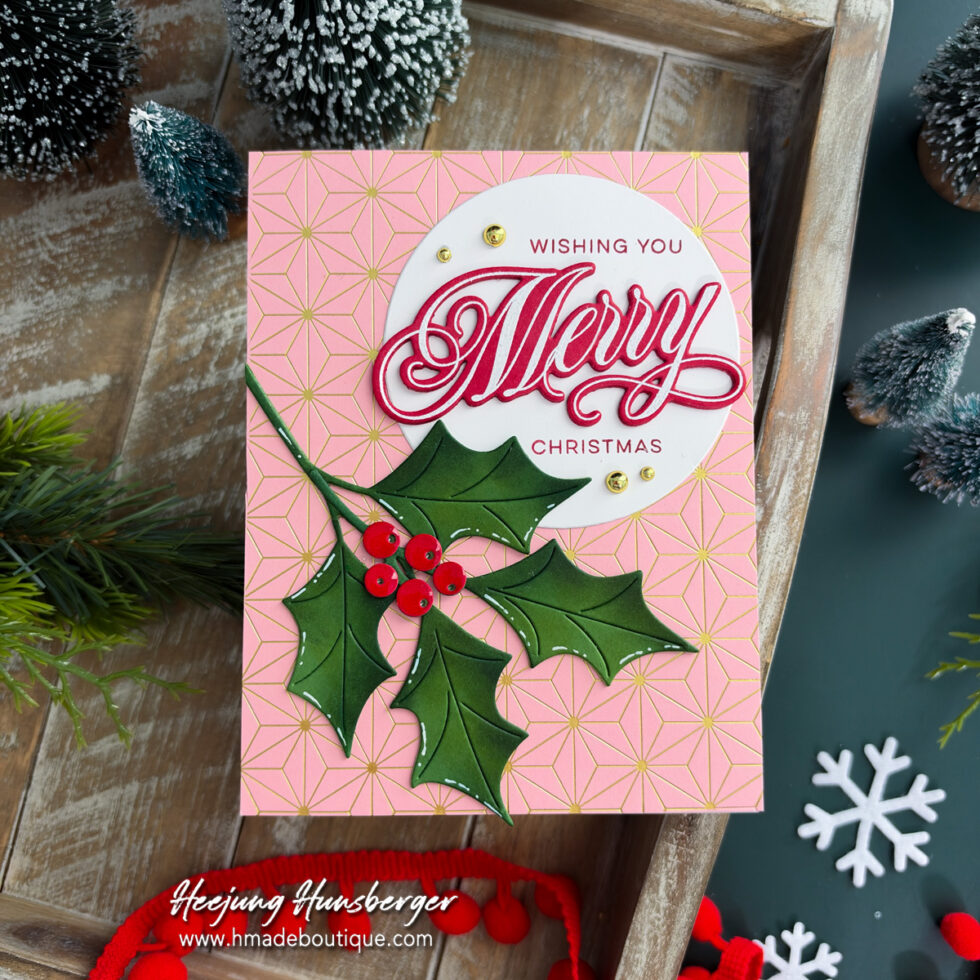
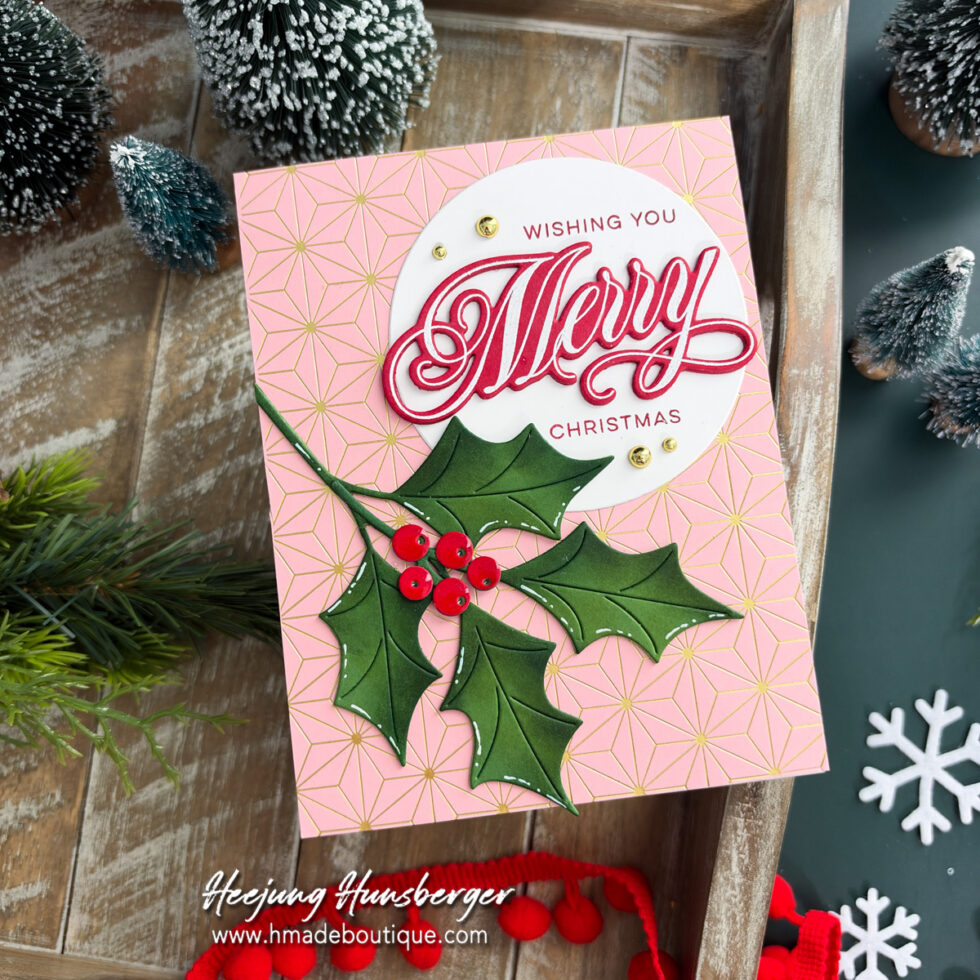
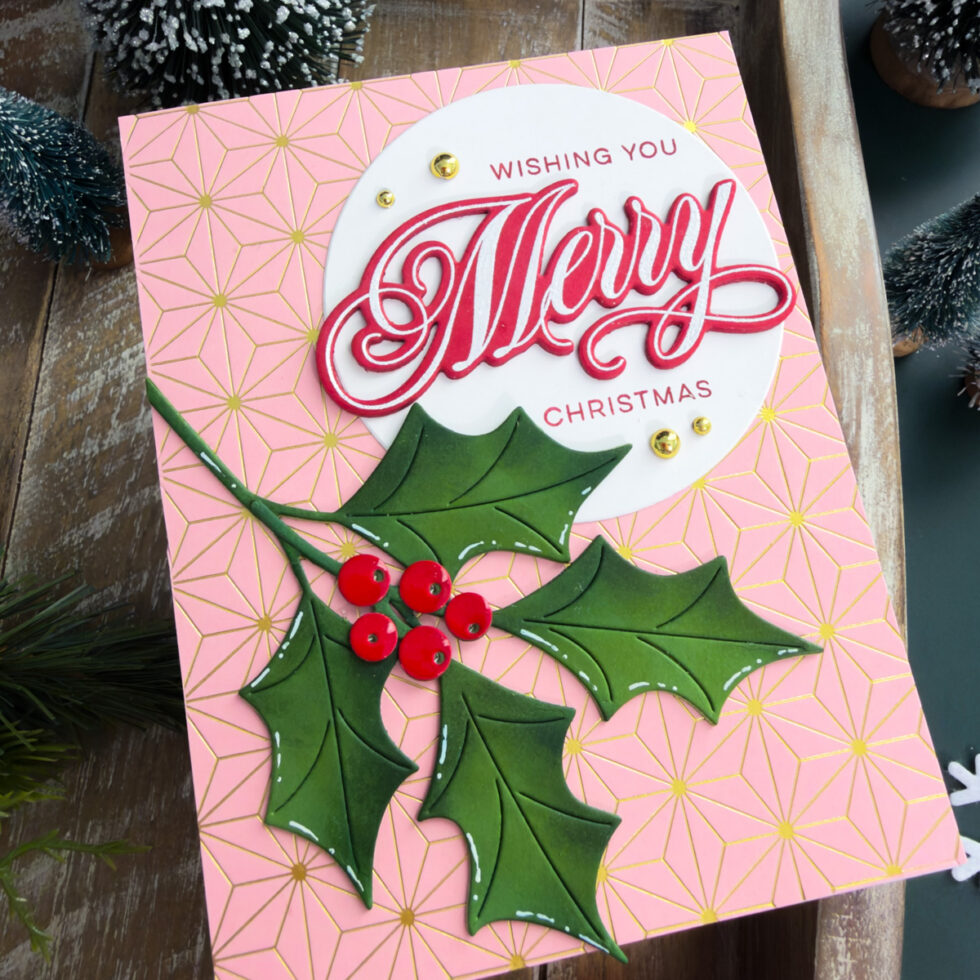
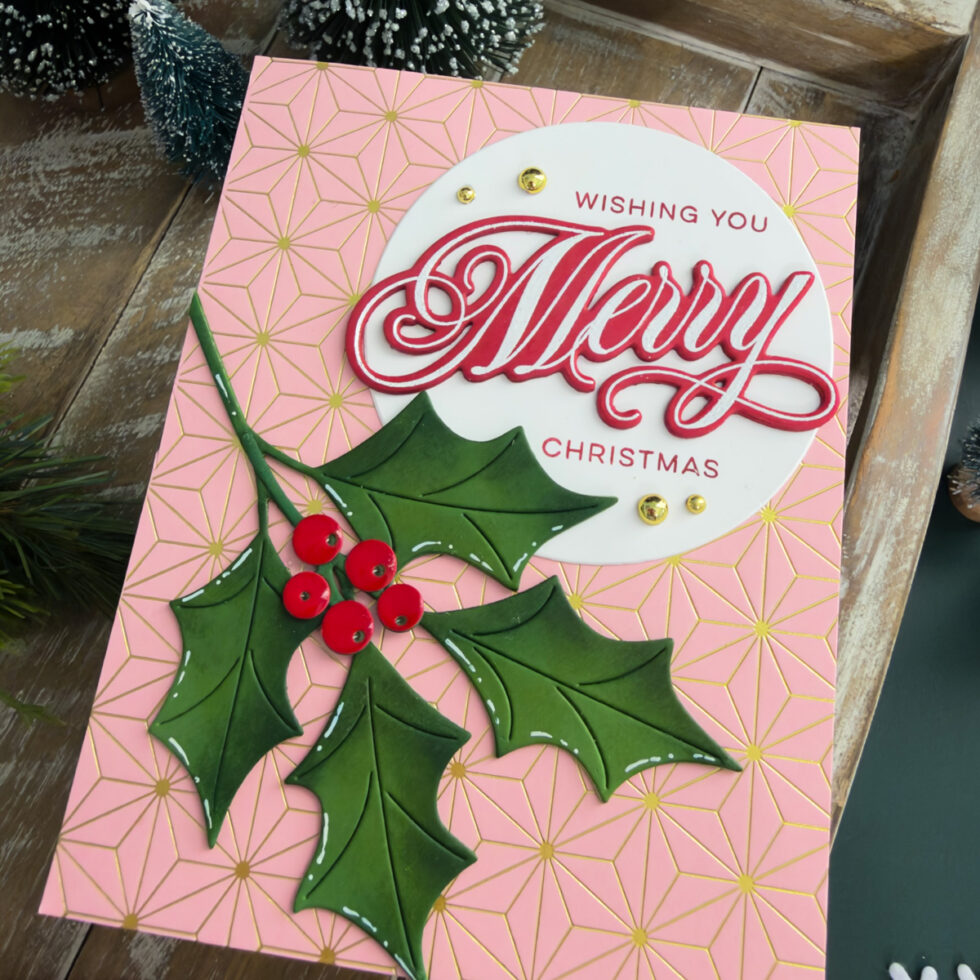
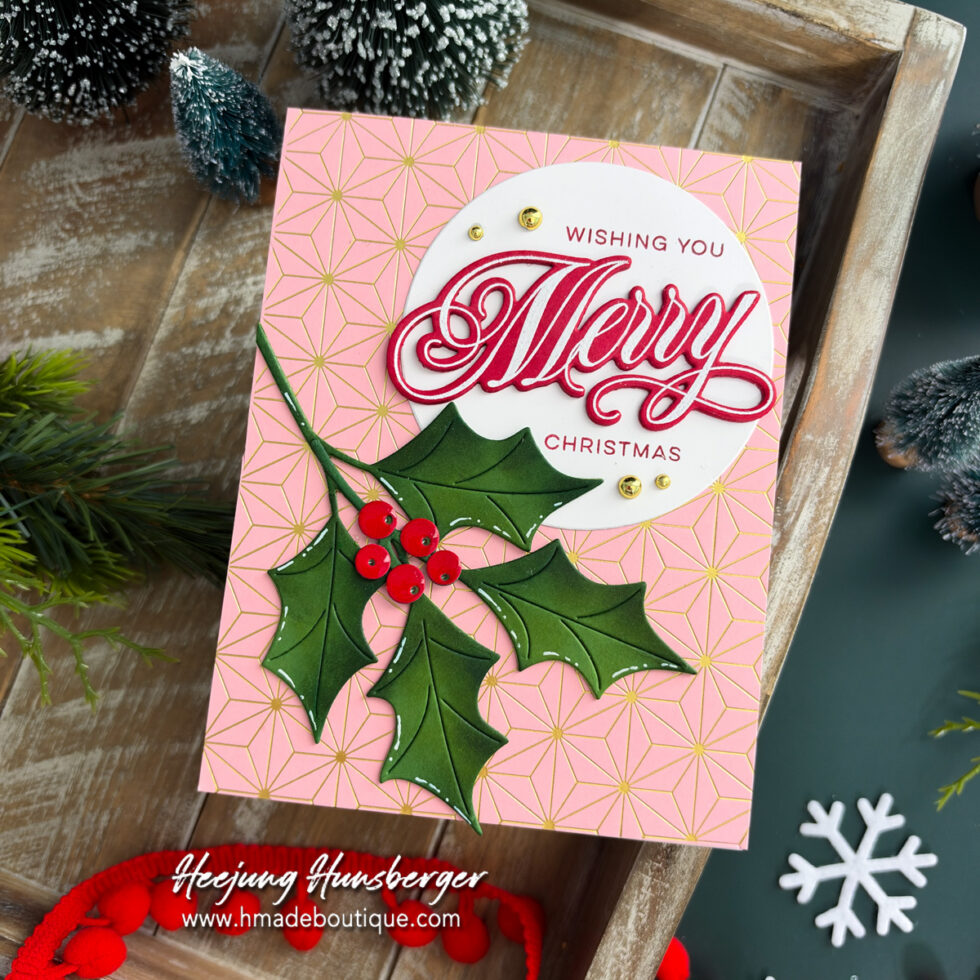
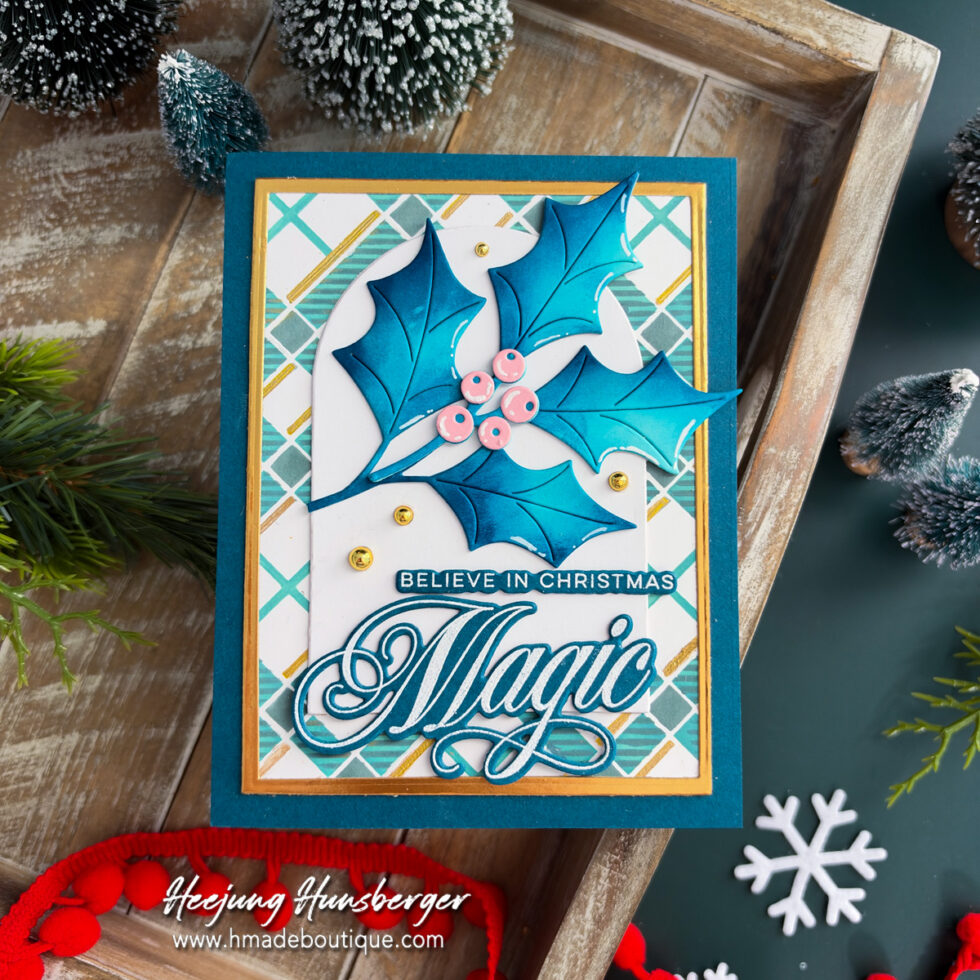
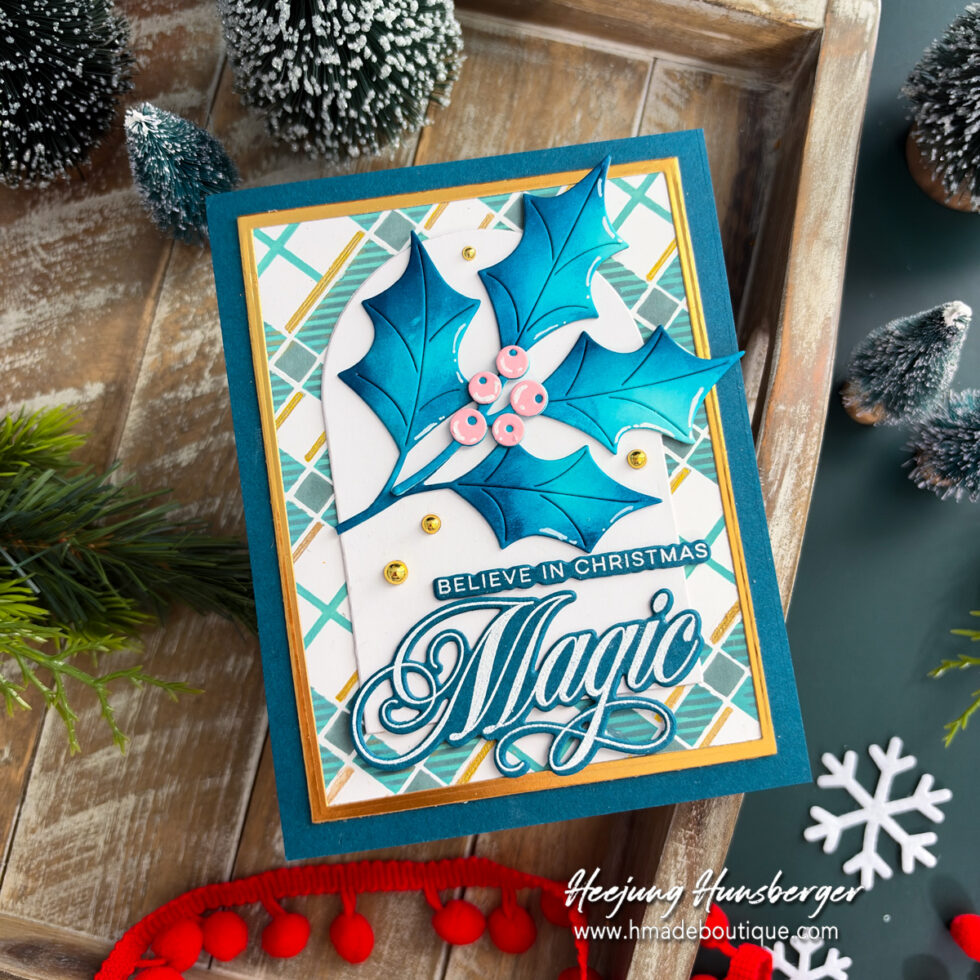
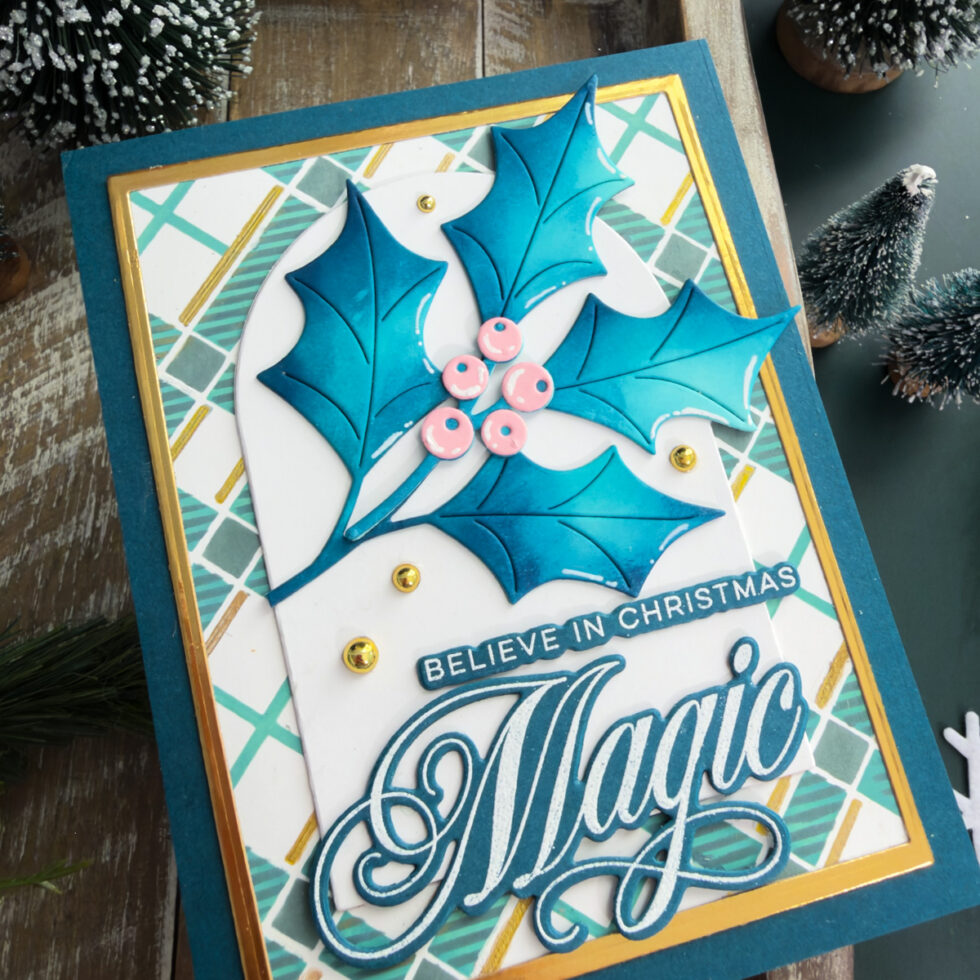
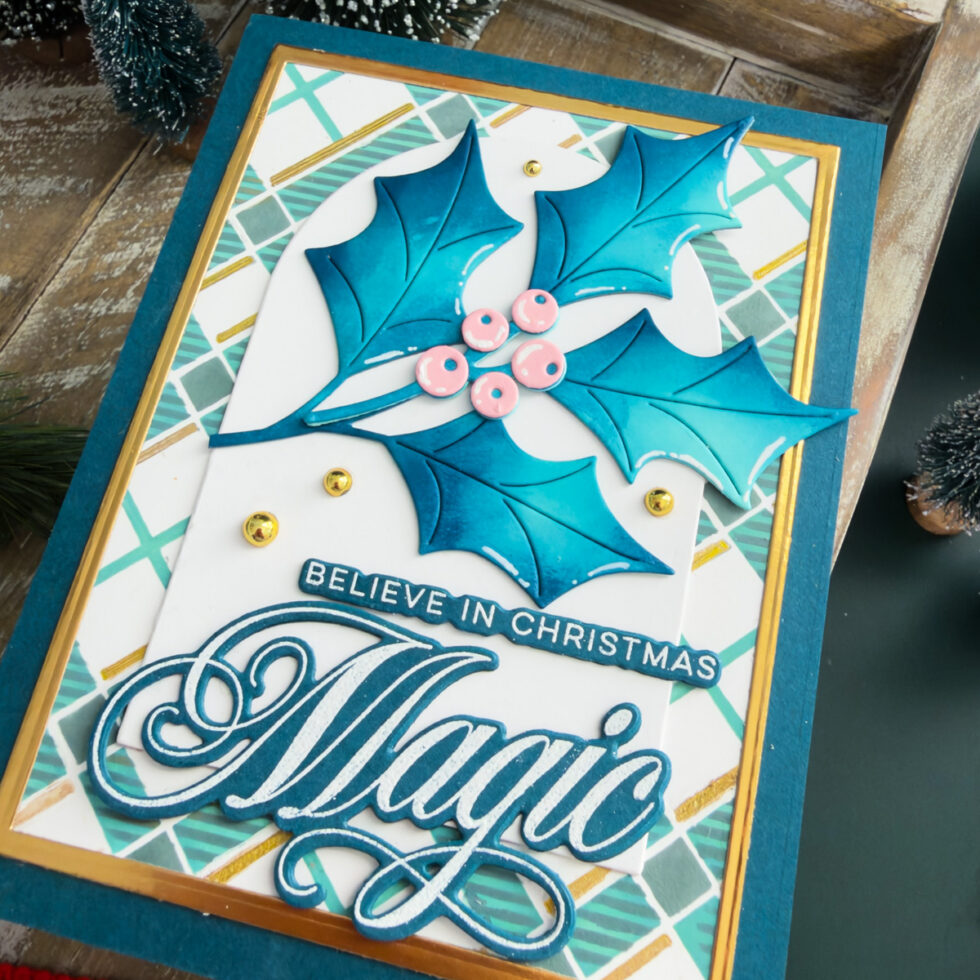
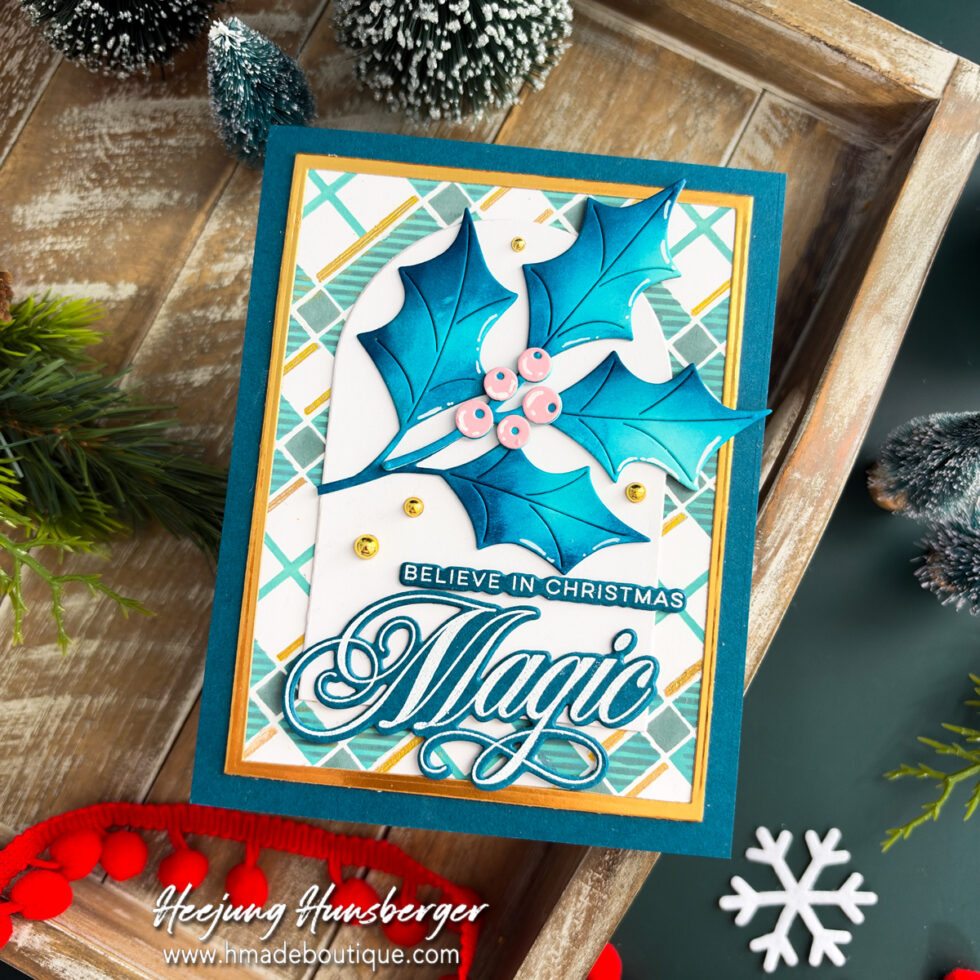
Easy Elegance Christmas Cards | Hero Arts November 2026 Collection On November 12, 2026November 12, 2026By islandyu Hello, crafty friends!I’m so happy to share two Christmas cards made with the new Hero Arts Easy Elegance Collection today! The collection came out in November 2026, and both cards use the Bold Holly Die Set in very different ways. Pink Holly Christmas Card For the first card, I created a soft pink Christmas card with big holly leaves, shiny berries, and a layered Merry sentiment. Background & Base:Hot foil the Radiant Star Letterpress + Foil plate in matte gold on Blush cardstock. Die-Cutting & Assembling:Die-cut holly leaves from Fern cardstock with the Bold Holly Die Set. Color the leaves with Pinkfresh Studio Emerald City and Evergreen inks.Layer the leaves three high for dimension. Die-cut the berries from Cranberry cardstock. Add Clear Nuvo Crystal Drops on top for a shiny finish. Sentiment:Stamp “Merry” on Cranberry cardstock. Heat-emboss with white embossing powder, die-cut, and layer three high.Die-cut a white circle with the Hero Arts Nesting Circle Die.Place the “Merry” die-cut on the circle first to check the position.Stamp “Wishing You” and “Christmas” from So Very Merry Stamp & Cut in Catherine Pooler Cranberry ink on the circle. Finish with Spellbinders Fashion Gold Embellishments. Blue Holly Christmas Card For the second card, I created a cool blue Christmas card with a plaid background, blue holly leaves, and pink berries. Background & Base:Stencil white cardstock with the Classic Plaid Layering Stencil Set in Distress Oxide Evergreen Bough and Pine Needles.Add gold gel pen details to the plaid.Mount the layer on an Oceanside cardstock base.Add a gold frame made with the Hero Arts Nesting Rectangle Die Set. Die-Cutting & Assembling:Die-cut holly leaves from Waterfall cardstock with the Bold Holly Die Set.Color the leaves with Altenew Dusk and Desert Night inks.Die-cut a white arch panel with Spellbinders Essential Arches Etched Dies (S5-526).Place the arch over the stenciled layer. Layer the leaves two high.Die-cut the berries from Blush cardstock. Sentiment:Stamp “Magic” from So Very Merry Stamp & Cut on Oceanside cardstock.Heat-emboss with white embossing powder, die-cut, and layer two high.Add “Believe in Christmas” above the large sentiment. Finish with Spellbinders Fashion Gold Embellishments. Thank you so much for stopping by today. I hope these cards bring some holly joy to your Christmas crafting!Happy Crafting, Heejung SUPPLY LIST When you make purchases through affiliate links, it won’t cost you anything extra. Thank you so much for your support! 🩷