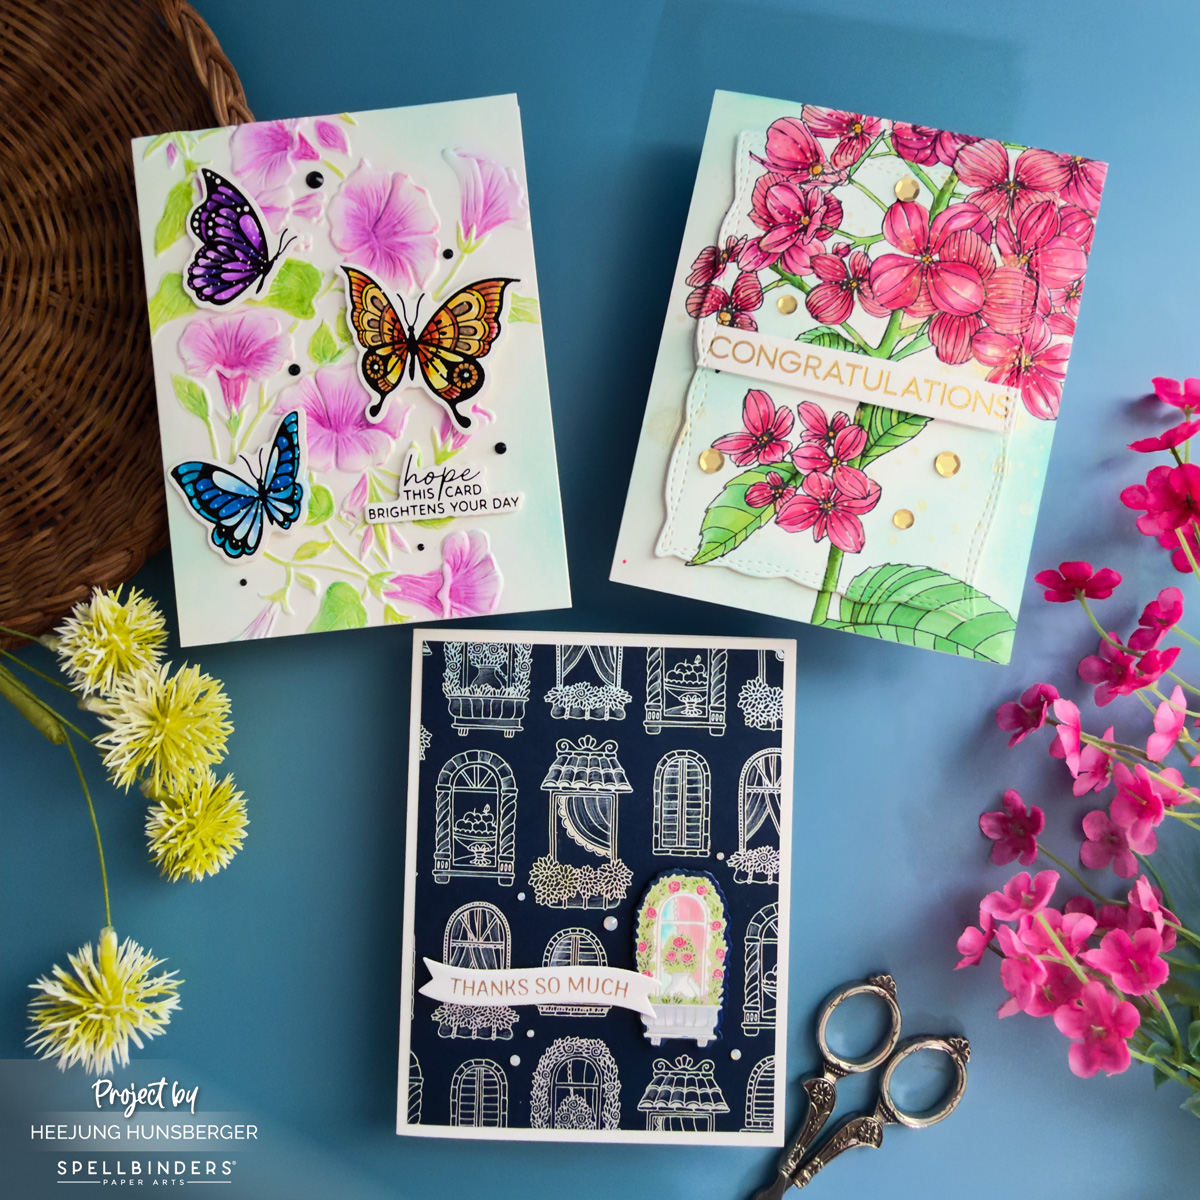
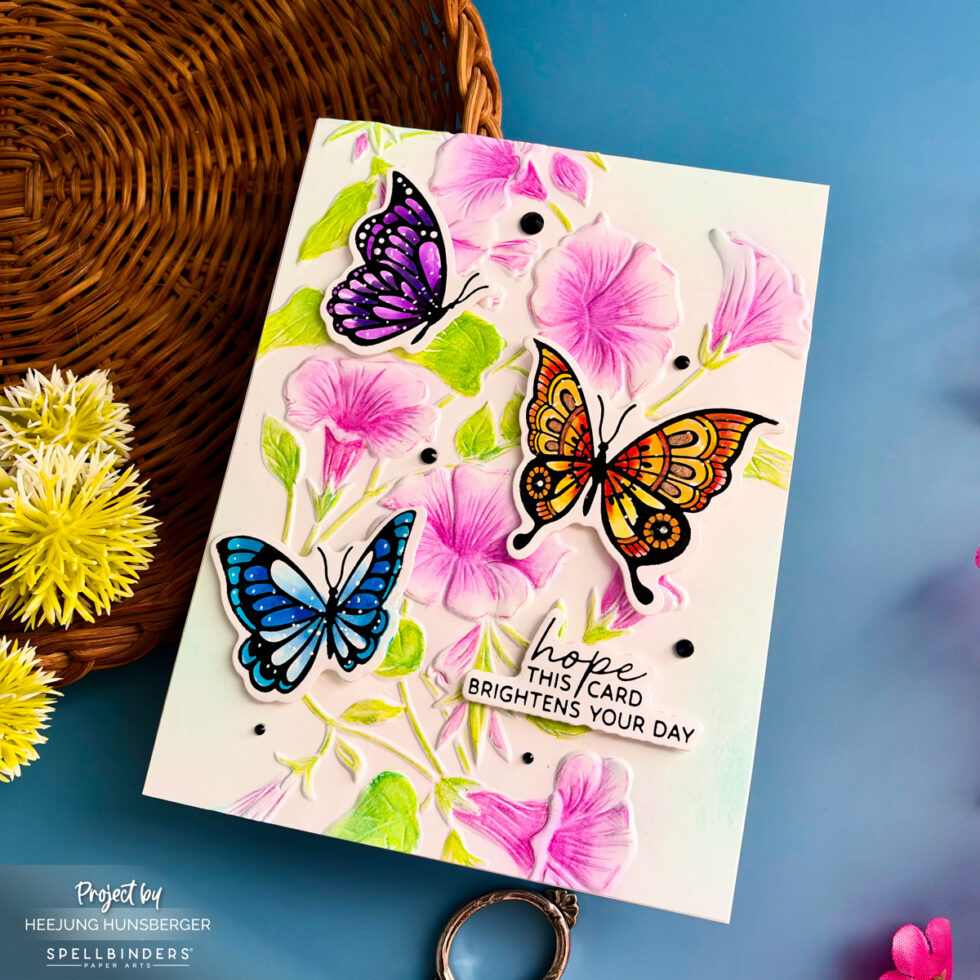
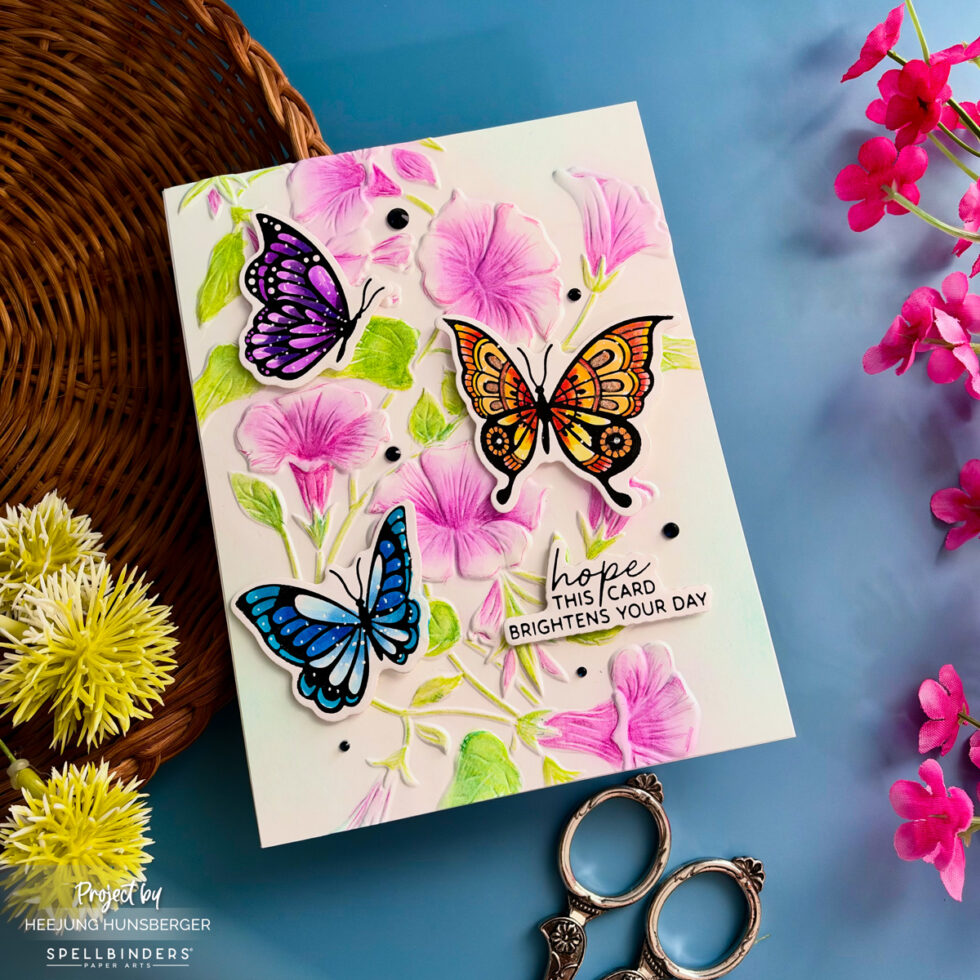
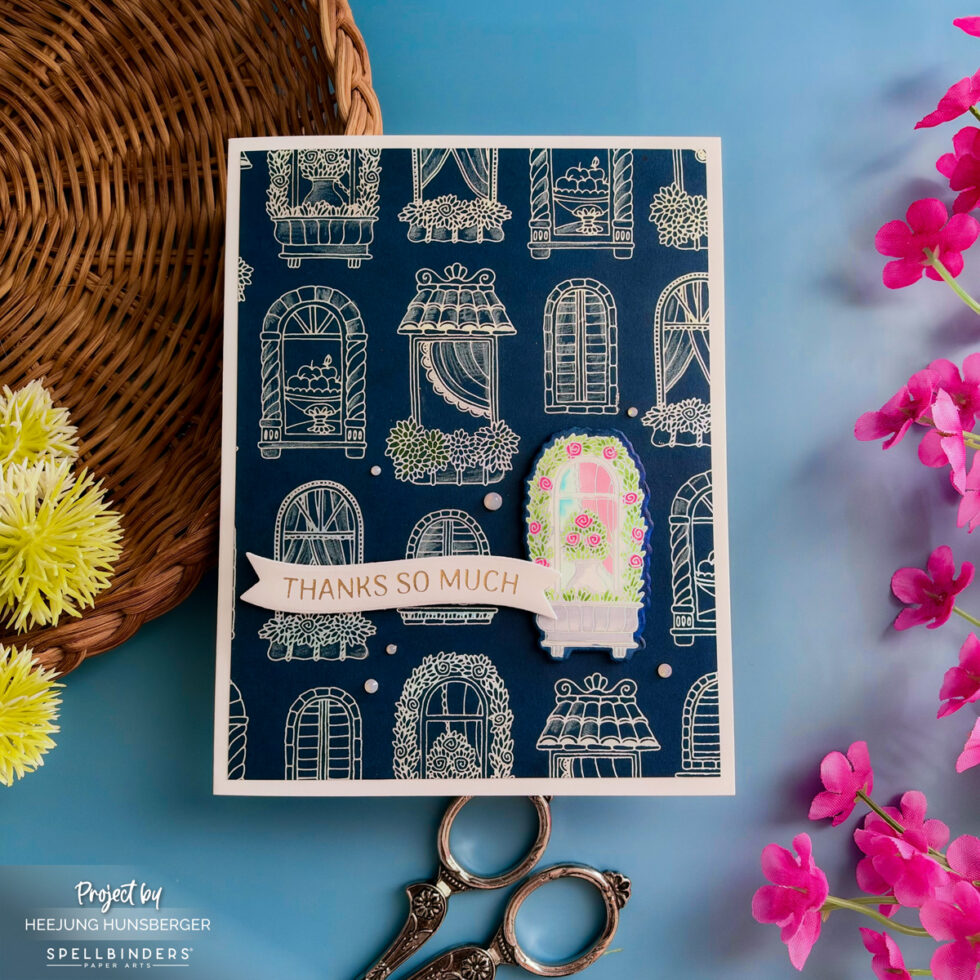
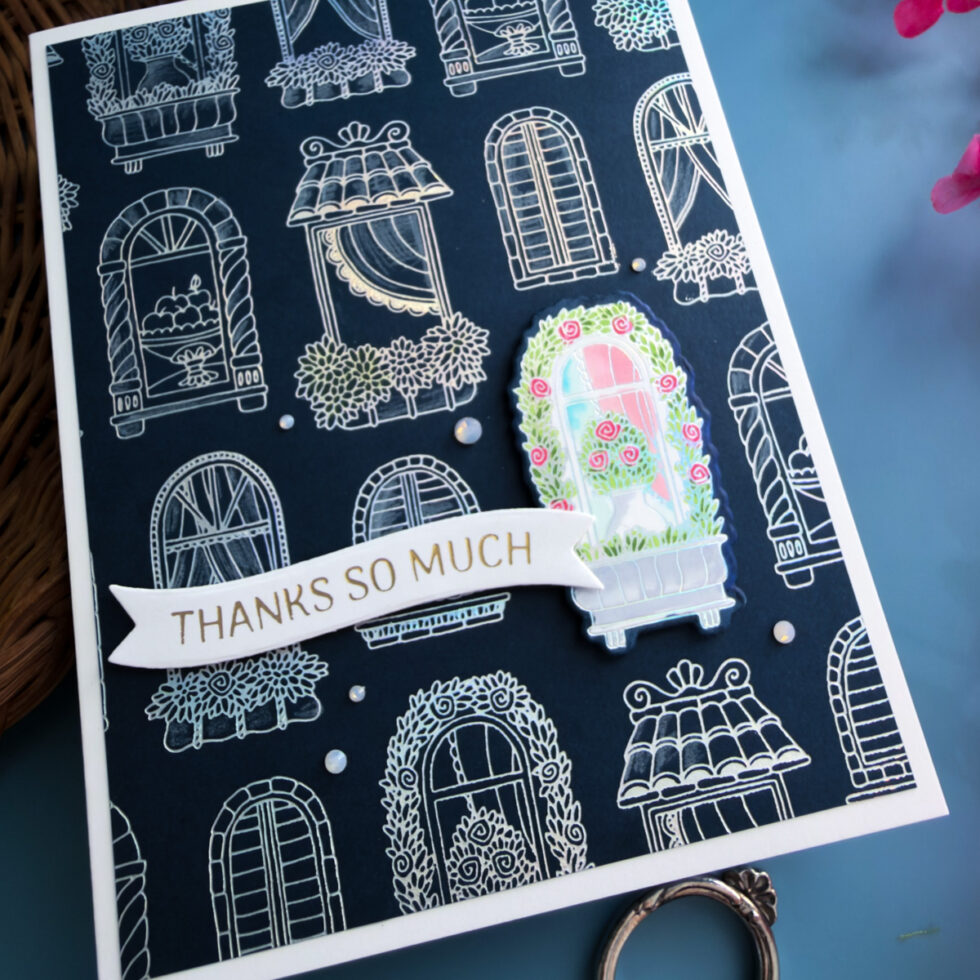
Hello crafting friends! Today, I’m excited to share three different cards created using the new Create Your Way Everyday Collection by Spellbinders. From vibrant press-inked florals to 3D embossing and shimmering opal foil on dark indigo paper, this collection offers so many creative possibilities! Let’s dive into how each of these cards came together
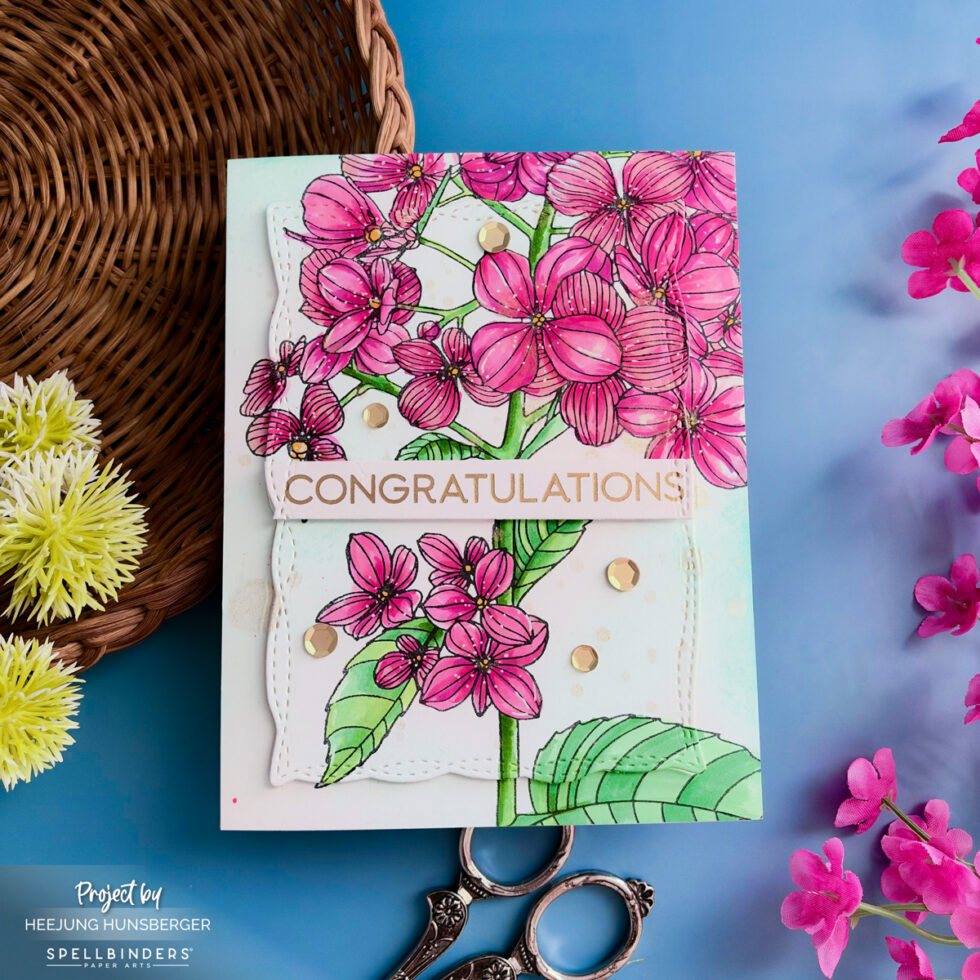
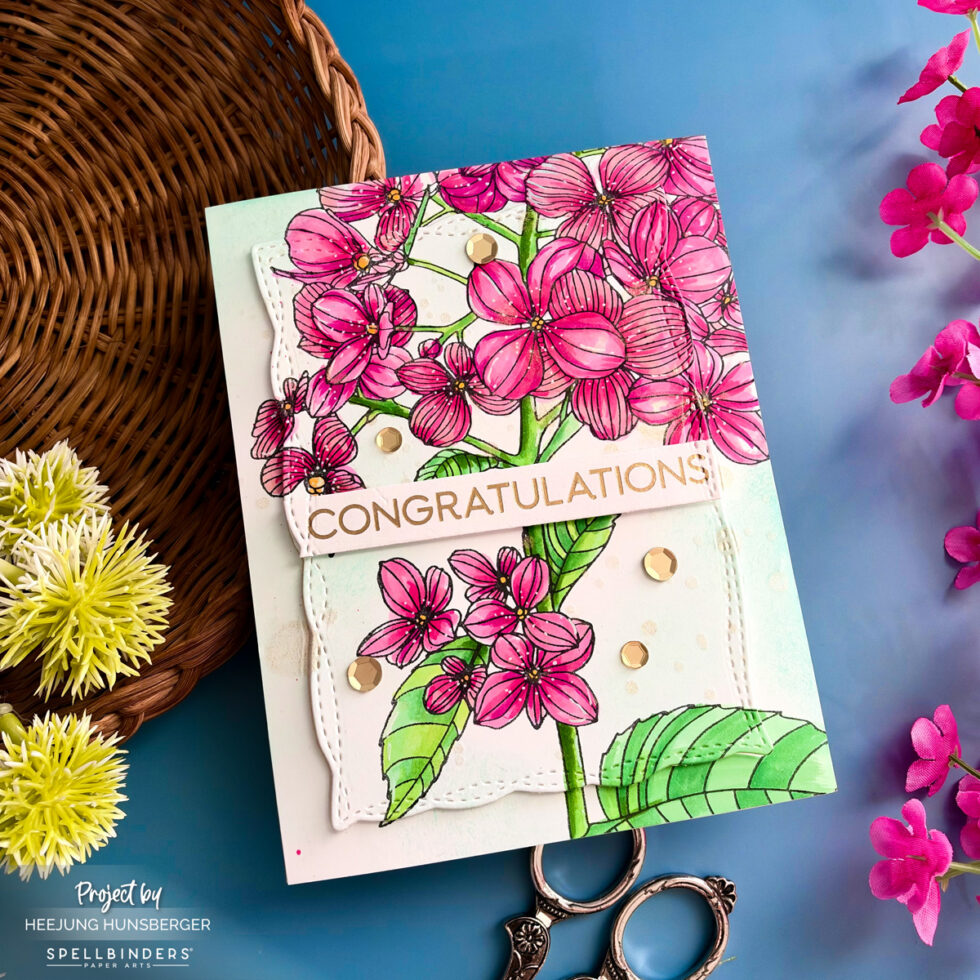
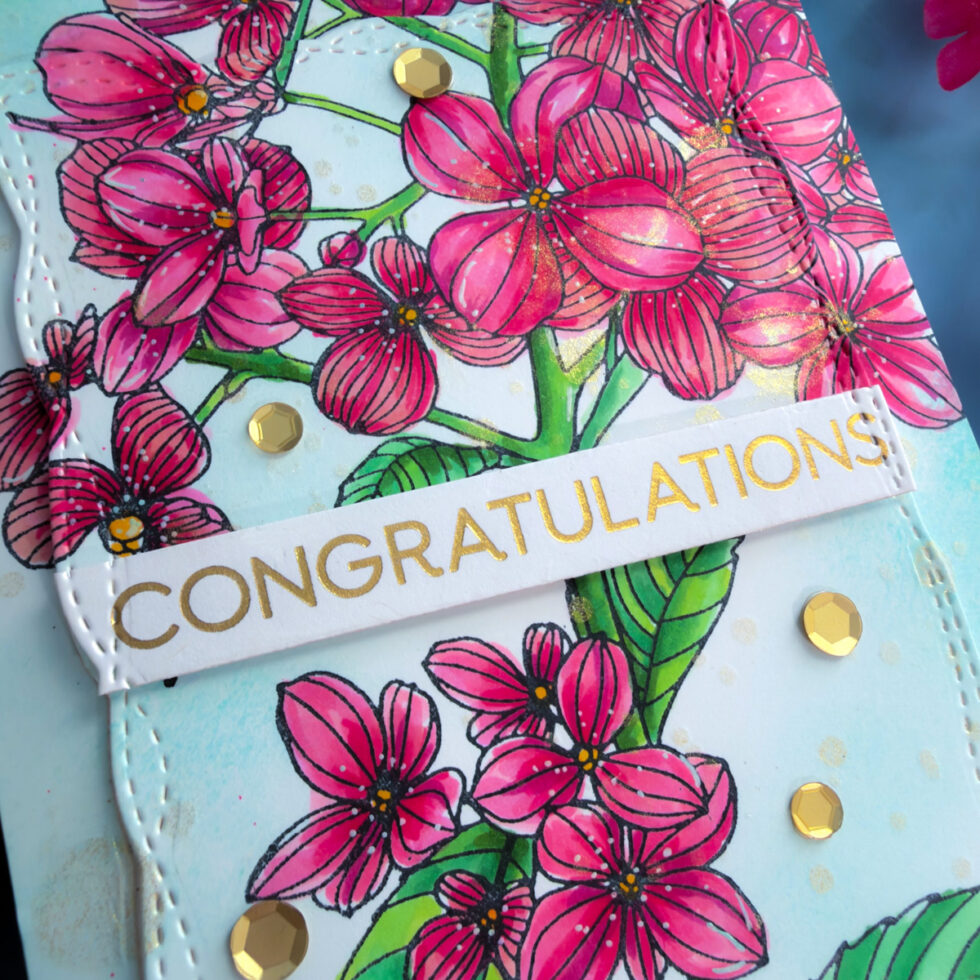
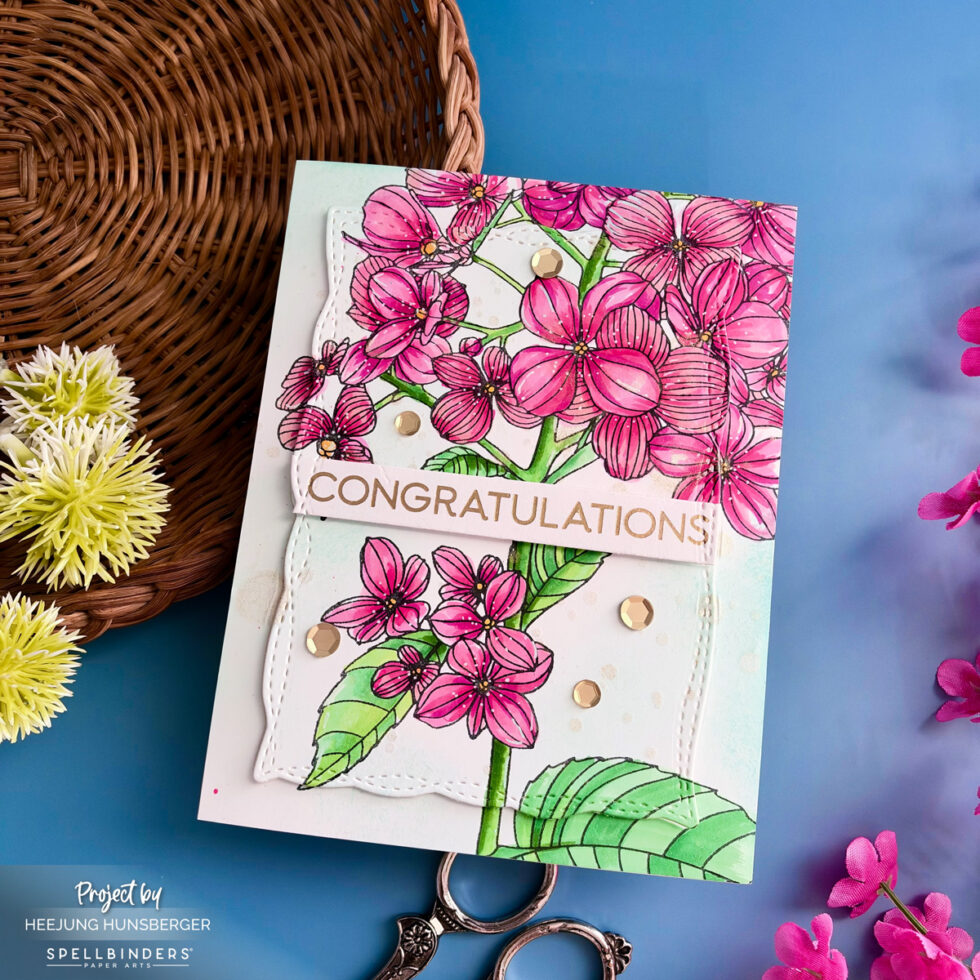
Congratulations Floral Card
Pressing & Coloring the Floral Image:
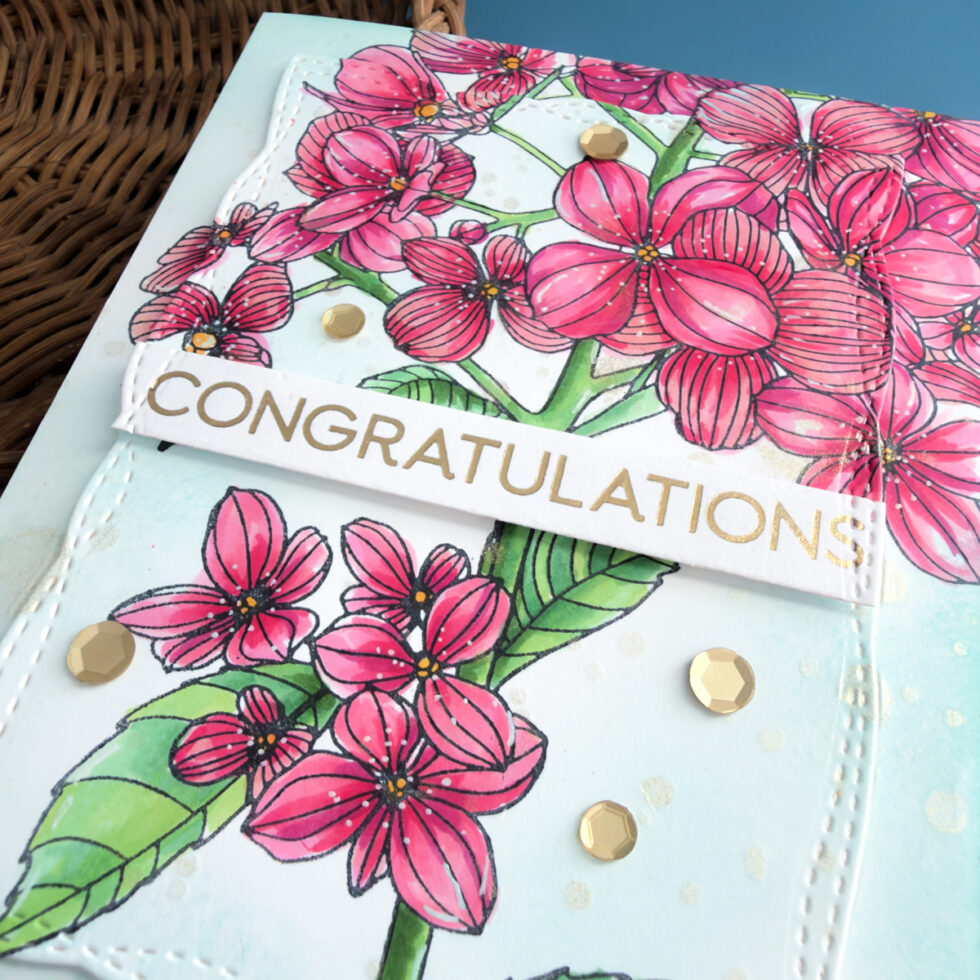
I pressed the floral image from the Thanks in Bloom Press + Foil Plates onto BetterPress paper using black ink and colored the detailed flowers and leaves with markers.
Blending & Splattering:
Using a large blending brush, I softly blended Pool ink around the background. Then, I added gold watercolor ink splatters across the panel for a luxurious sheen
Creating Dimension:
I die-cut the panel using the Playful Stitched Panels Etched Dies. I attached the center stitched piece using foam tape for elevated dimension and glued the remaining outer pieces directly onto the card base.
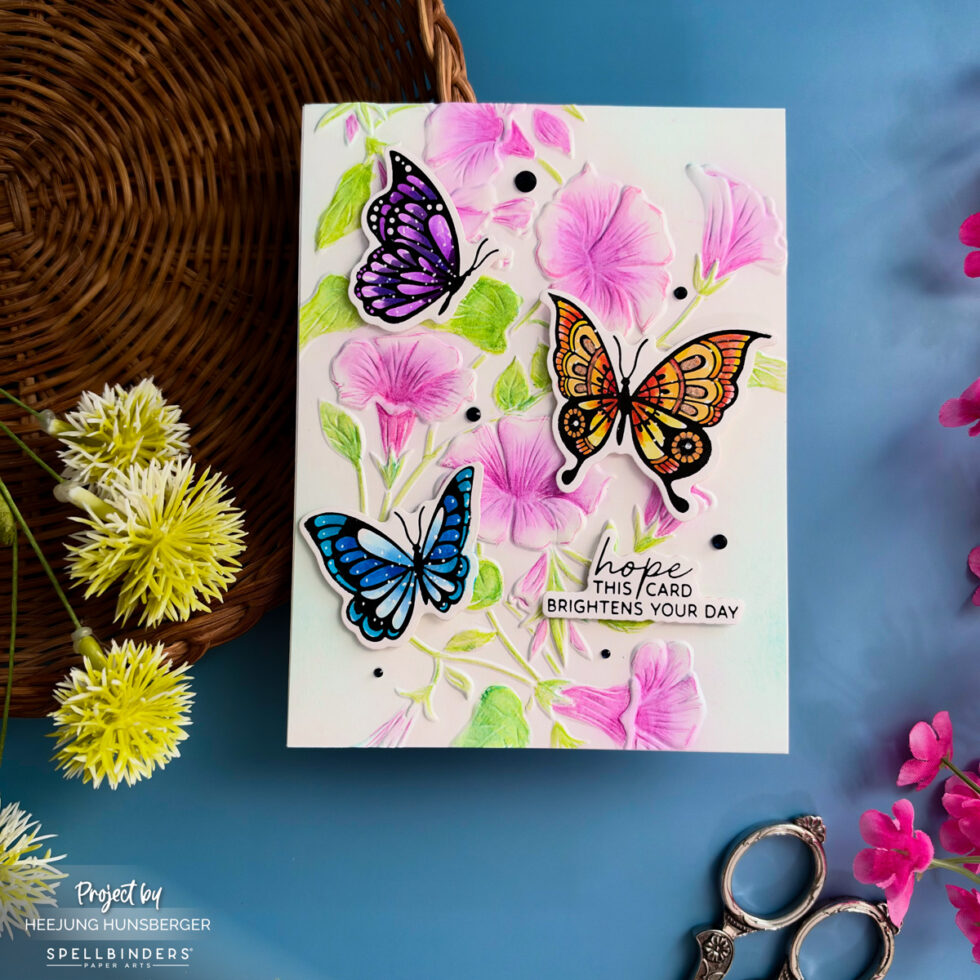
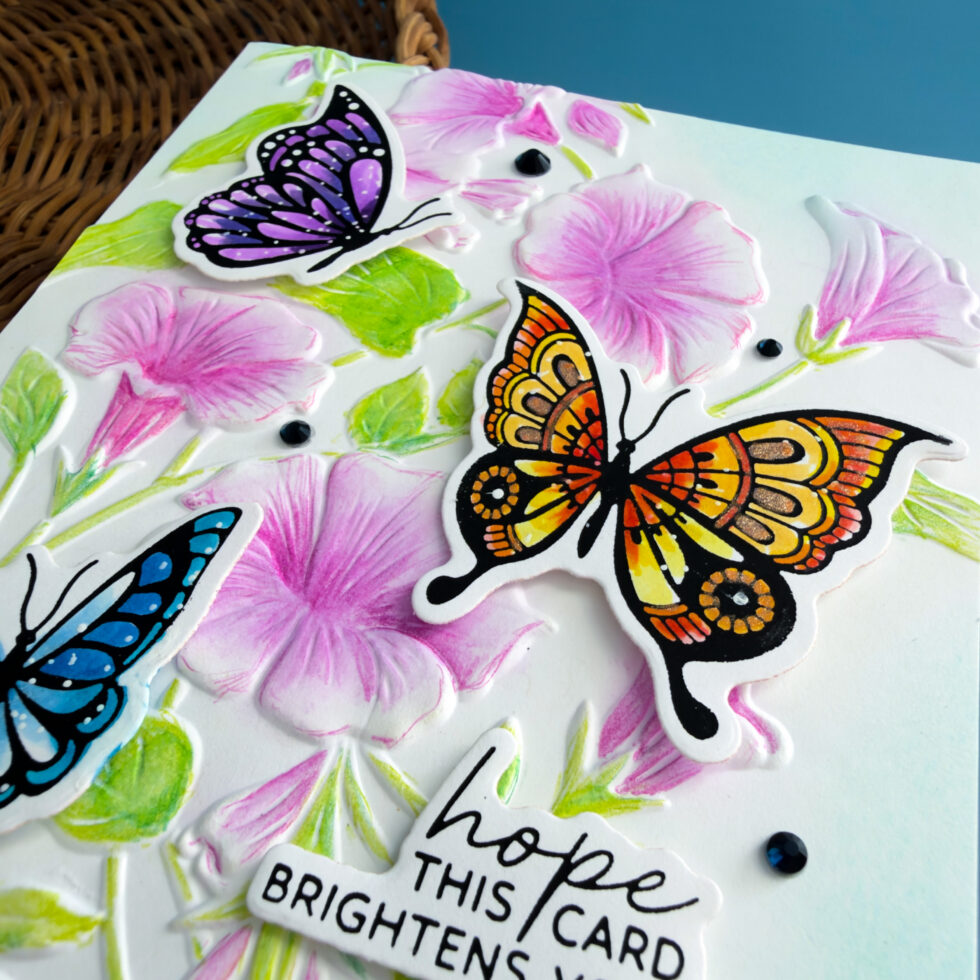
I black hot-foiled the matching sentiment from the same set, die-cut it, and mounted both the butterflies and sentiment with foam adhesive. I finished the card withOnyx Color Essentials Gems.
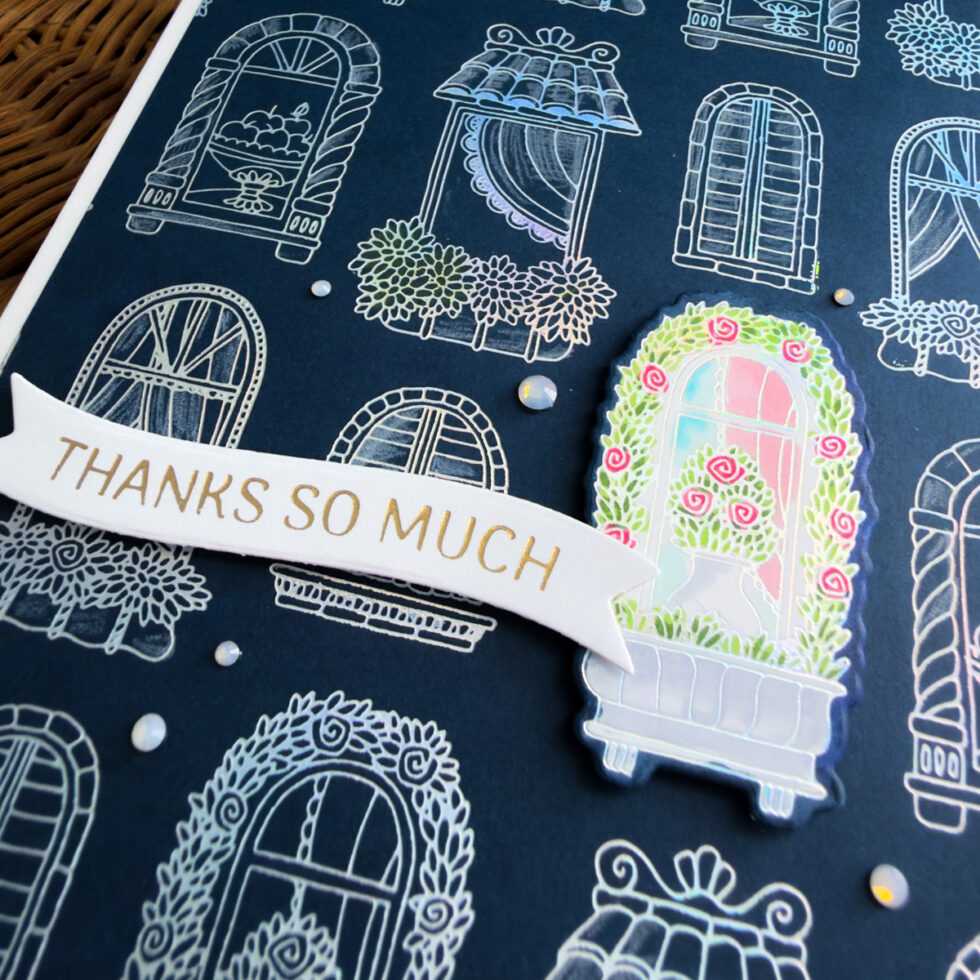
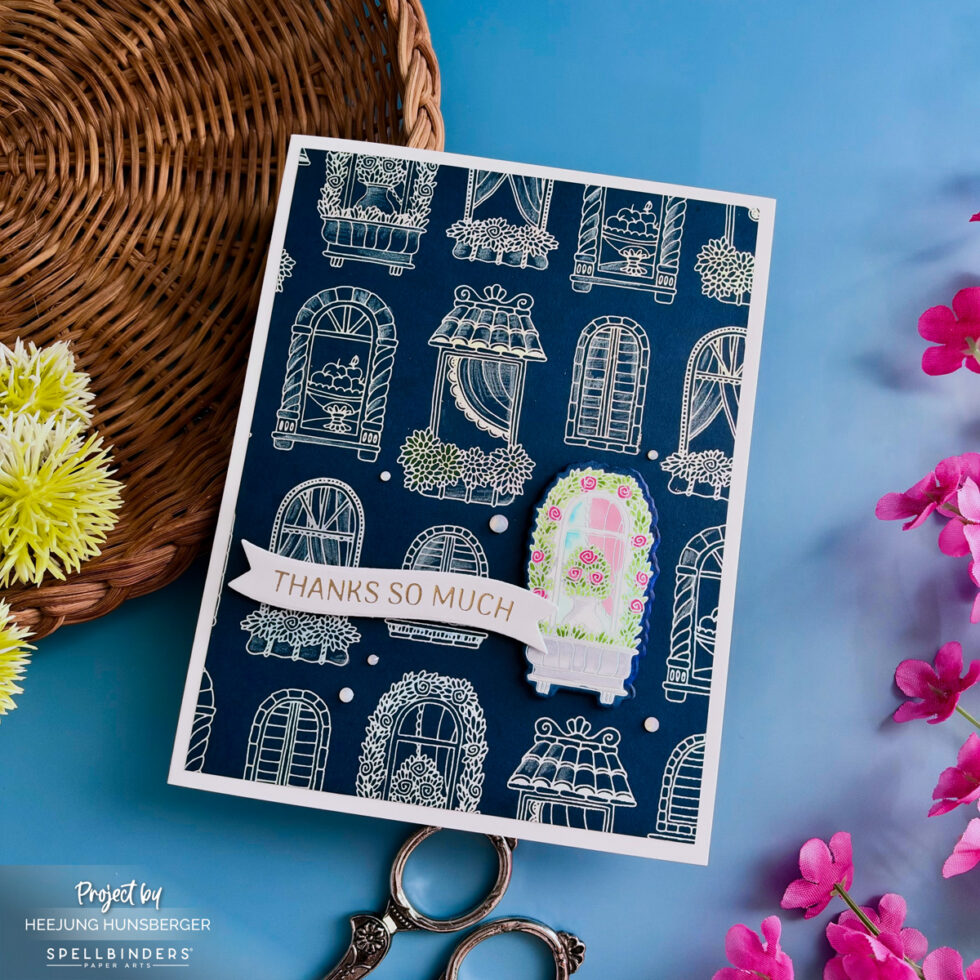
I hot-foiled the same plate onto white cardstock with Opal foil and die-cut the windows. I picked one arched window and colored the flowers inside with markers.
Color-Matching Edges & Assembly:
I colored the white die-cut edge of the window using an indigo marker to match the background, then popped it up directly over its matching window shape with foam tape.
Thank you so much for stopping by today! I hope these three cards inspire you to experiment with hot foiling, press plates, and 3D embossing folders in your next paper crafting projects!
Happy Crafting!
Heejung
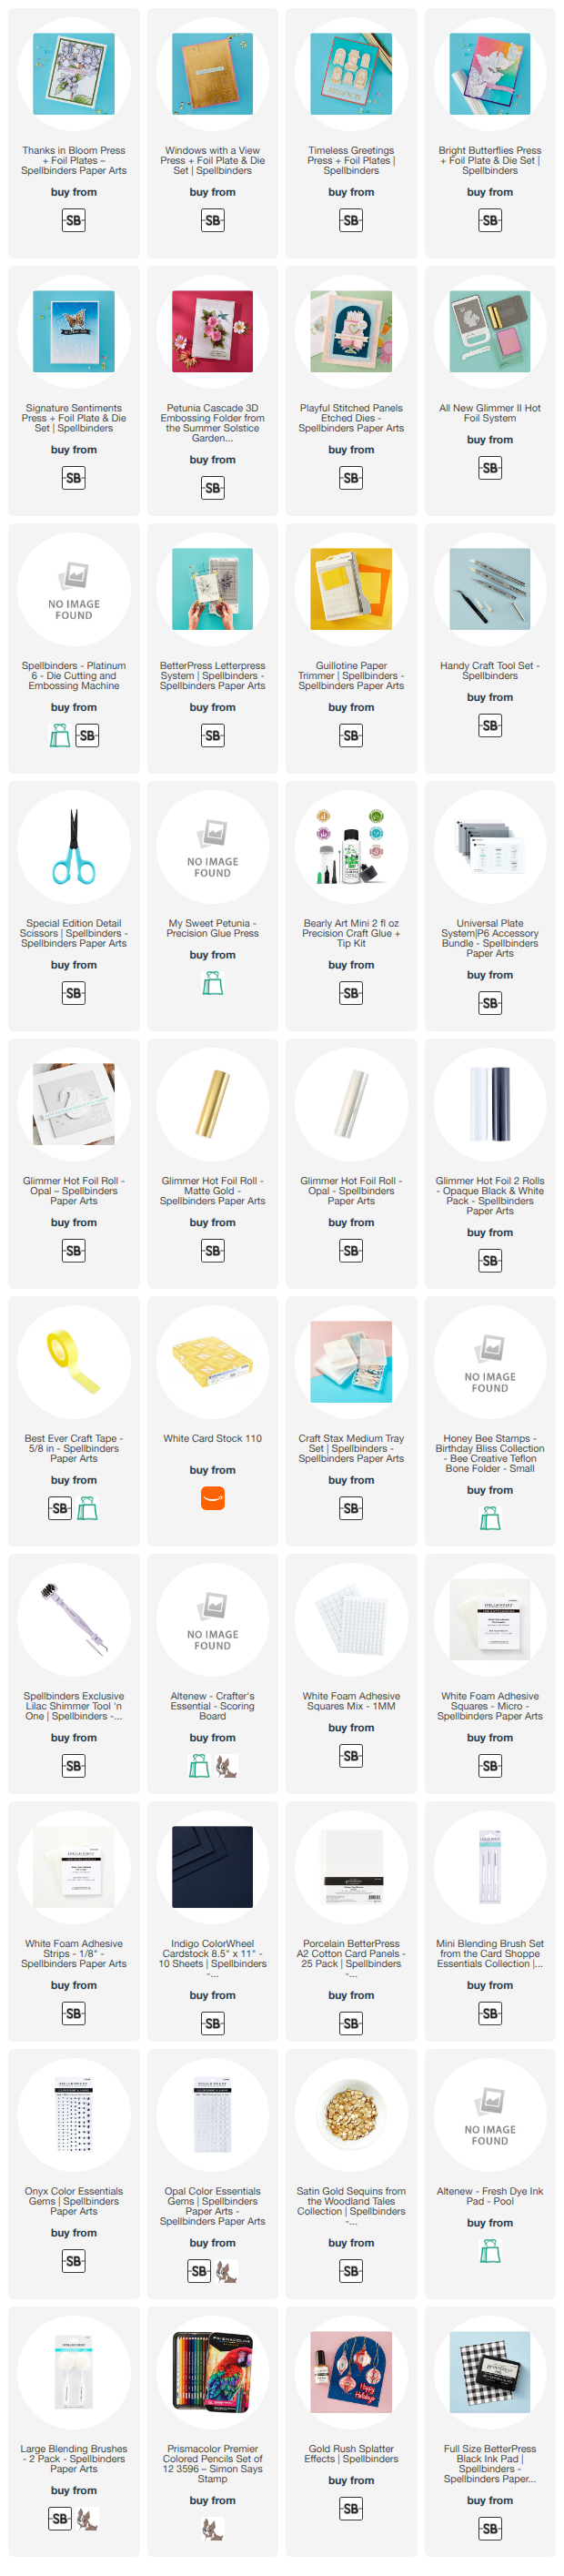
SUPPLY LIST
When you make purchases through affiliate links, it won’t cost you anything extra. Thank you so much for your support! 💗