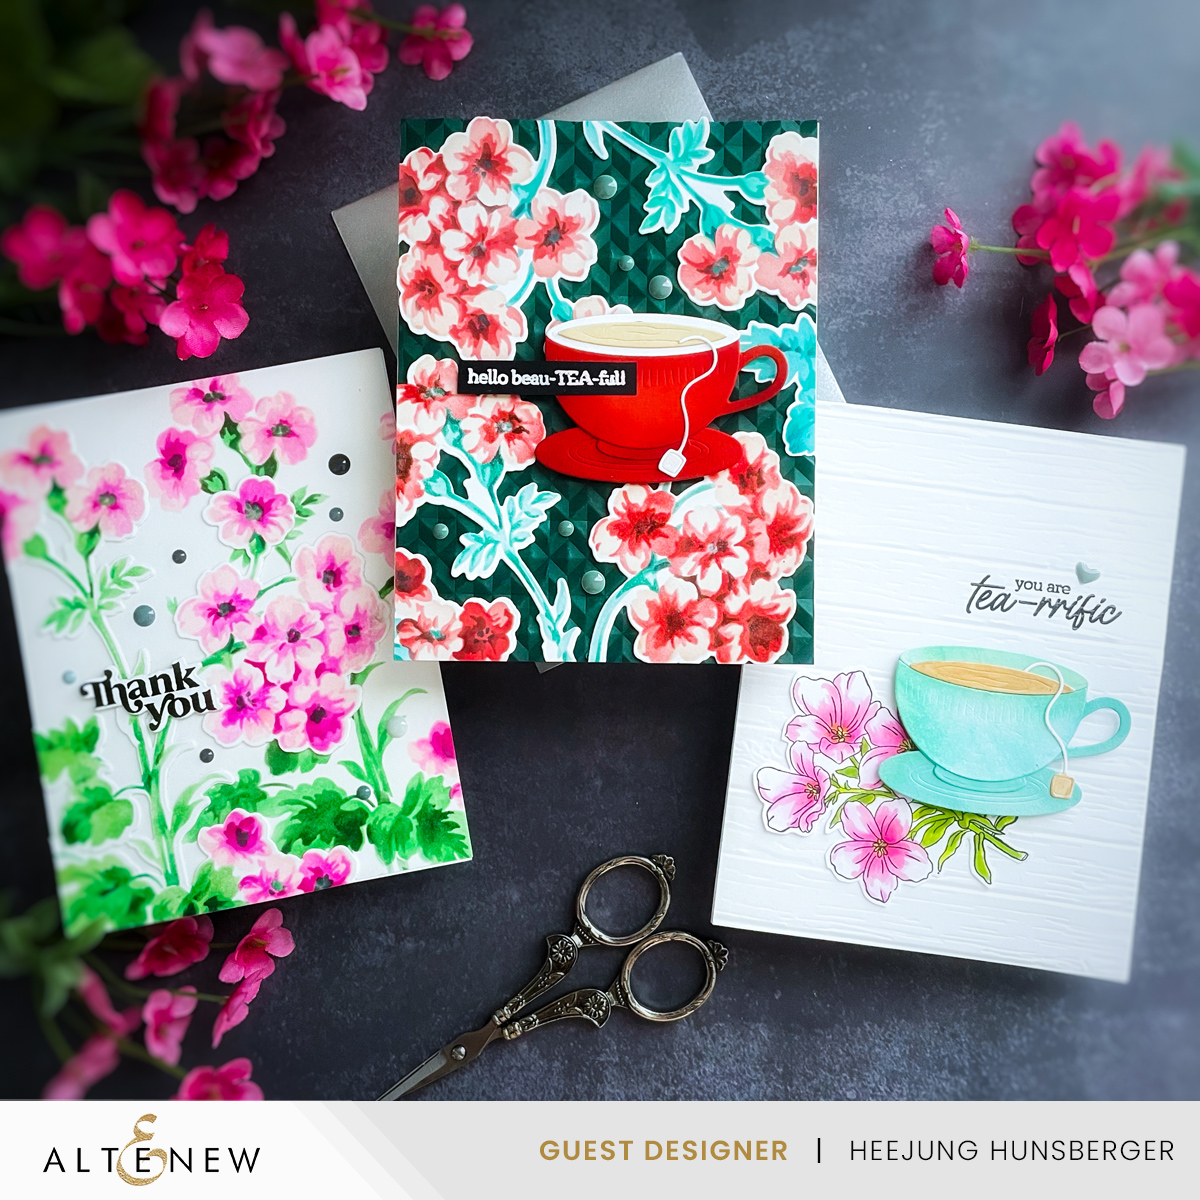
I enjoy drinking tea and wanted to share this beautiful tea cup die set from Altenew. Also, I want to share cards with the Painted Geraniums Stencil and die set as well.
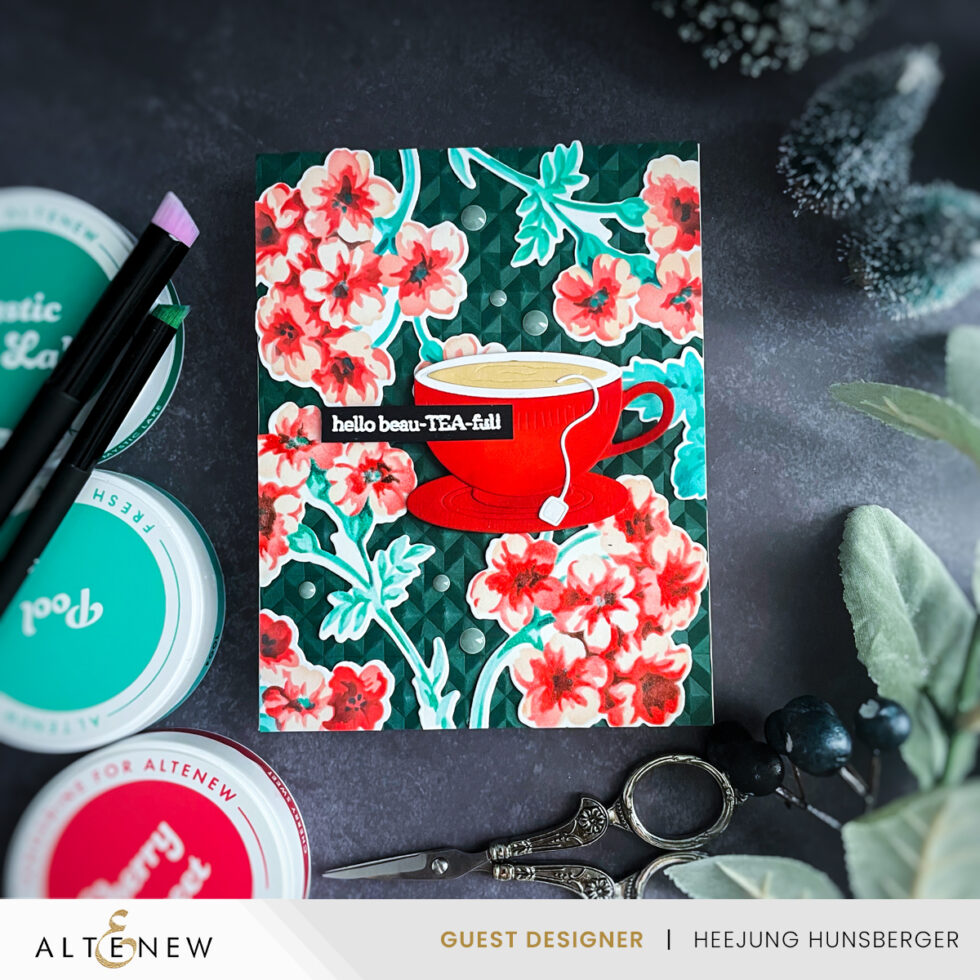
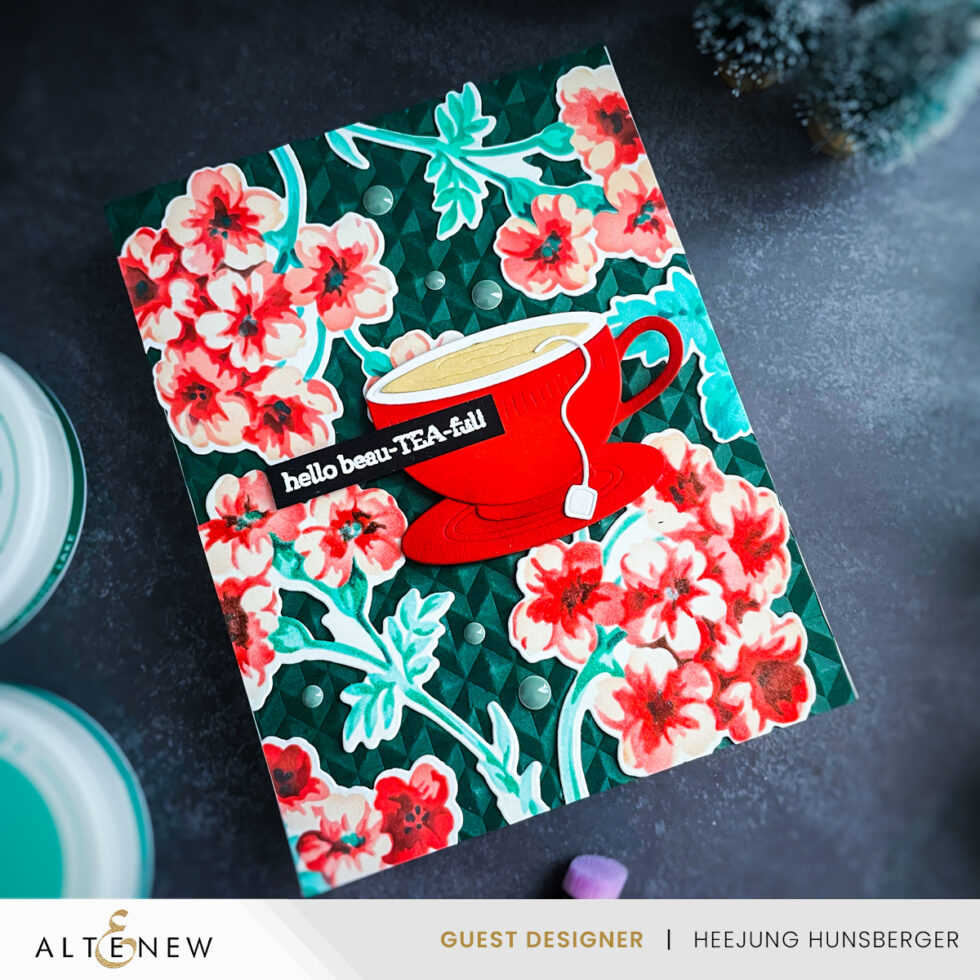
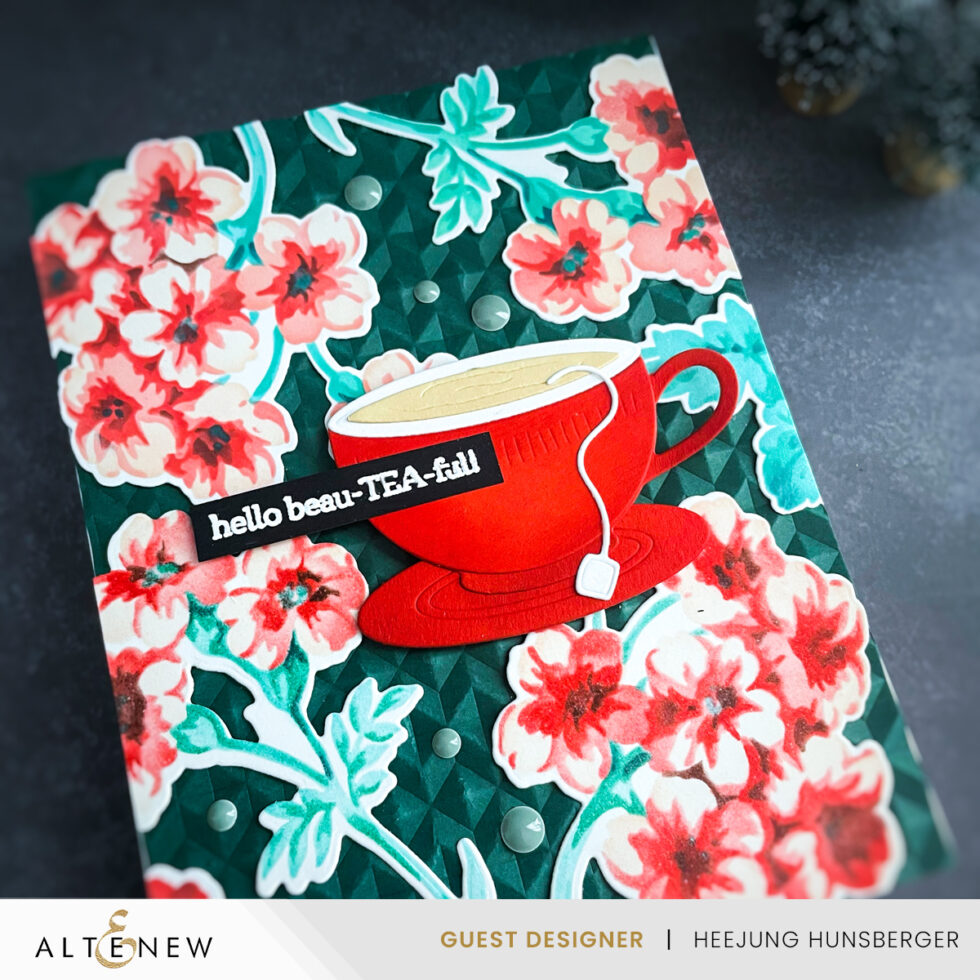
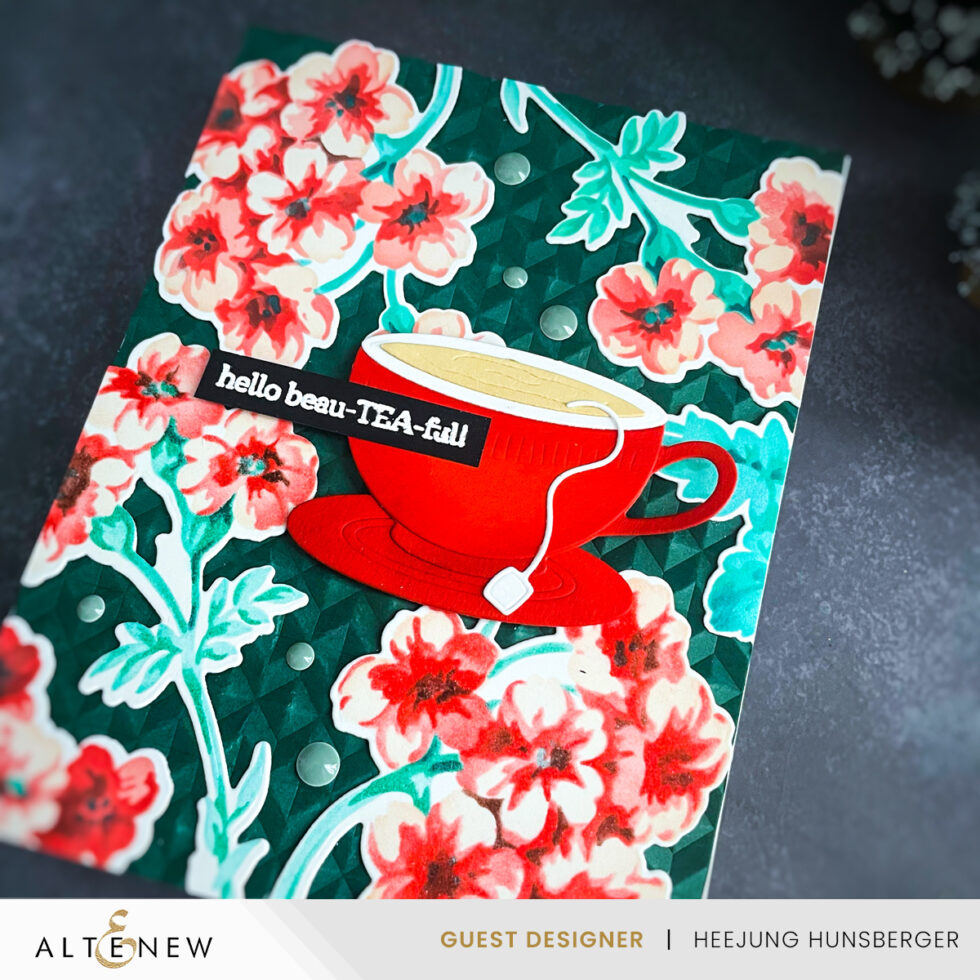
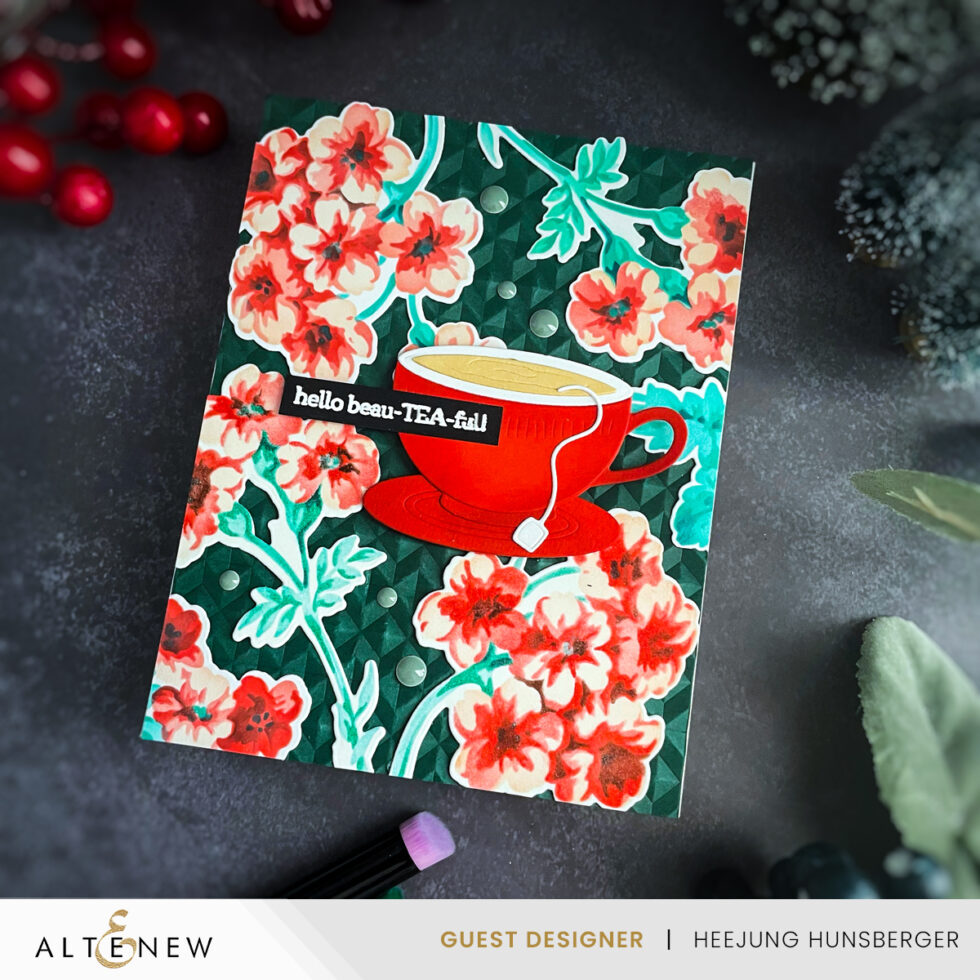
Hello Beau-TEA-Full Card
First, I used the Delightful Afternoon stamp and die set, along with the Painted Geraniums stencil and die set to create the first card.
First, I embossed the Forest Fern cardstock, a new color from Altenew. It looks stunning as I adore deep, dark colors for my cards, especially with the Diamond Stars 3D embossing folder.
Stenciled the Painted Geranium stencil using Altenew’s detailed blending brushes with the Carnival Magic Fresh Day ink & Aqua Island dye ink, all of which are new releases this month. After stenciling the geraniums, die-cut it with a coordinating die.
I die-cut the teacup from Heart Beat cardstock and Sand Dune cardstock. Then, I stamped the sentiments in Versamark ink and applied white embossing powder on black cardstock, and heat set it. Finally, I finished off with the Tranquility Enamel Dots.
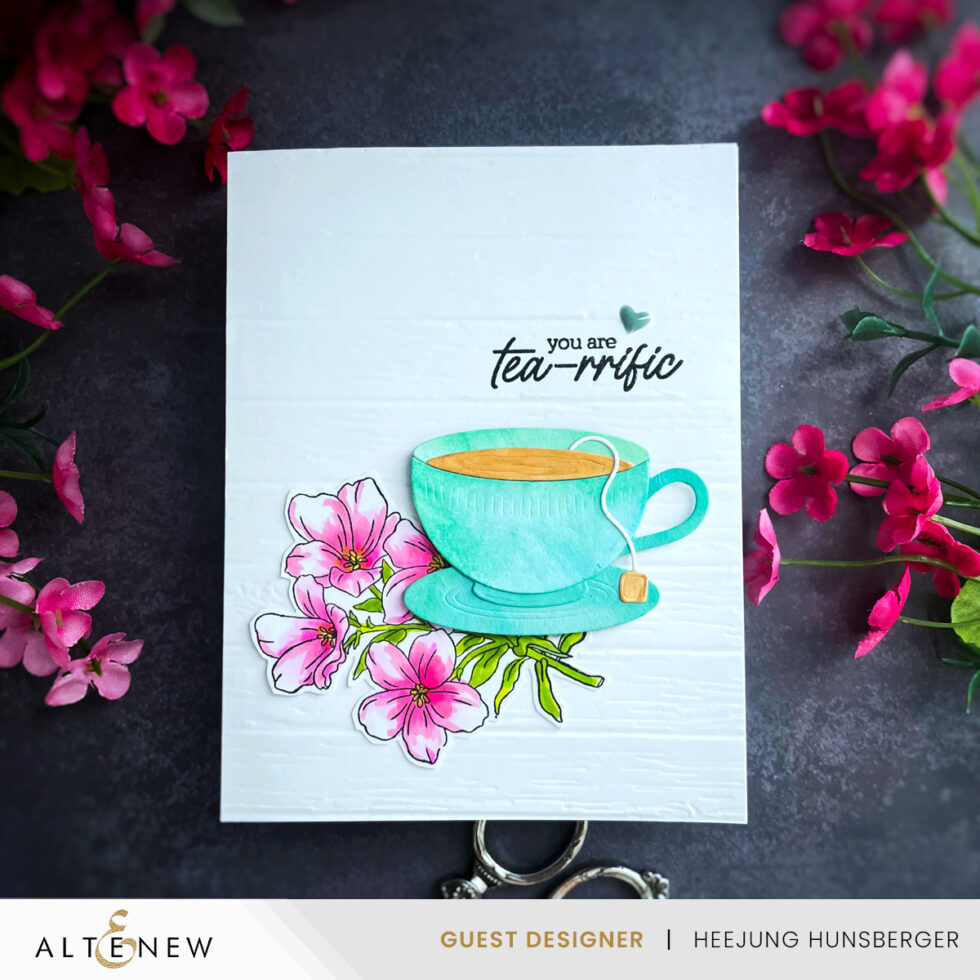
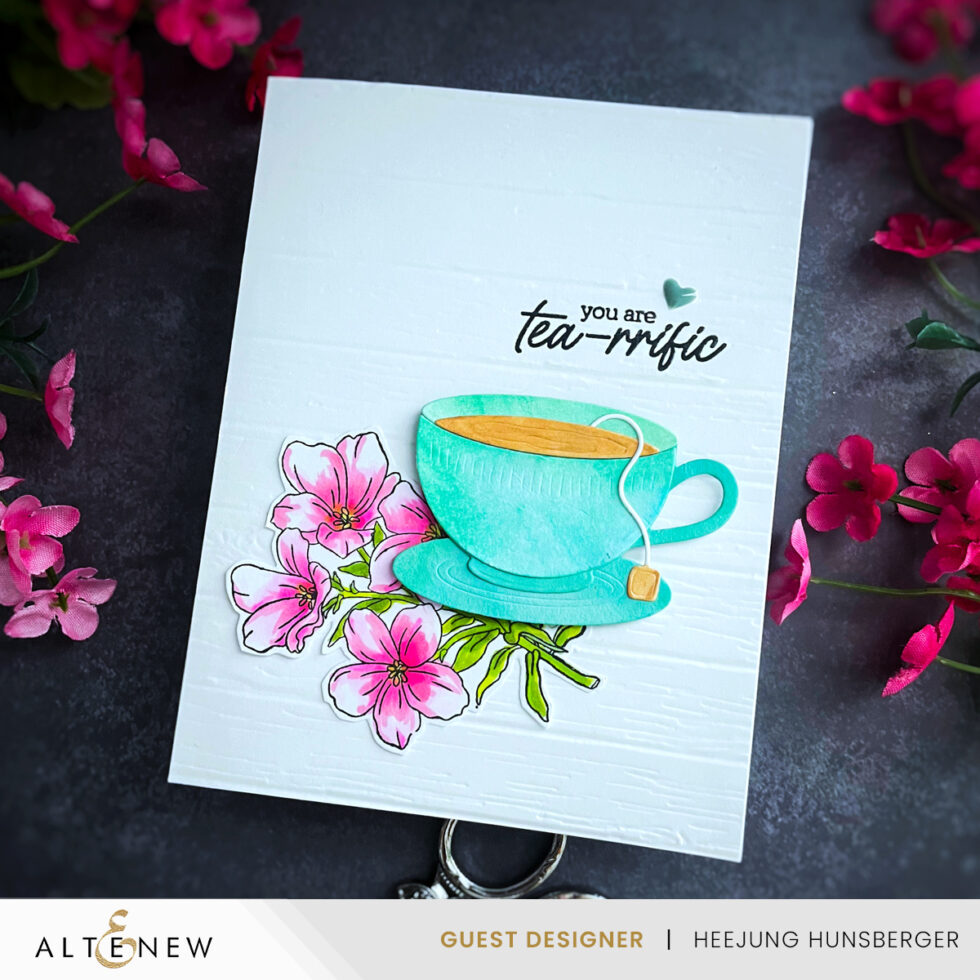
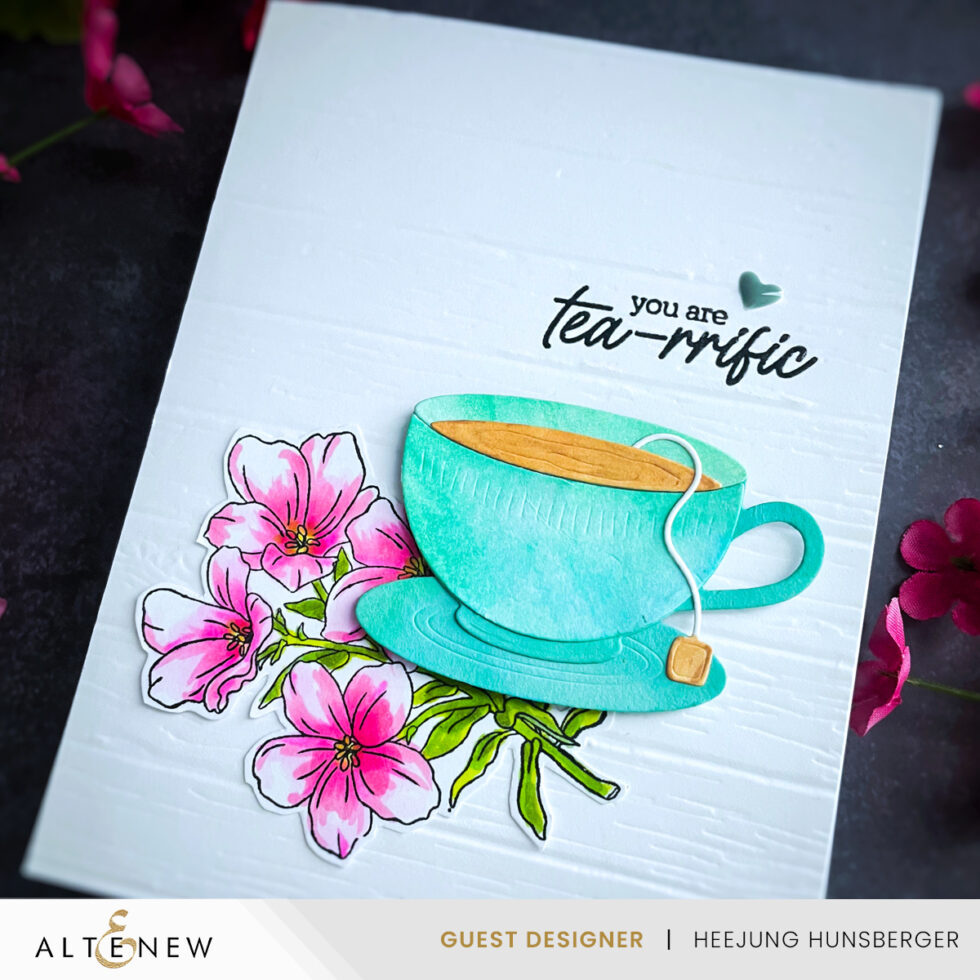
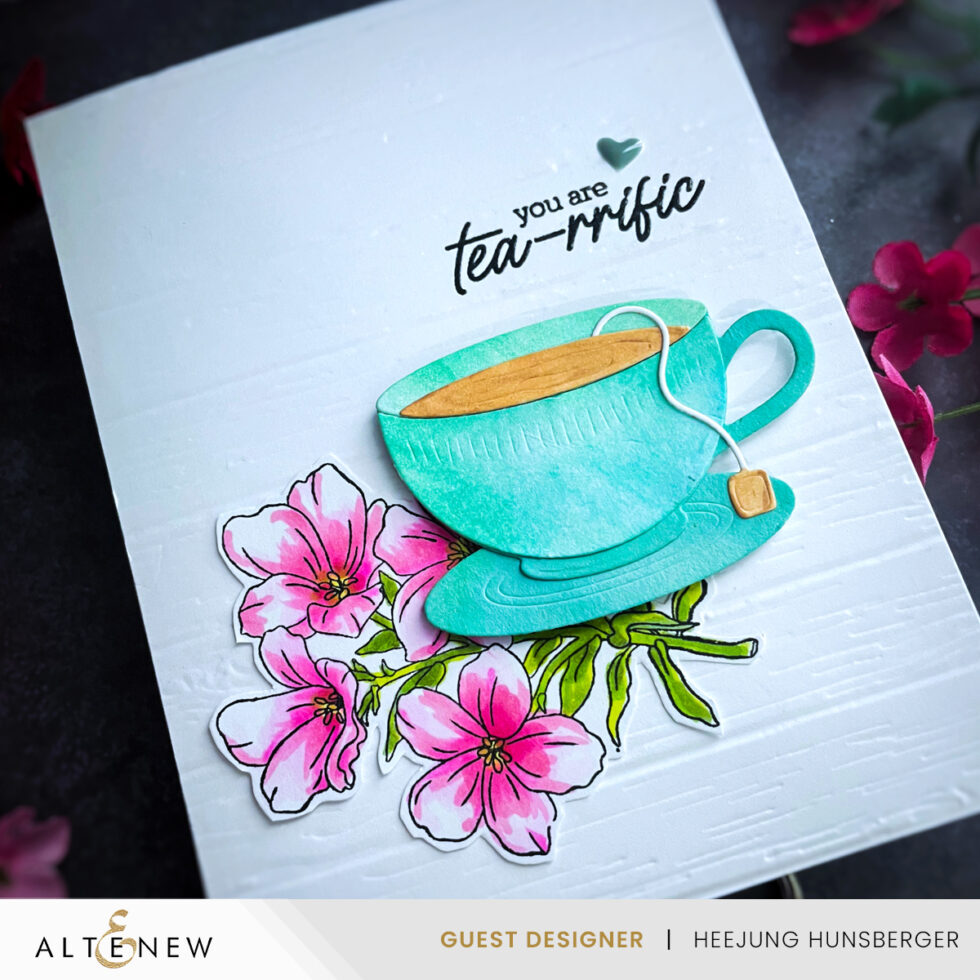
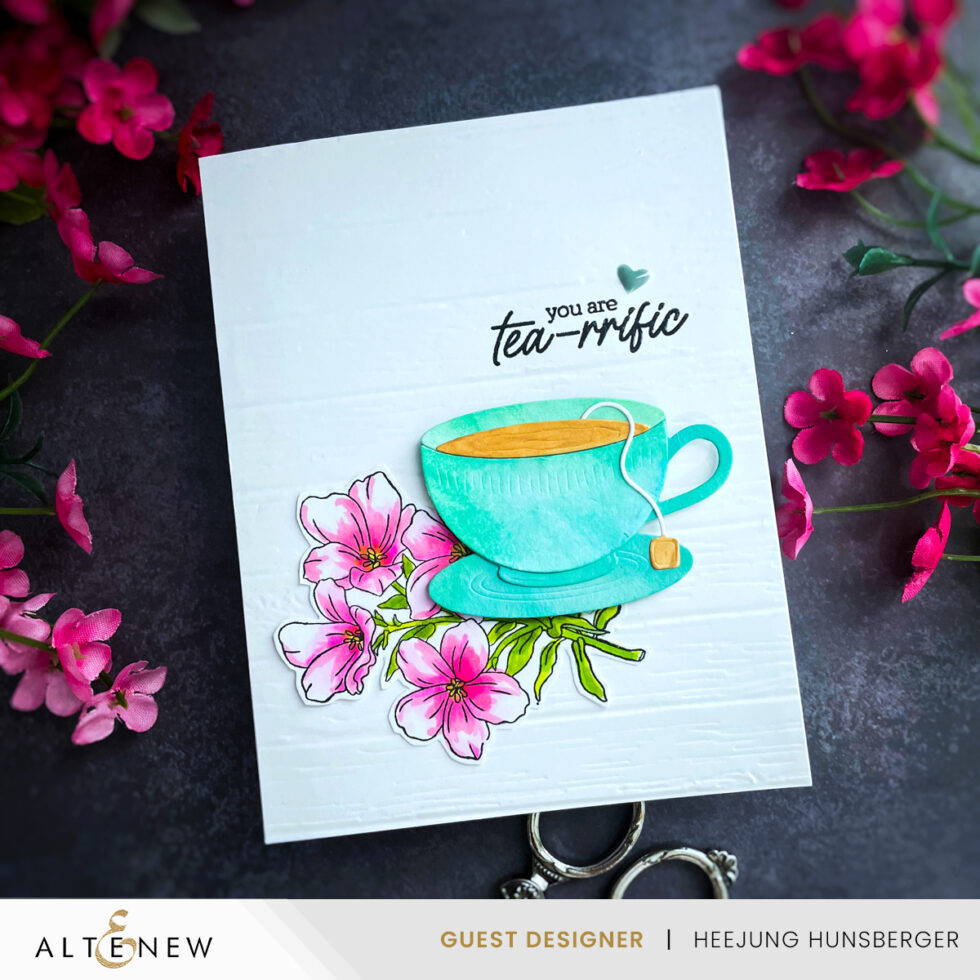
You are Tea-rrific Card
Emboss the white cardstock with the deck planks 3D embossing folder. Stamp the flowers in black ink on white cardstock, color it with markers, and die-cut it with a coordinating die.
I also die-cut the teacup from cardstock. For the sentiments, I stamped the black pigment ink onto the embossed panel, applied clear embossing powder to the stamped sentiments, and heat-set them with the heat tool.
I added a heat embellishment on top of the sentiments.
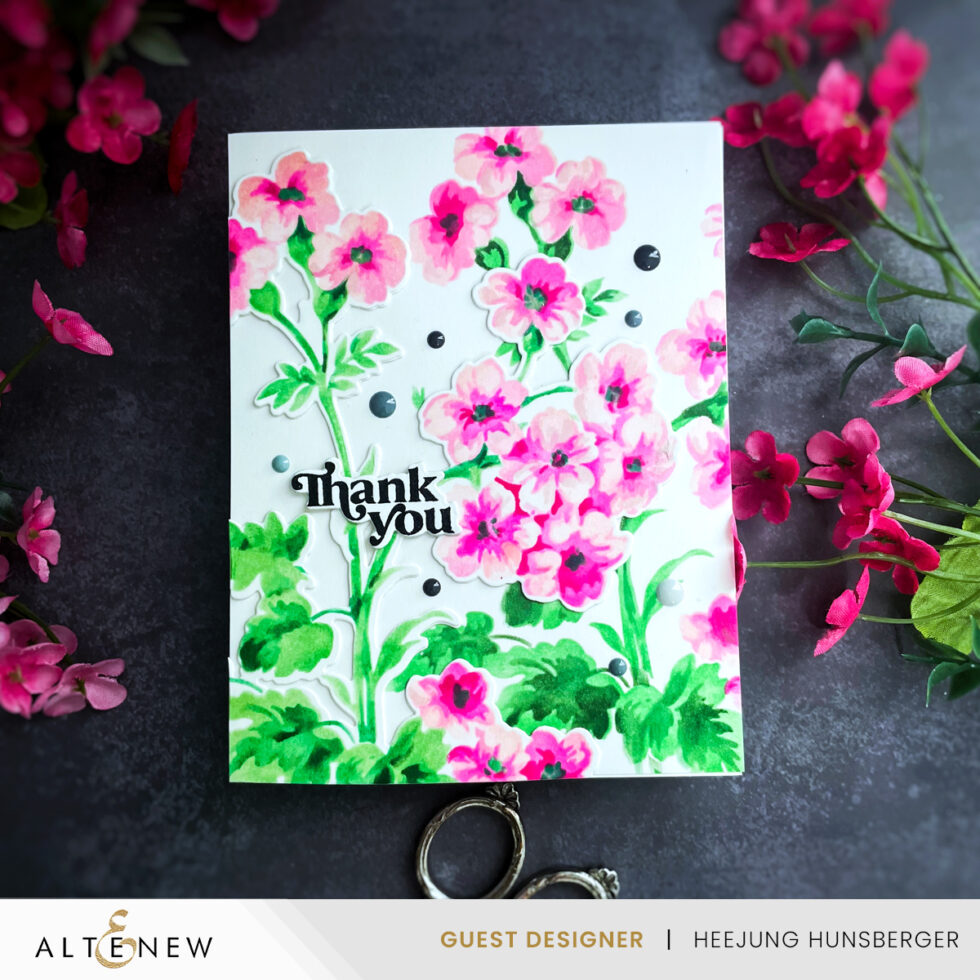
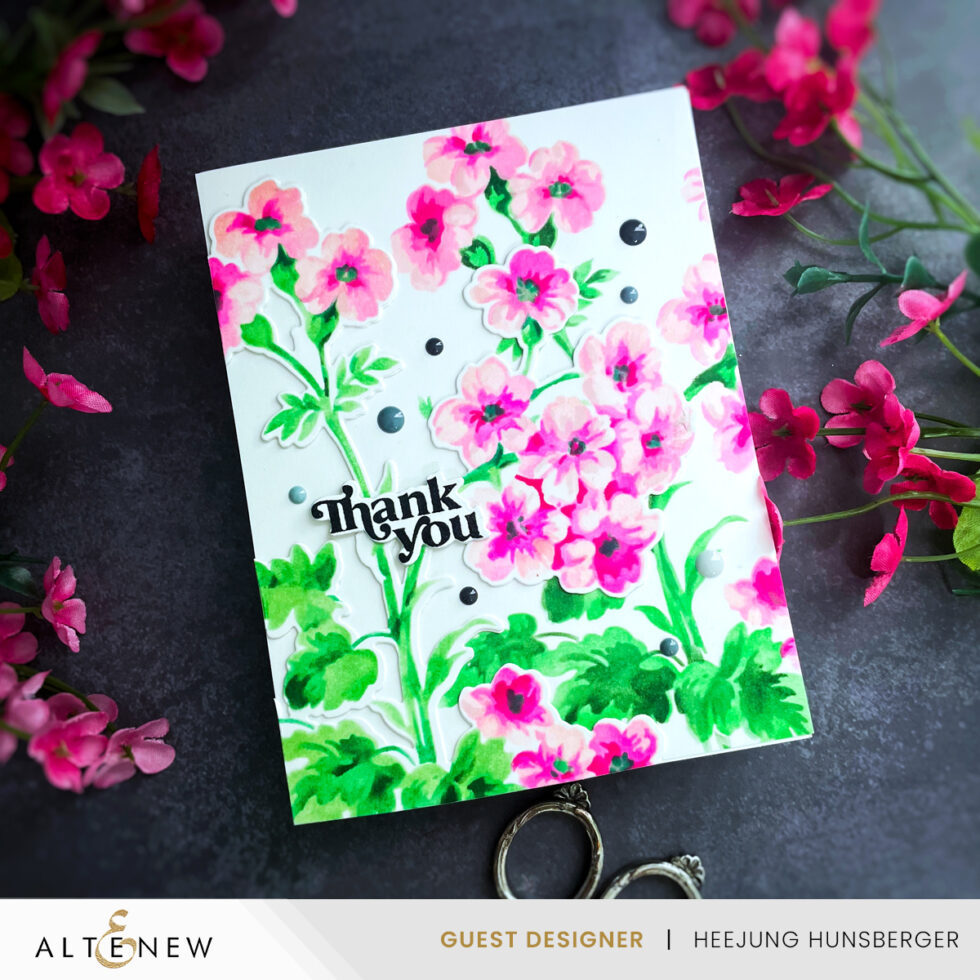
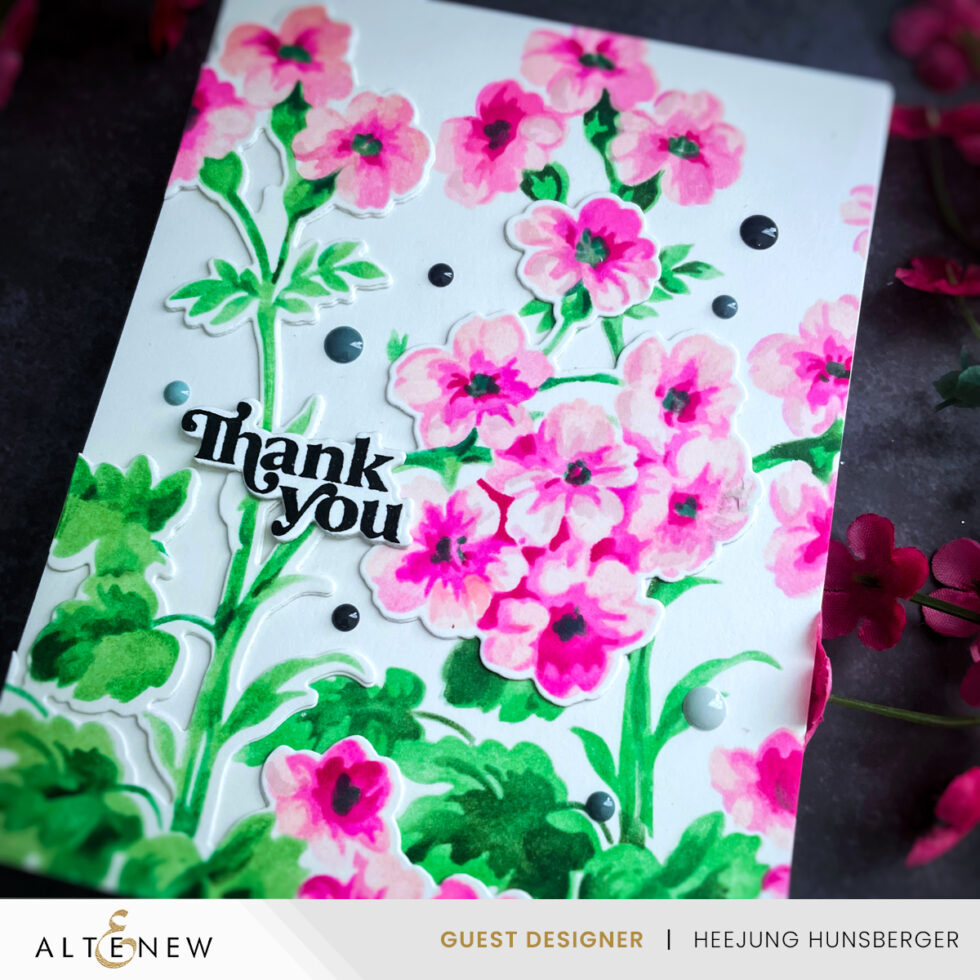
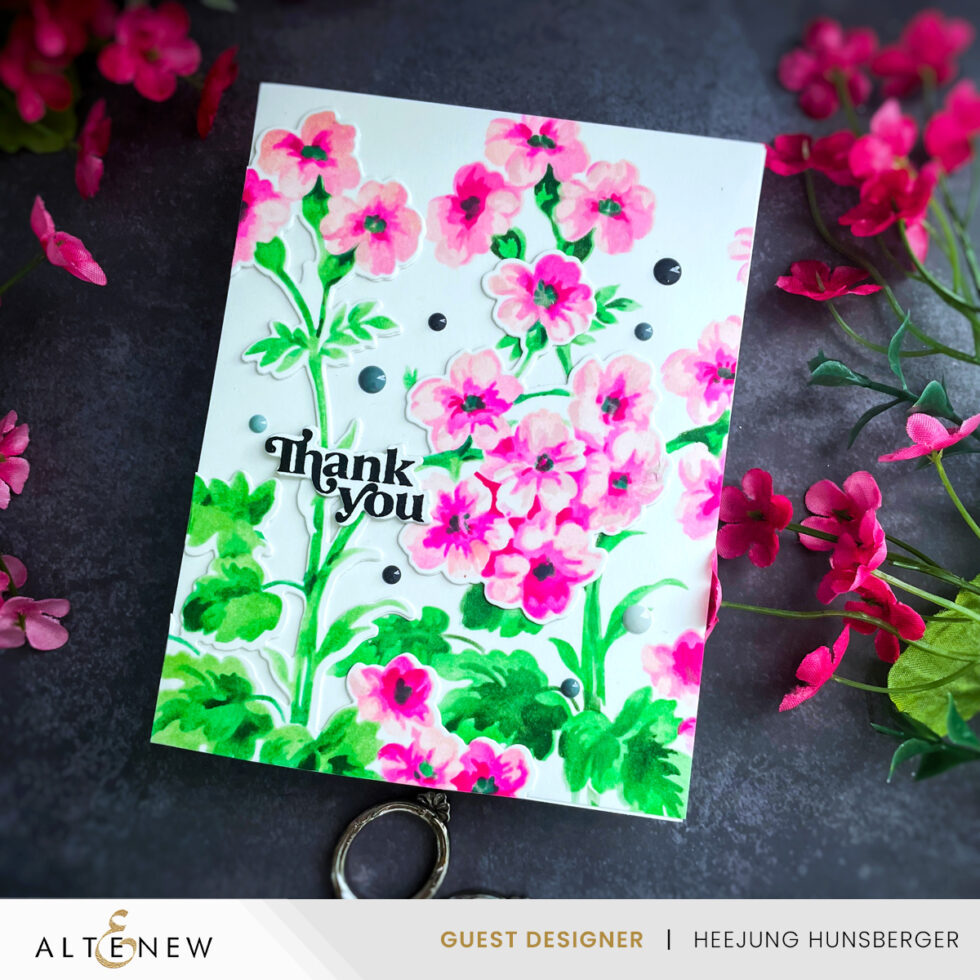
Thank You Card
First, I stenciled one geranium on A2 white card stock using the Bluhberry Bliss inks and Green Valley inks. Then, I stenciled one more geranium onto a separate piece of paper and die-cut it with the coordinating die. After that, I attached the die-cut pieces to the top of the stenciled panel.
I stamped the “thank you” stamp from the Pocket Sentiments stamp set in black pigment ink, applied clear embossing powder, and heat-set it to give some dimension. Then, I die-cut it with the coordinating die and attached it to the card.
I am glad you took the time to read this post. I hope it has motivated you to unleash your creativity. Do not hesitate to contact me if you have any questions or feedback.
I’m looking forward to sharing more content with you soon.
Love,
Heejung
SUPPLIES
When you make purchases through affiliate links, it won’t cost you anything extra. I am grateful for your support!