Spellbinders- Yana’s Daisies Collection

Hello friends,

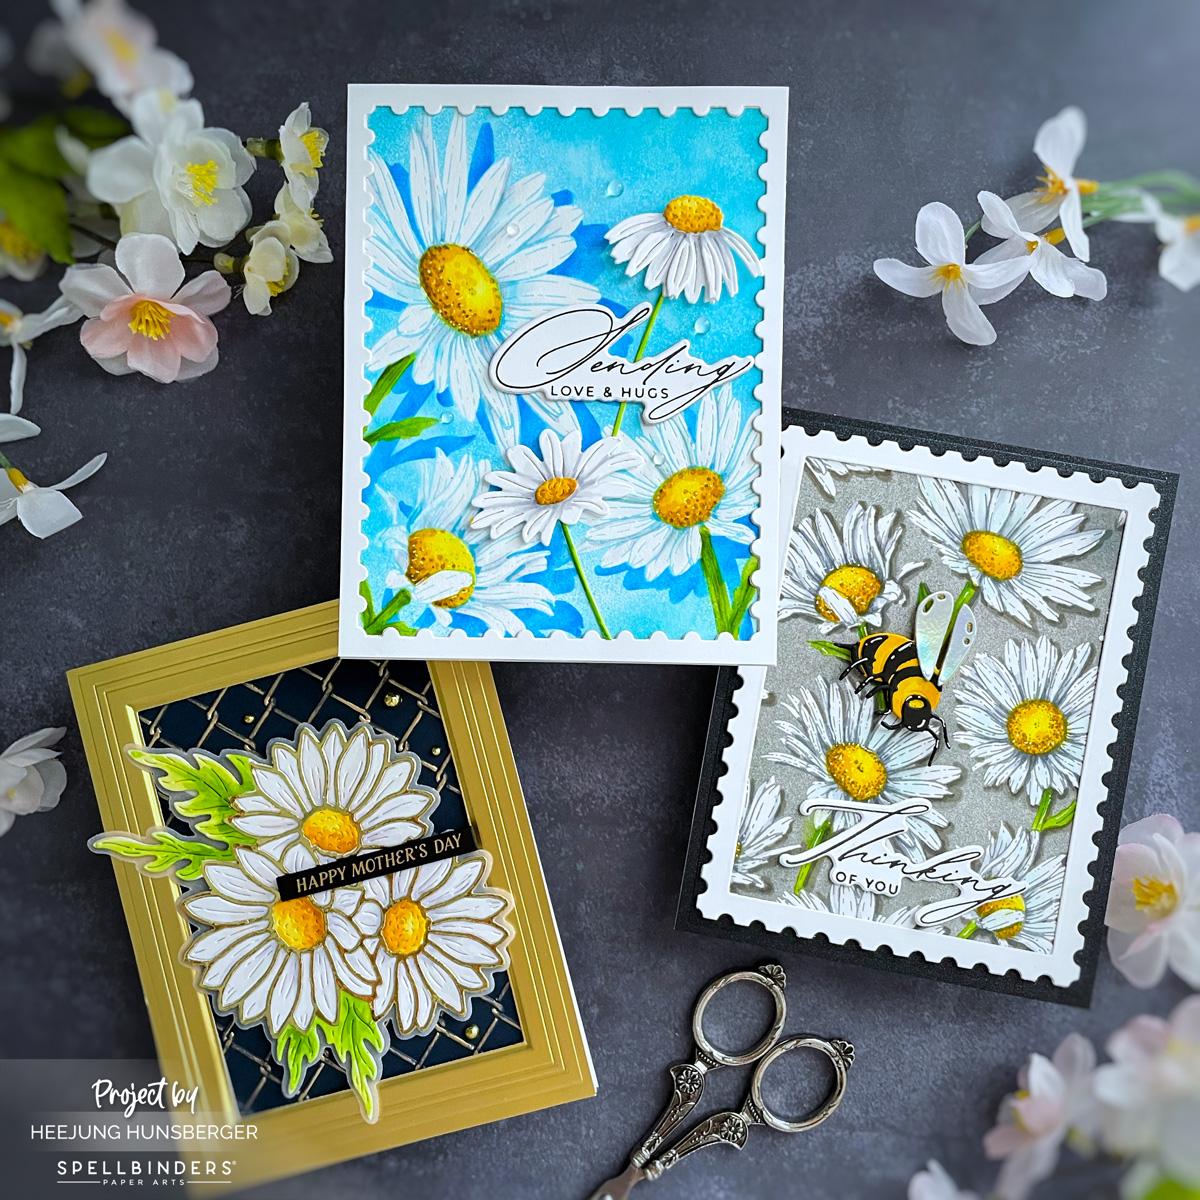
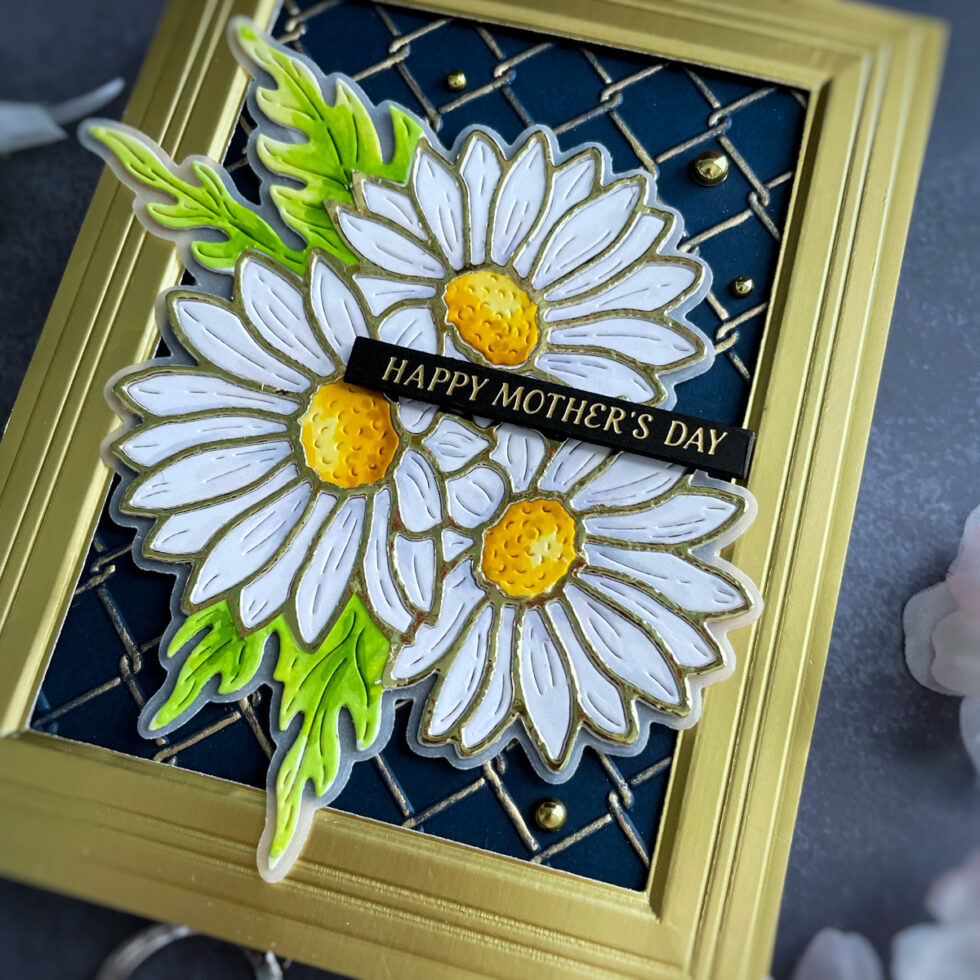
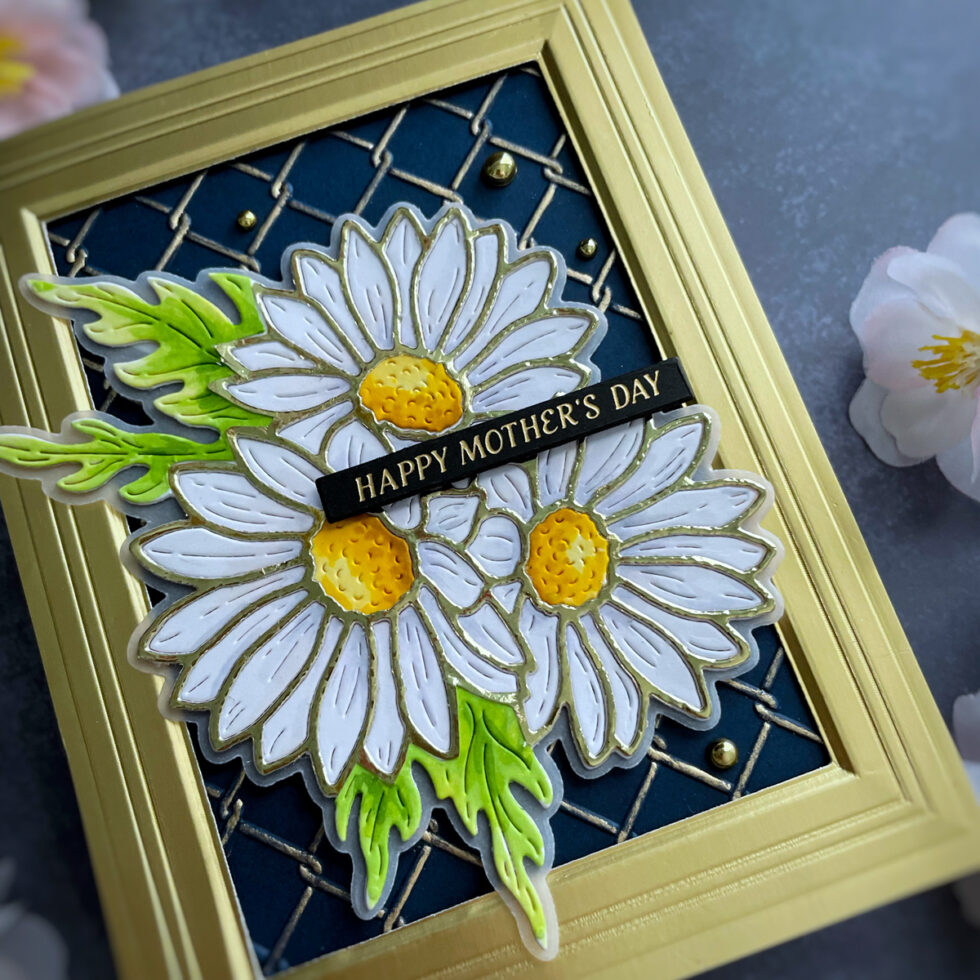
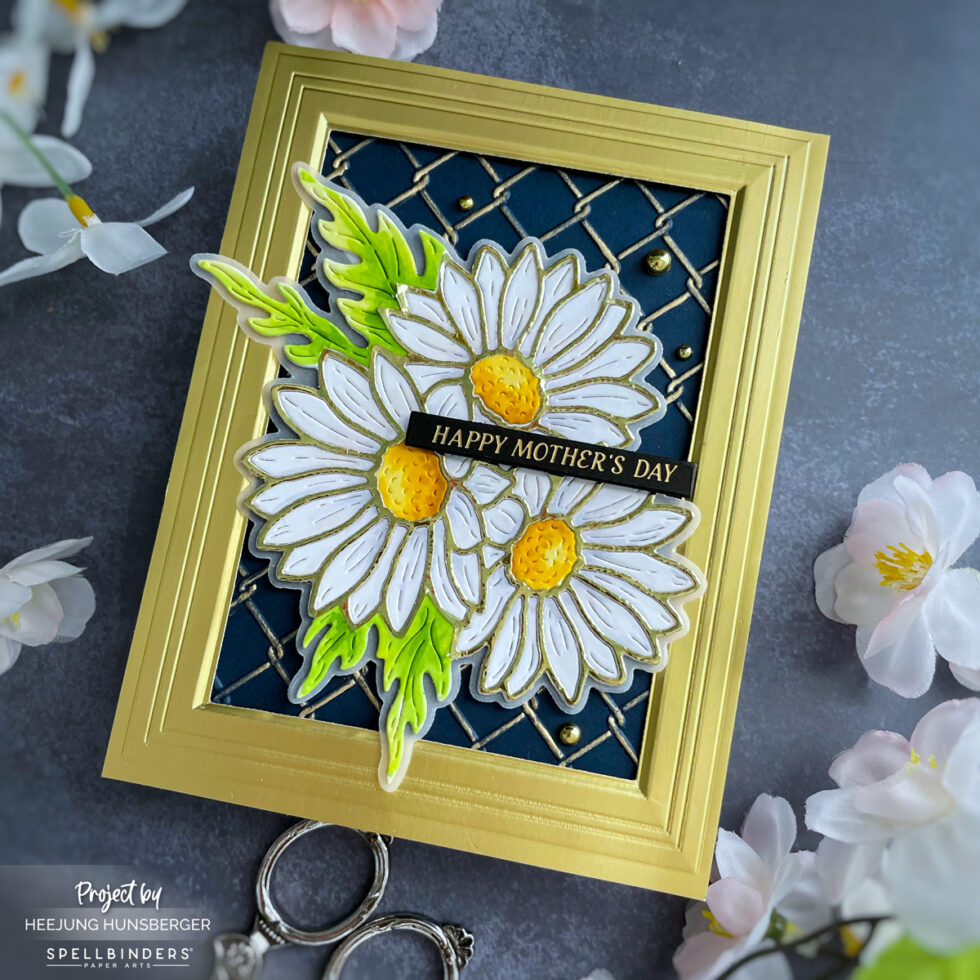
I hope you’re all doing well! I recently had a fantastic time delving into Yana’s Daisies Collection, which inspired me to experiment with some new techniques. It was such a joy to work with the vibrant colors and intricate designs. 


As a result, I created three distinct cards that showcase the beauty of this collection. Each card features a unique combination of elements, allowing me to explore different styles and approaches. I can’t wait to share these creations with you and hope they inspire you to try out Yana’s Collection in your own crafting projects! 

Sending Love & Hugs

I colored the daisies with the coordinating stencil using the blending brushes.

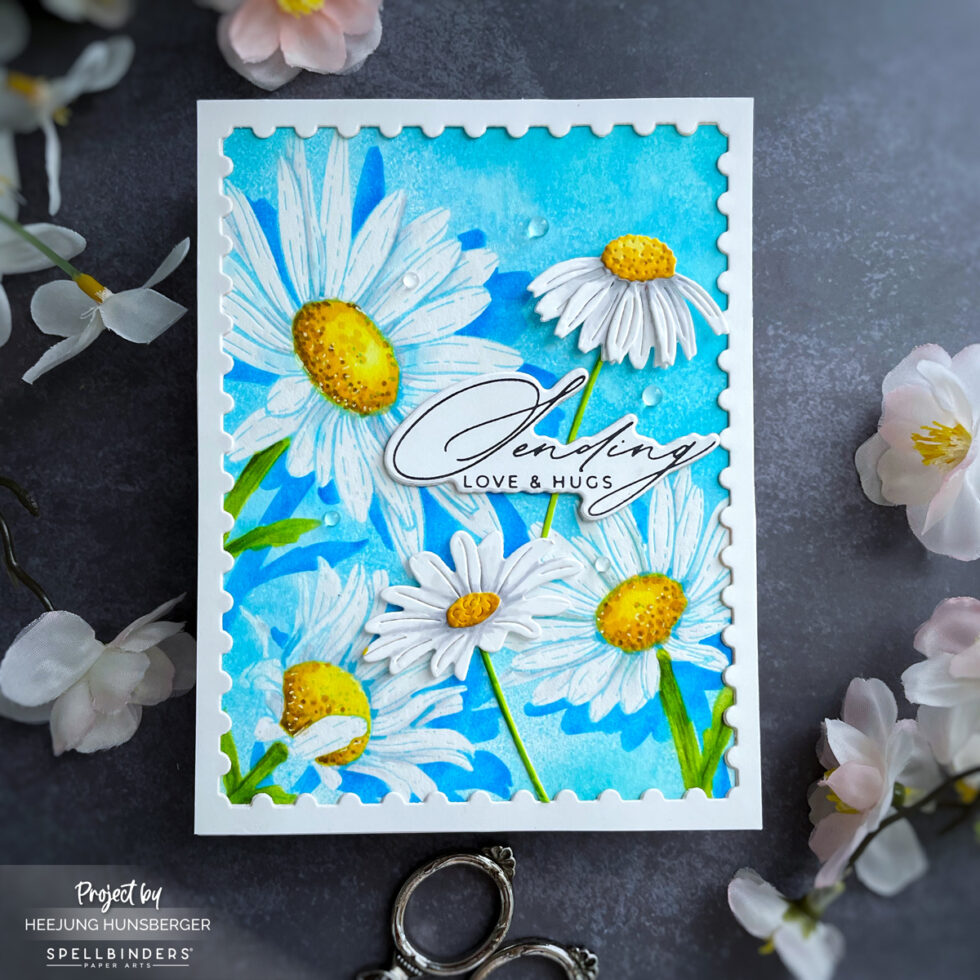
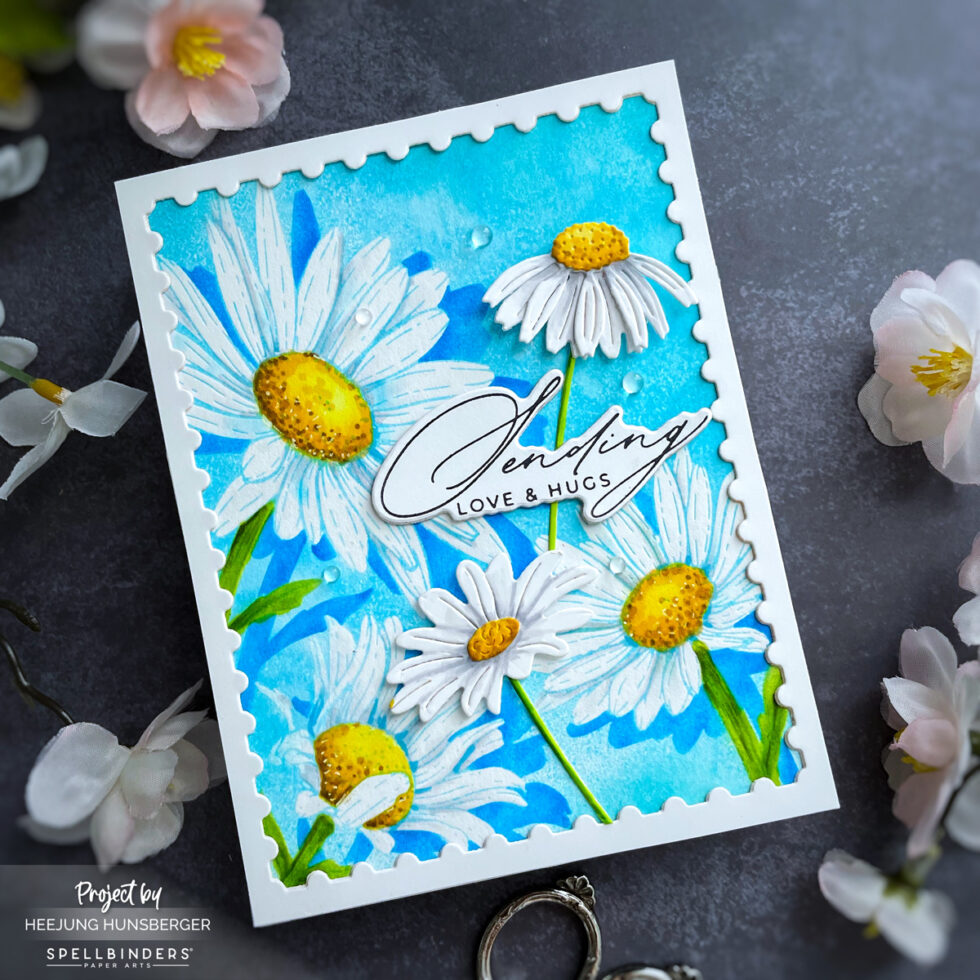
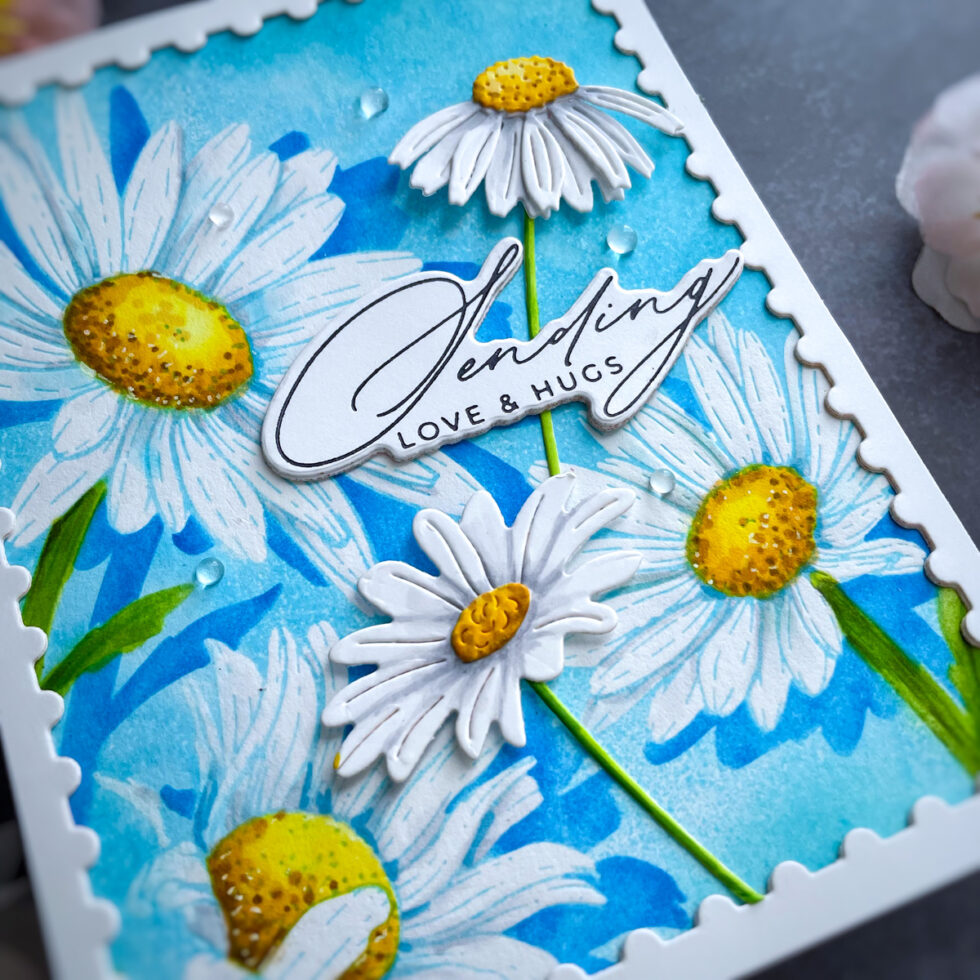
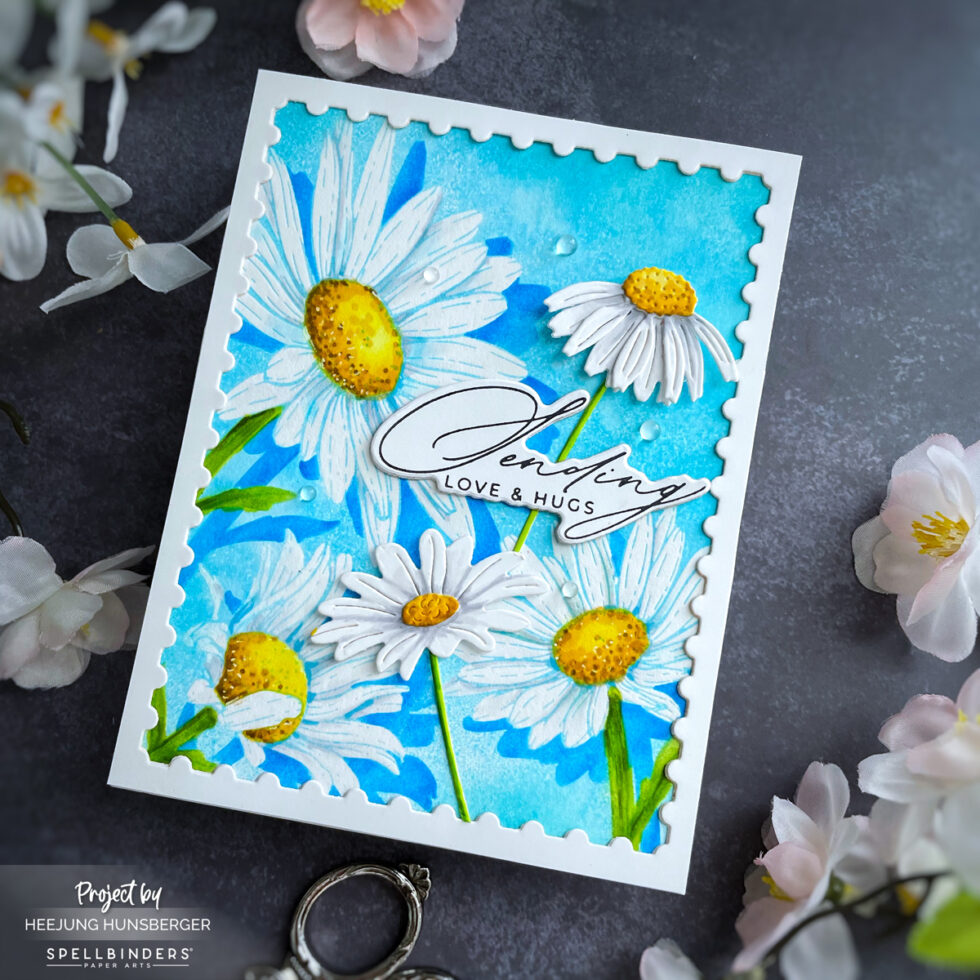
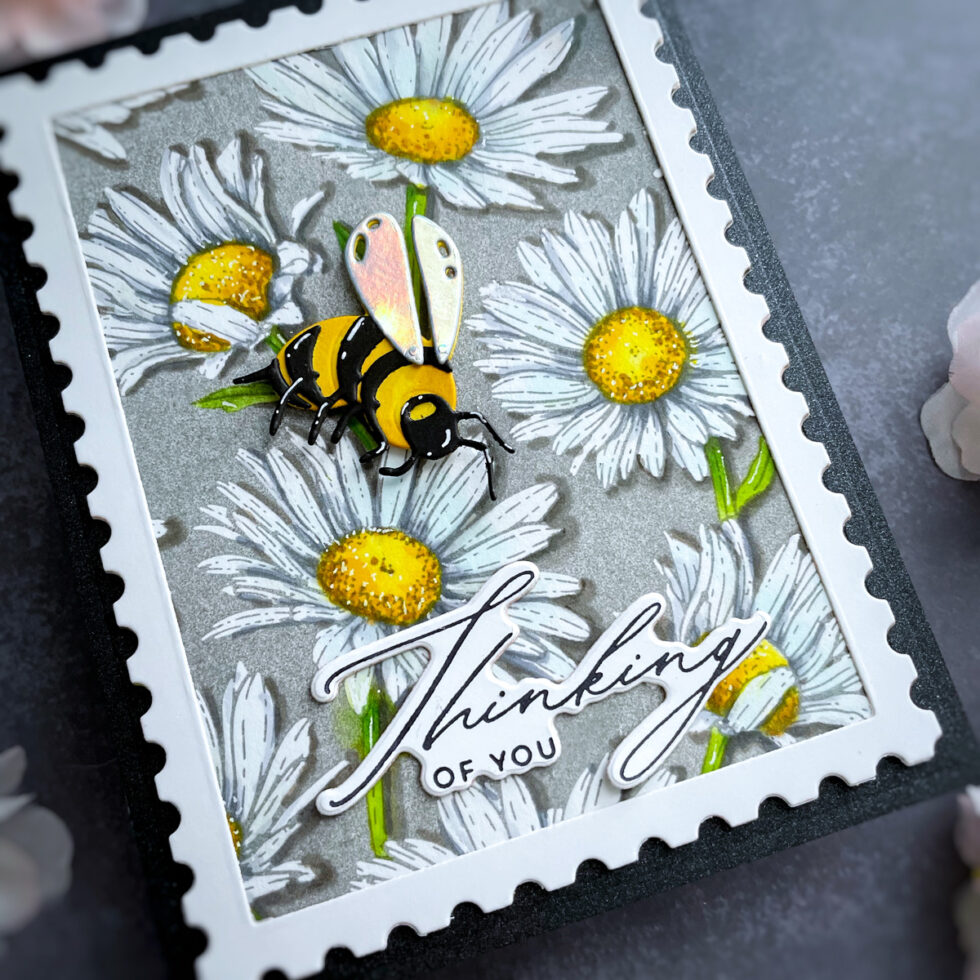
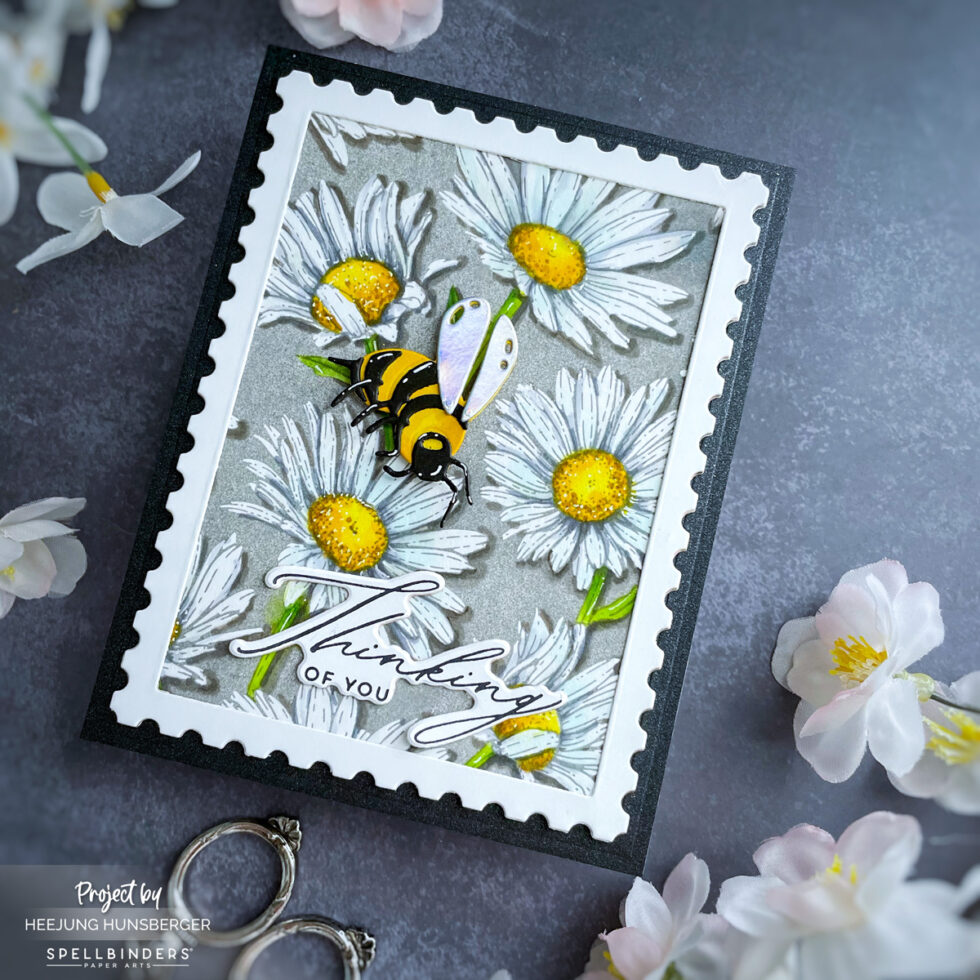
I colored the daisies using the coordinating stencil and blending brushes. I really love how the shadow parts from the stencil made the daisies pop.

After stenciling the daisies, I added details using markers.

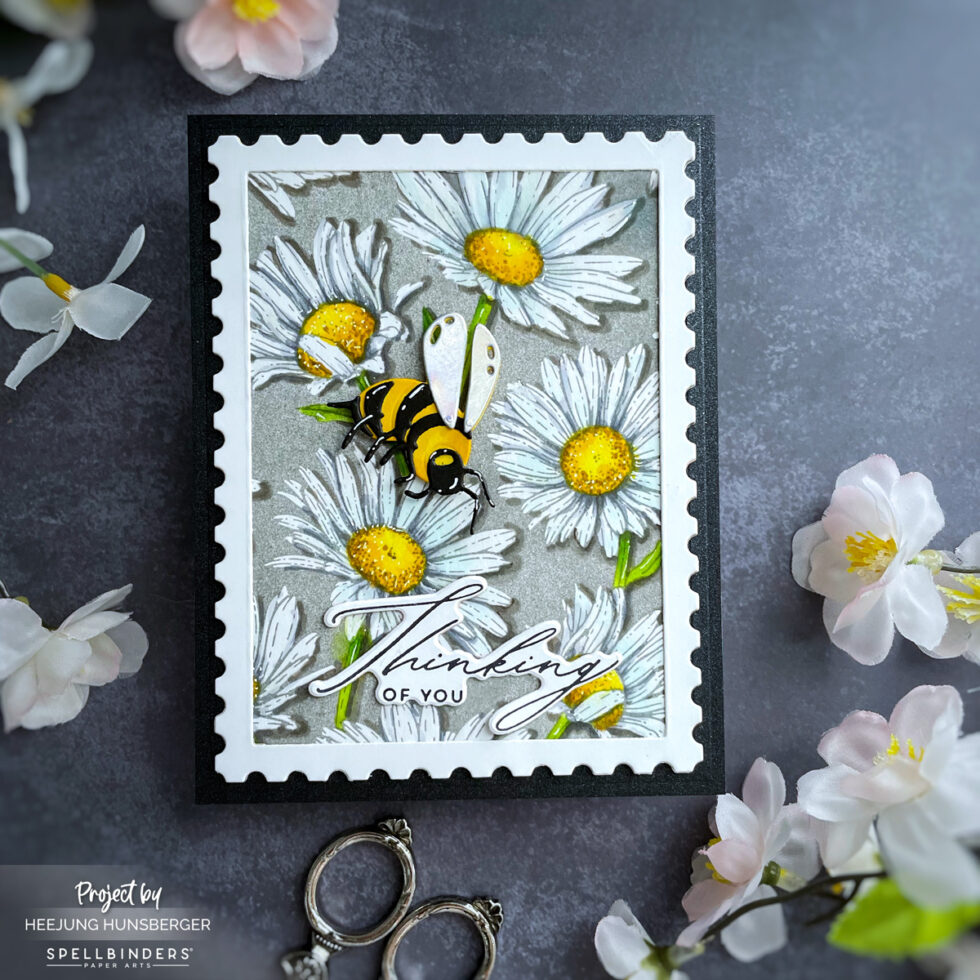
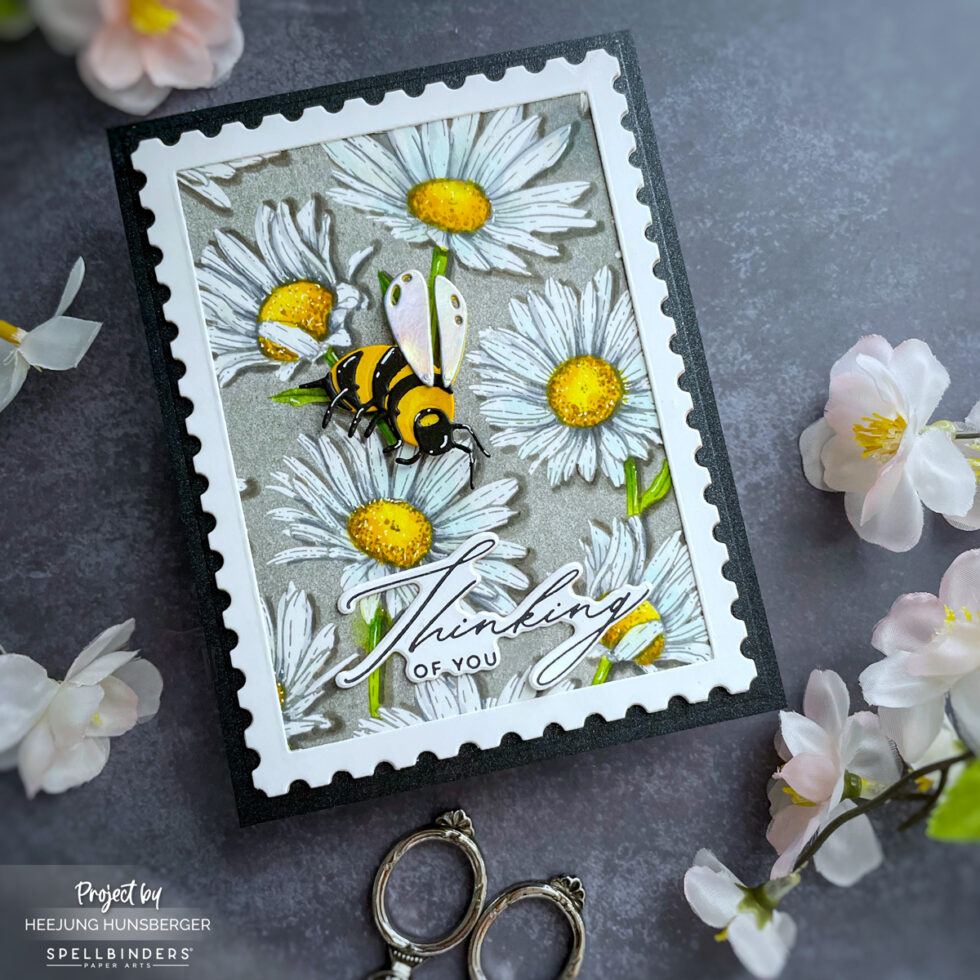
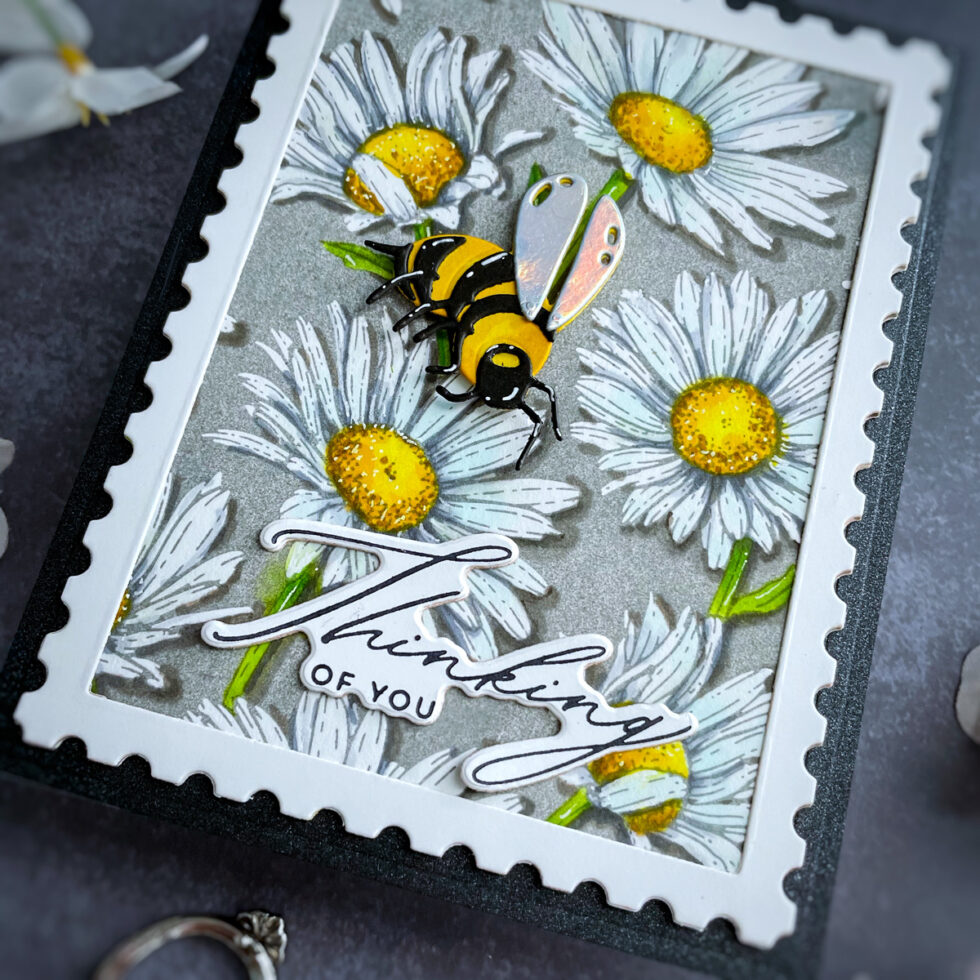
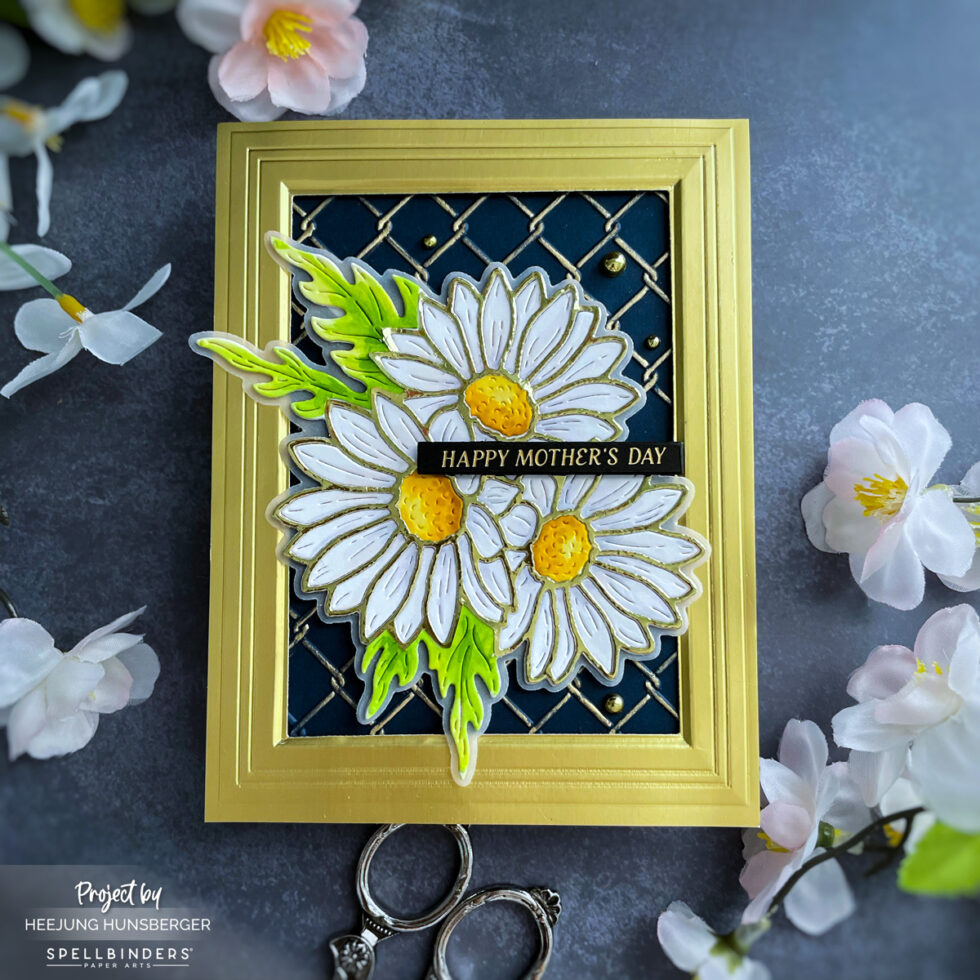
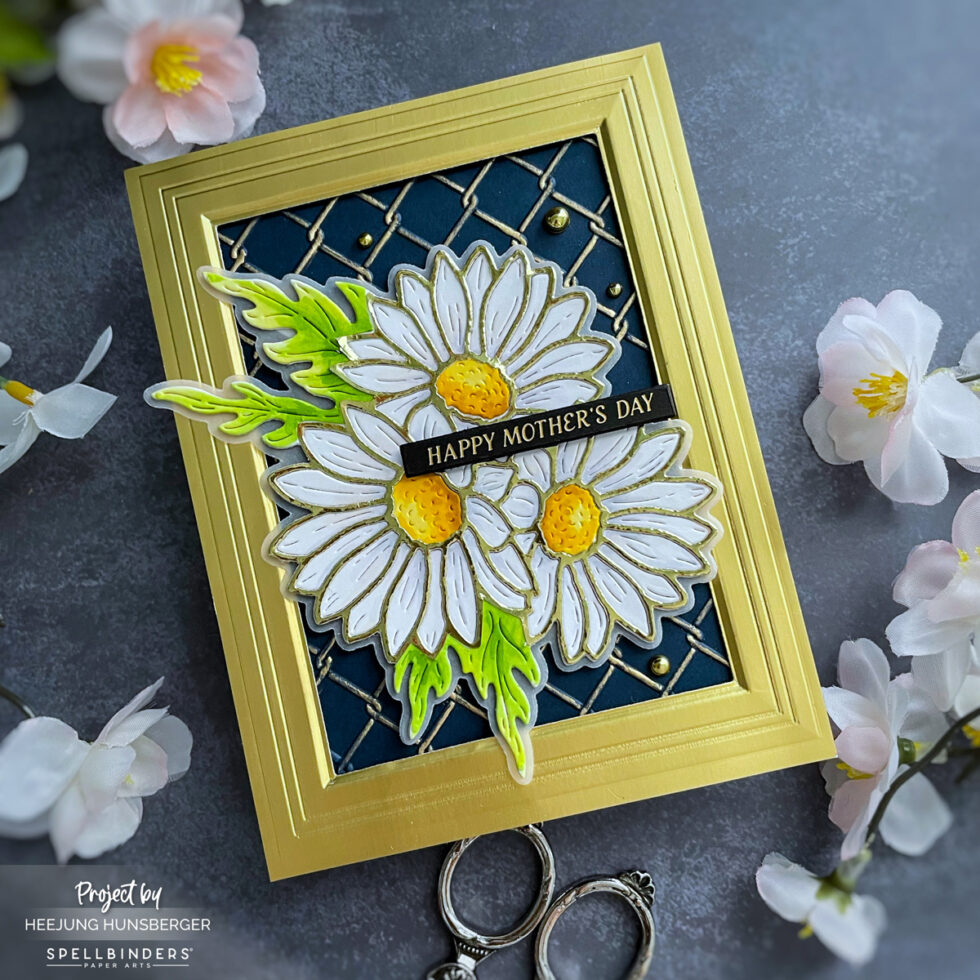
I die-cut the Daisy die from the Floral Sterms on white card stock and colored the daisies with markers. Attach the daisies to the vacant area of the background.

I die-cut the frame from the Postage Edge Rectangles Die on white card stock and attached it to the pressed images.

I pressed the Crafty Hugs Sentiments Plate in black BP ink using the BetterPress System.

Die-cut the Sentiments using the coordinating die and attach it to the card.

I completed the card using the Clear Drops embellishments.

Think of You Card

First, I embossed the Molded Frames 3D embossing folder onto brushed Black cardstock. Then, I pressed the Daisy Shower BP plate with grey ink onto the Porcelain BP A2 cotton card panel using the BetterPress System.

I die-cut the frame from the Postage Edge Rectangles Die on white card stock and attached it to the pressed images.

I brought the Daisies to life by adding intricate details with a white gel pen and vibrant markers. This technique not only adds depth but also makes the Daisies truly stand out and radiate charm.


I pressed the Crafty Hugs Sentiments Plate in black BP ink using the BetterPress System.

I die-cut the bee using the Honey Bee Jar die set and attached it to the card.

Daisies Happy Mother's Day Card

I really love the Molded Frames 3D embossing folder from this collection. I created a gold frame for this card.

I first die-cut a window in matte gold metallic cardstock using the rectangle die, then embossed the frame using the Molded Frame 3D embossing folder.

I used the Floral Fence Embossing Folder to emboss the indigo cardstock.

I used metallic gold markers to color and emboss the fence.

Attach the gold picture frame to the embossed fence panel.


I die-cut the Yana’s Daisies base on vellum paper.

I die-cut the Daisies on white card stock and gold metallic stock.

I colored the daisies with markers and added gold edges to them.

I hot-foiled the sentiments using the Ideal Moments Press Plate on black cardstock and die-cut it with the coordinating die.


I completed the card with the gold embalishments.
 
Thank you for reading this posting. I look forward to sharing more content with you soon. Please leave any comments if you have questions about these projects..

Love,

Heejung

SPPLIES

When you make purchases through affiliate links, it won’t cost you anything extra. I am grateful for your support!