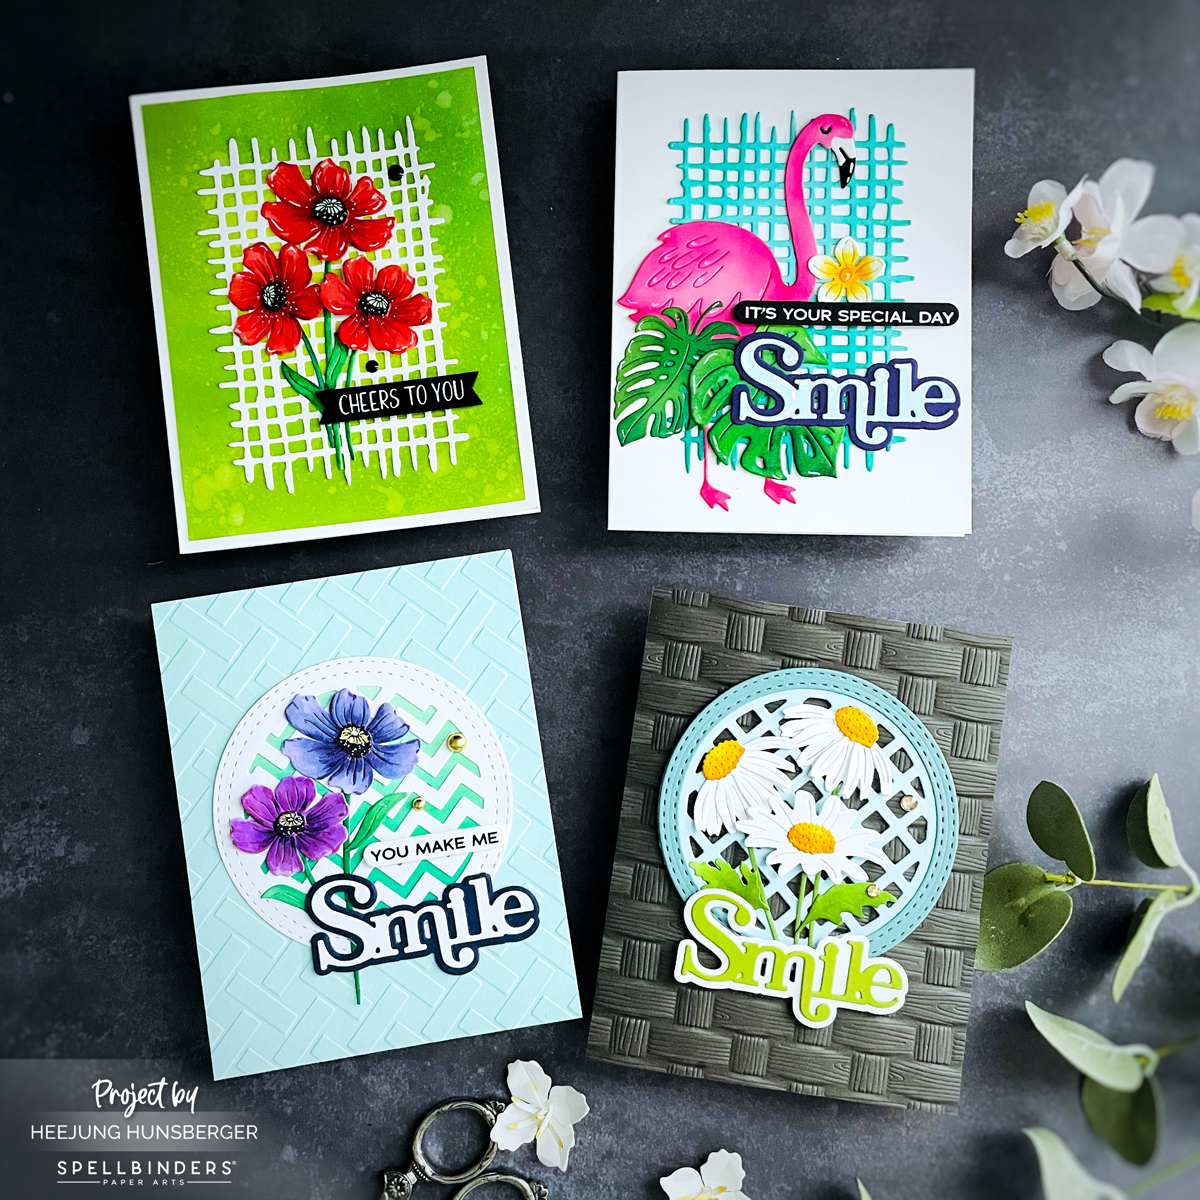
I’m thrilled to share 4 cards featuring the Spotlight Frames and Floral Collect by Lisa Horton from Spellbinders’ May new releases.
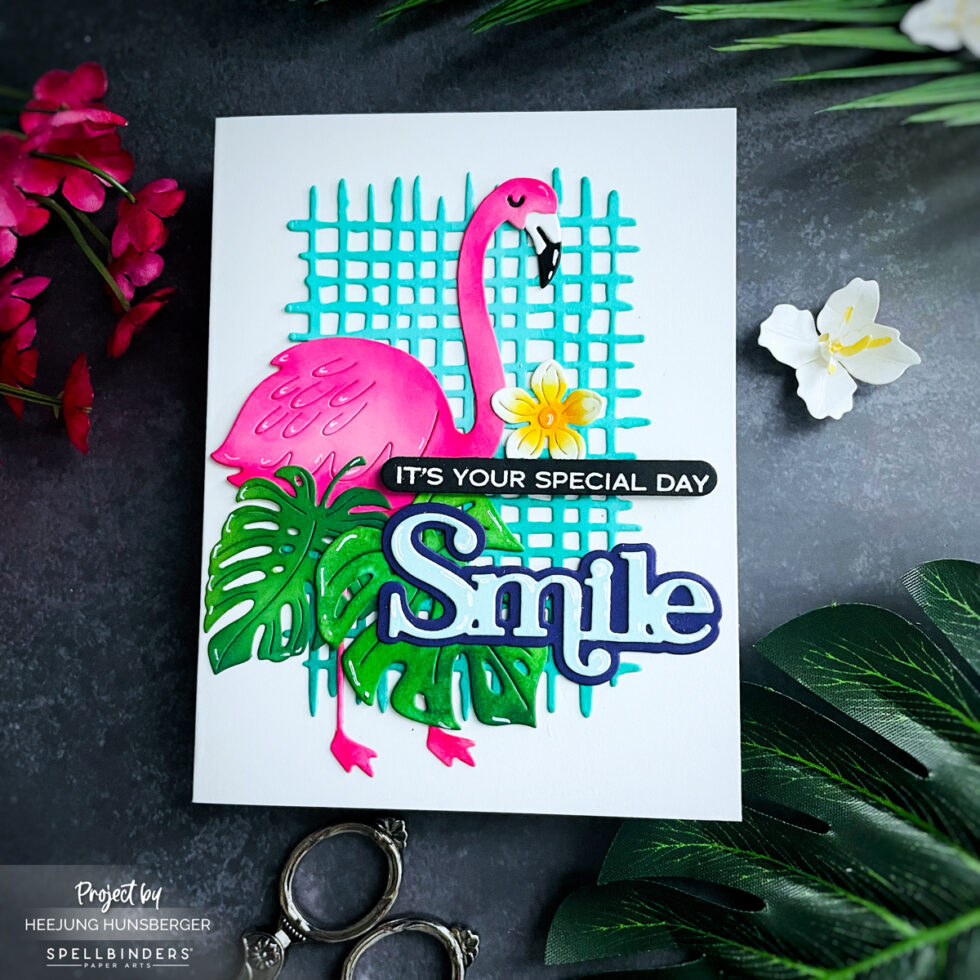
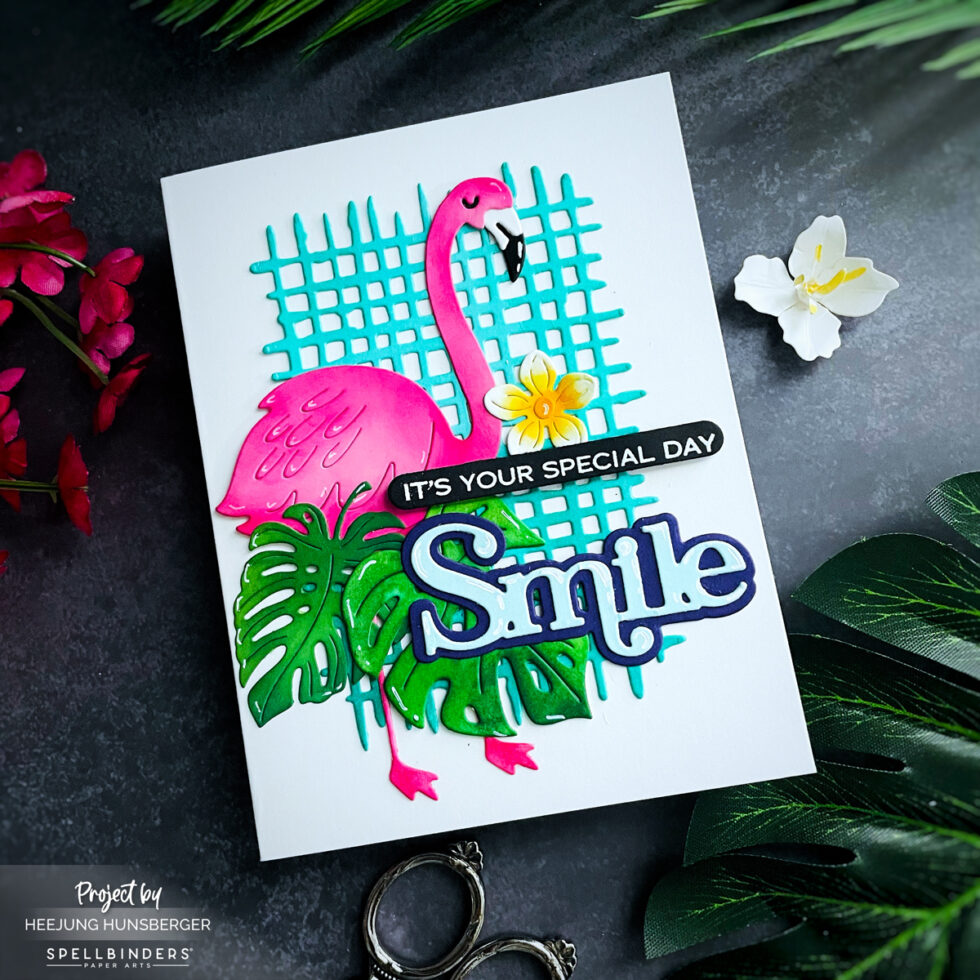
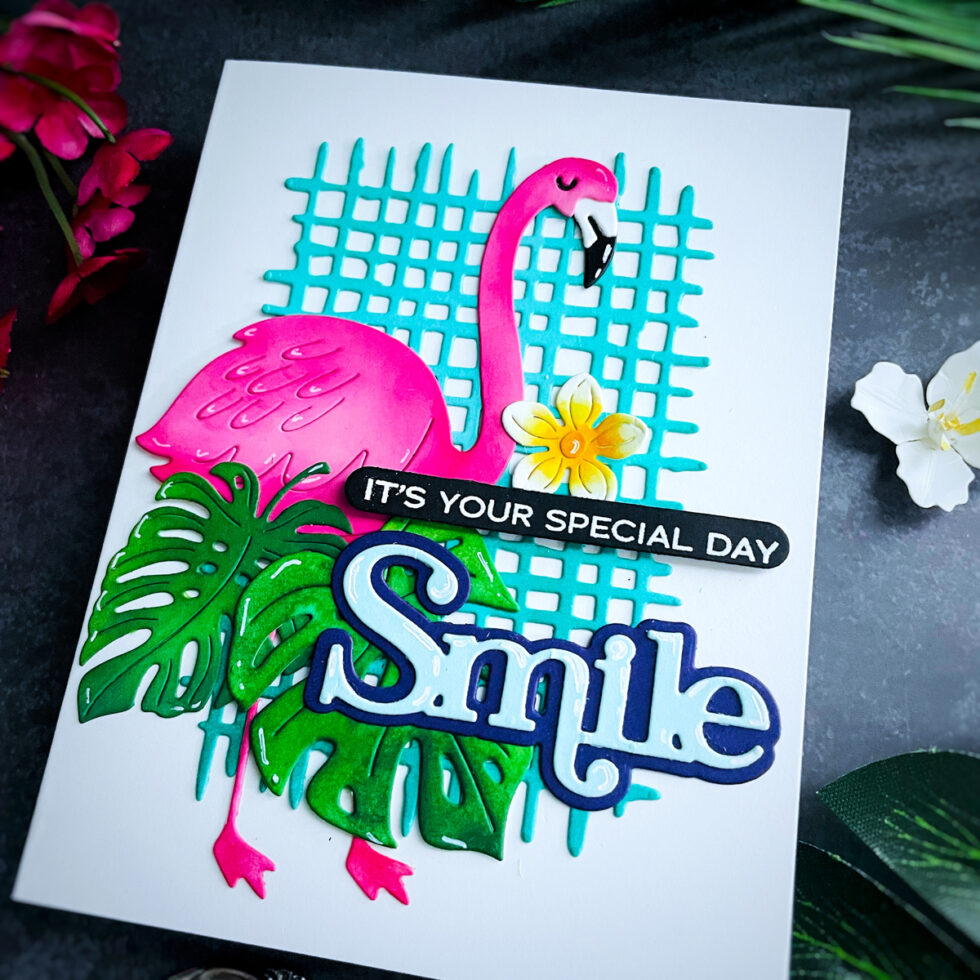
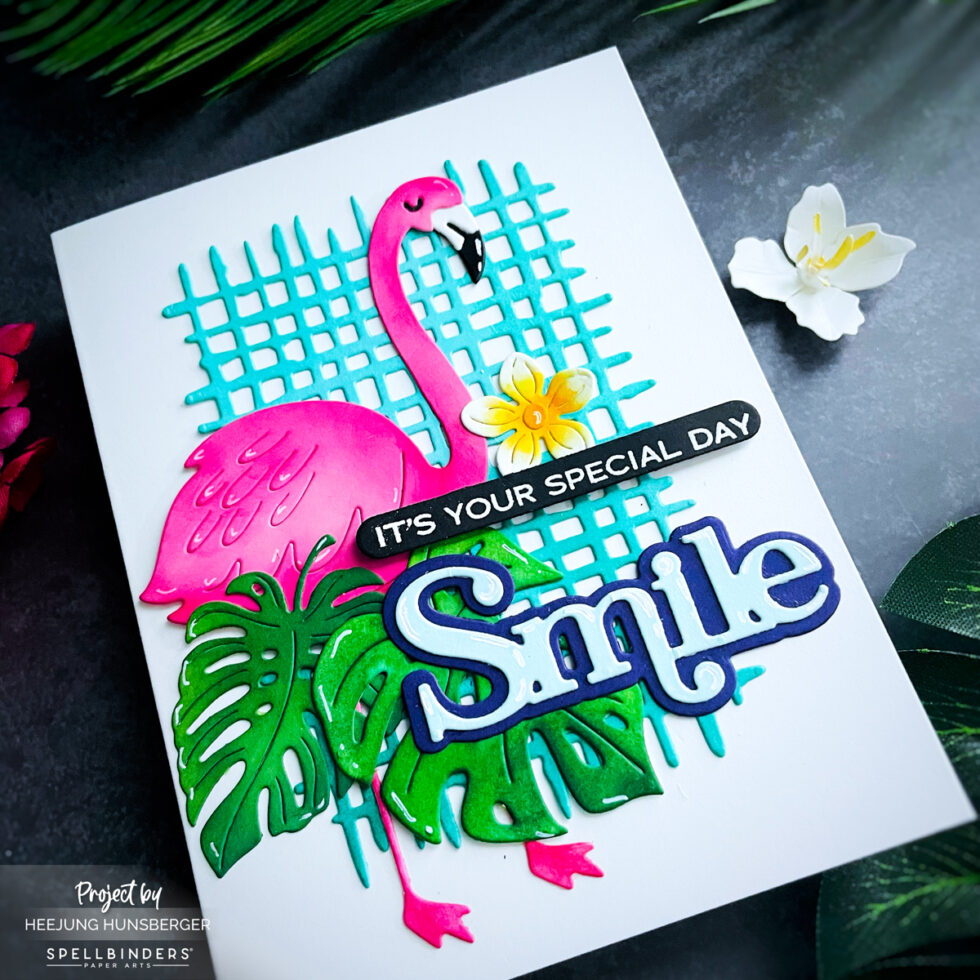
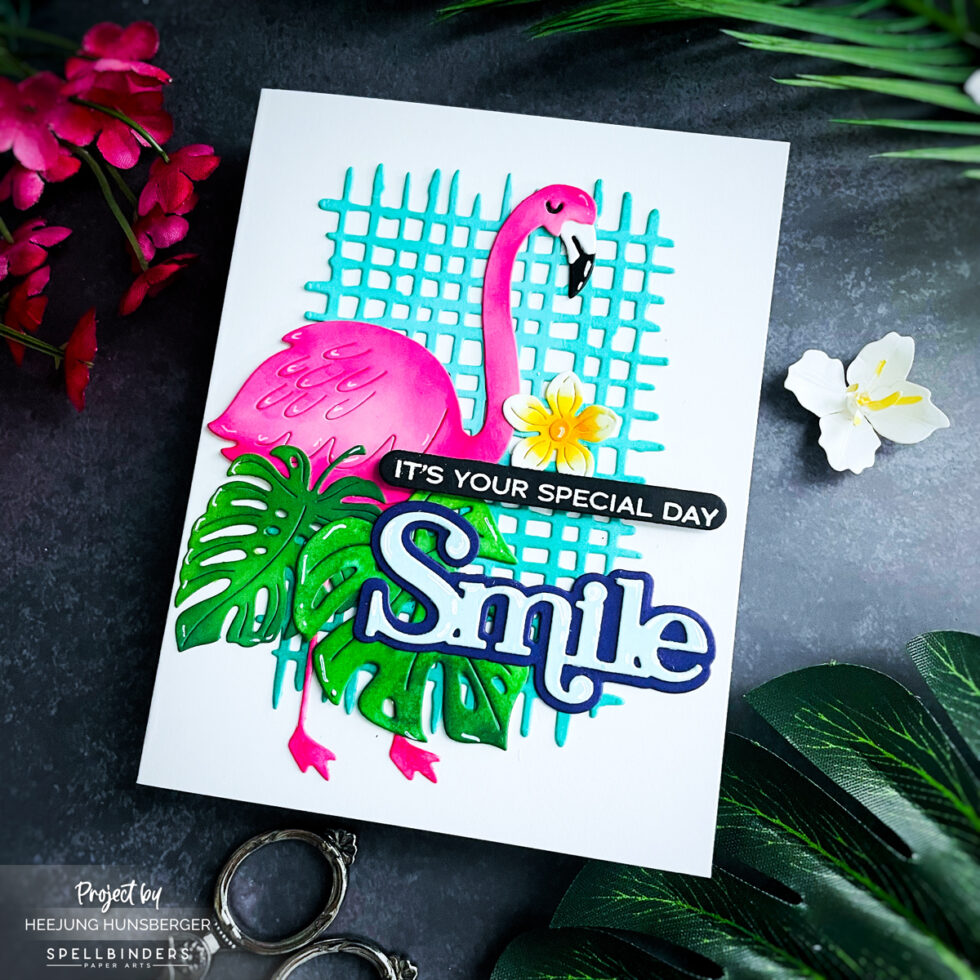
Flamingo Smile Card
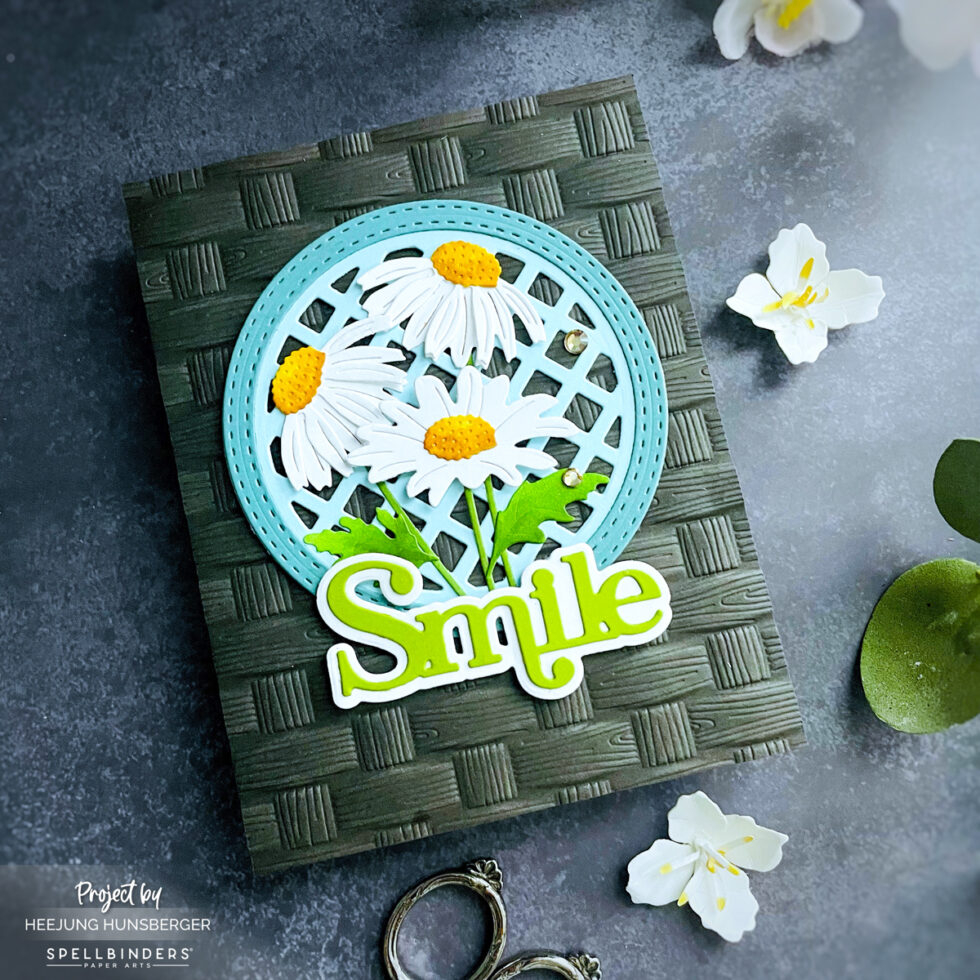
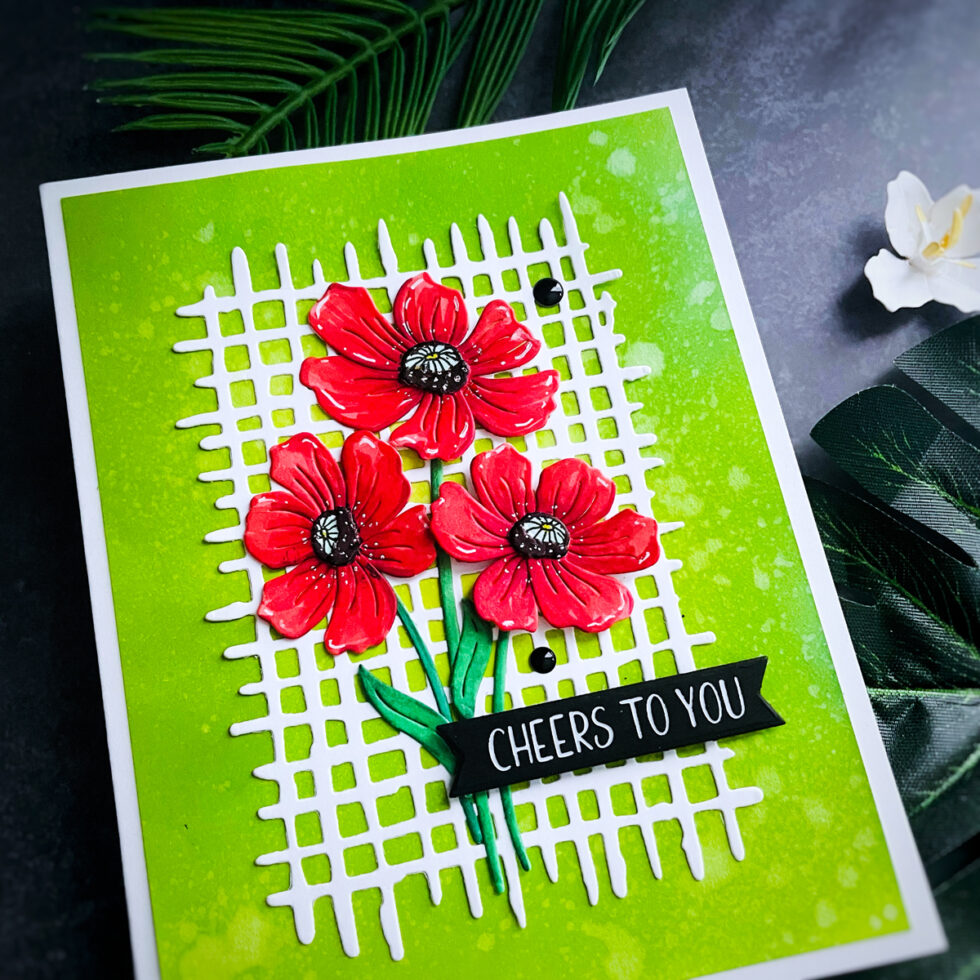
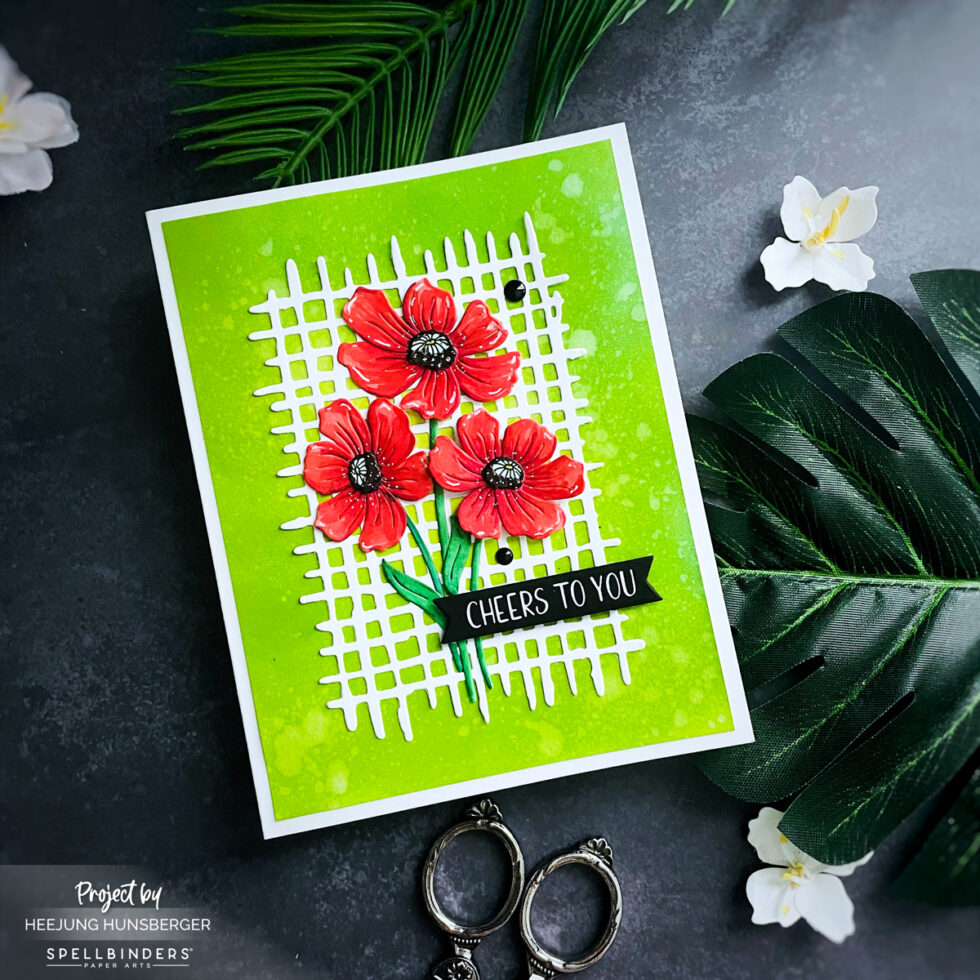
I love this month’s large Die Club’s Flamingo, and I used it with the Woven Lattice Texture die and You Make Me Smile stamp and die from the Collection
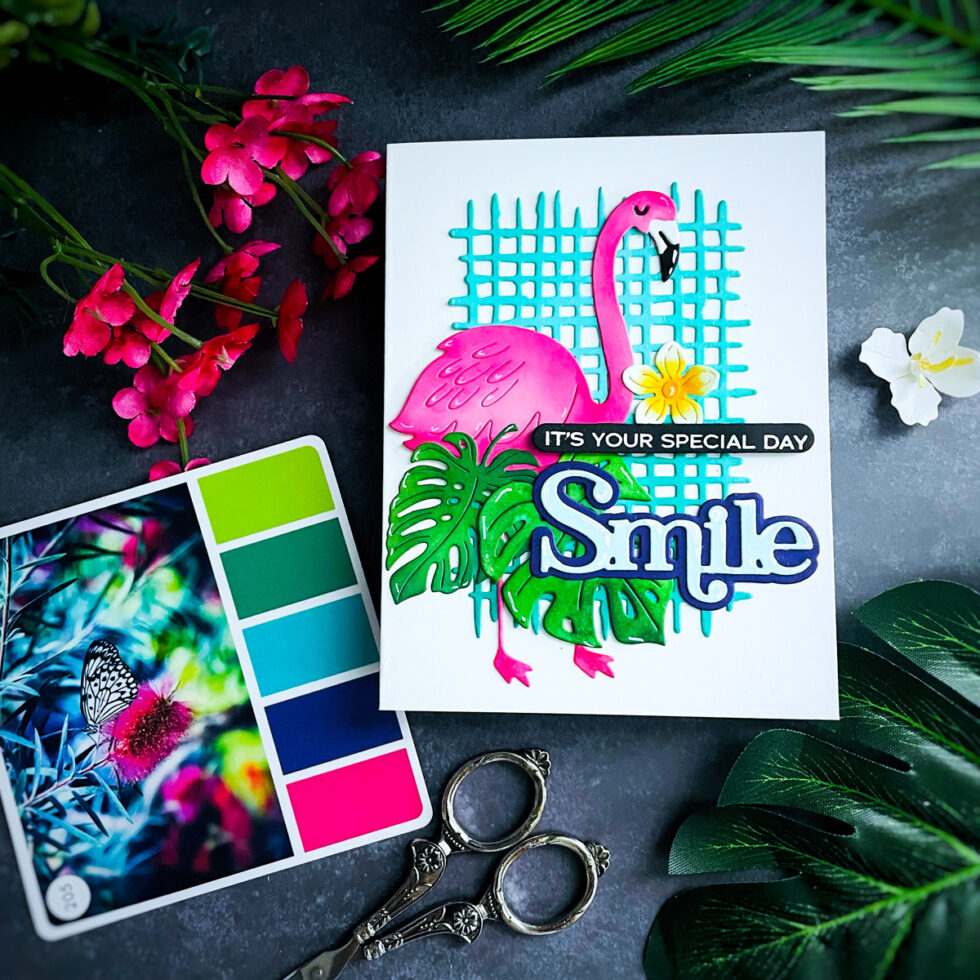
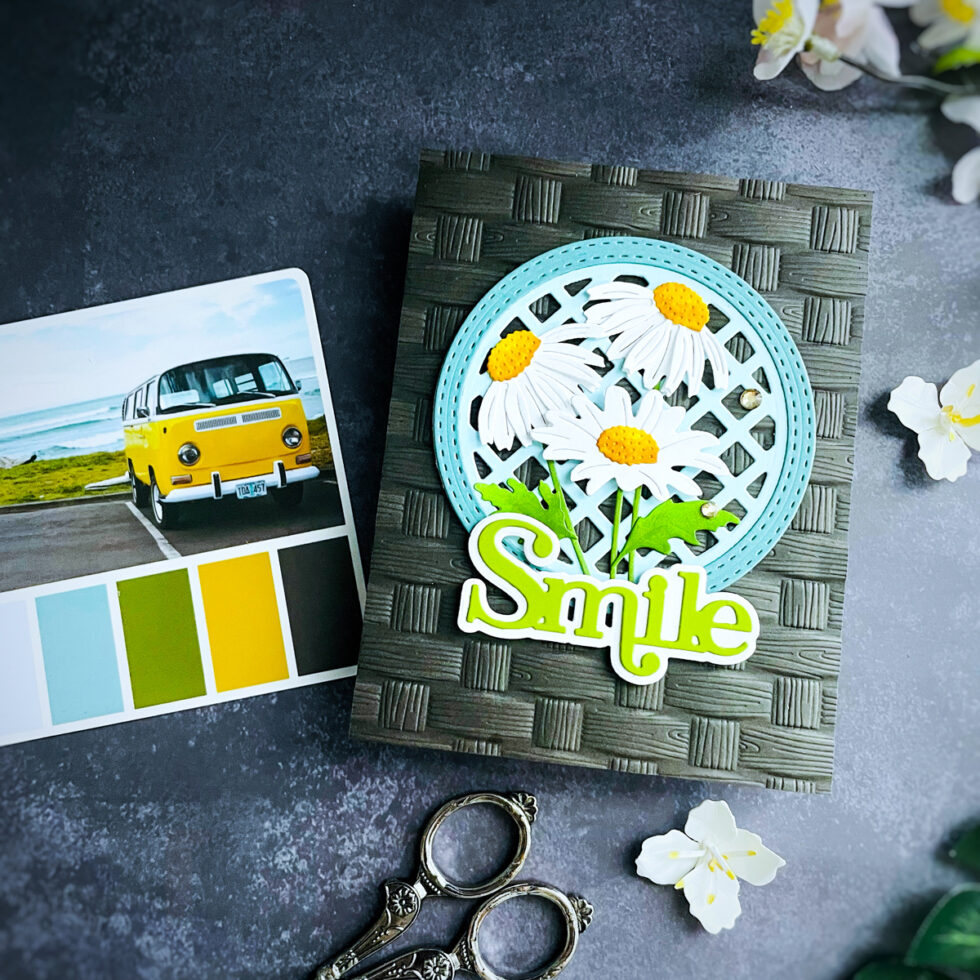
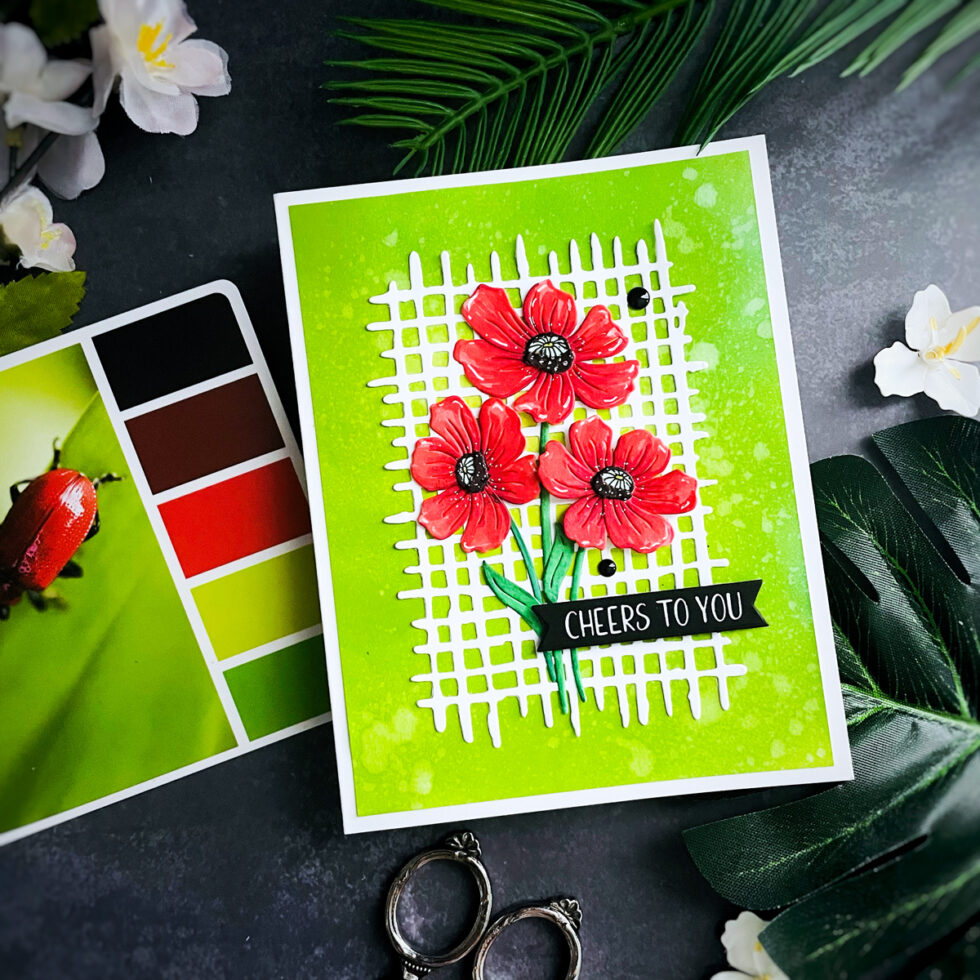
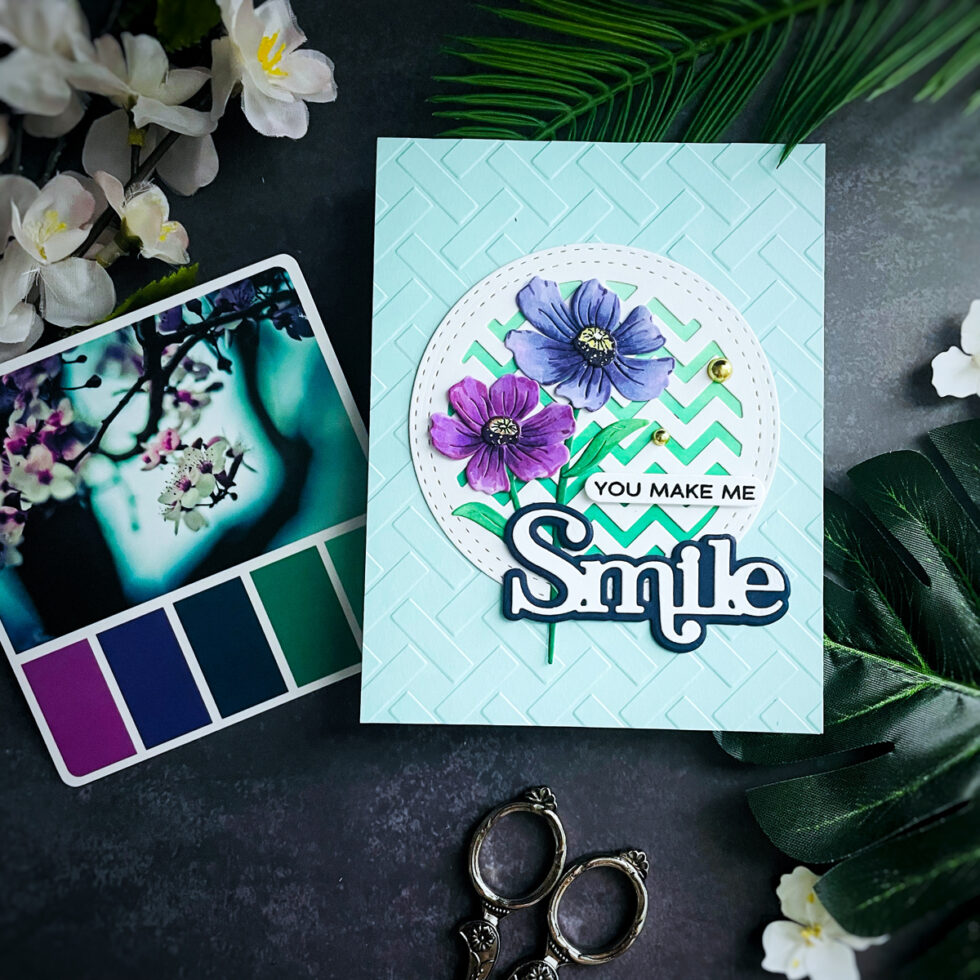
I finally purchased a Sara Hrenaeclark color palette cube from my wishlist. It has been a big help for my cardmaking, as I experiment with mixing colors and combinations. I usually don’t use many colors in one card, but I want to try mixing some.
I picked the #205 palette and applied it to this card.
First, I die-cut the Wowen Lattice on the teal card stock for the background.
I die-cut the flamingo from Fruit Punch cardstock and shaded the edges with blending brushes. Then, I added highlights with a white gel pen.
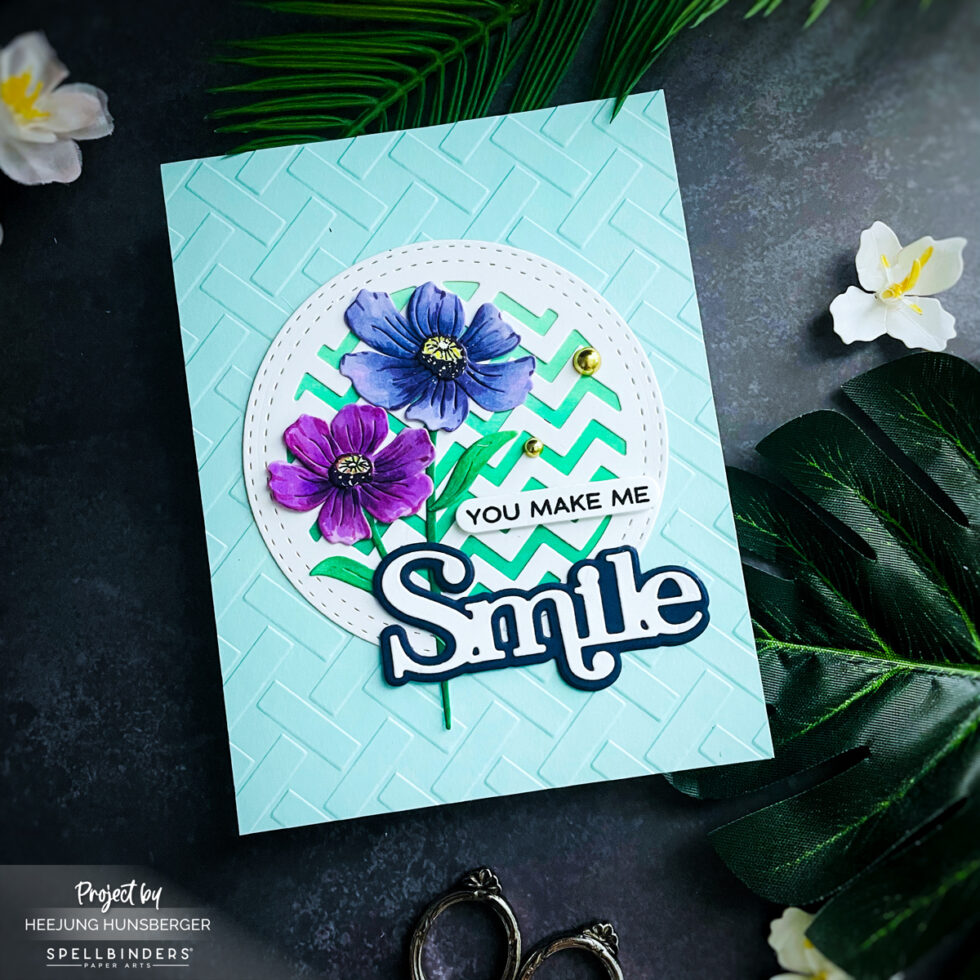
I stamped the “You Make Me Smile” Sentiment Stamp with Versa Watermark ink on black cardstock, applied white embossing powder, and die-cut it with a coordinated die.
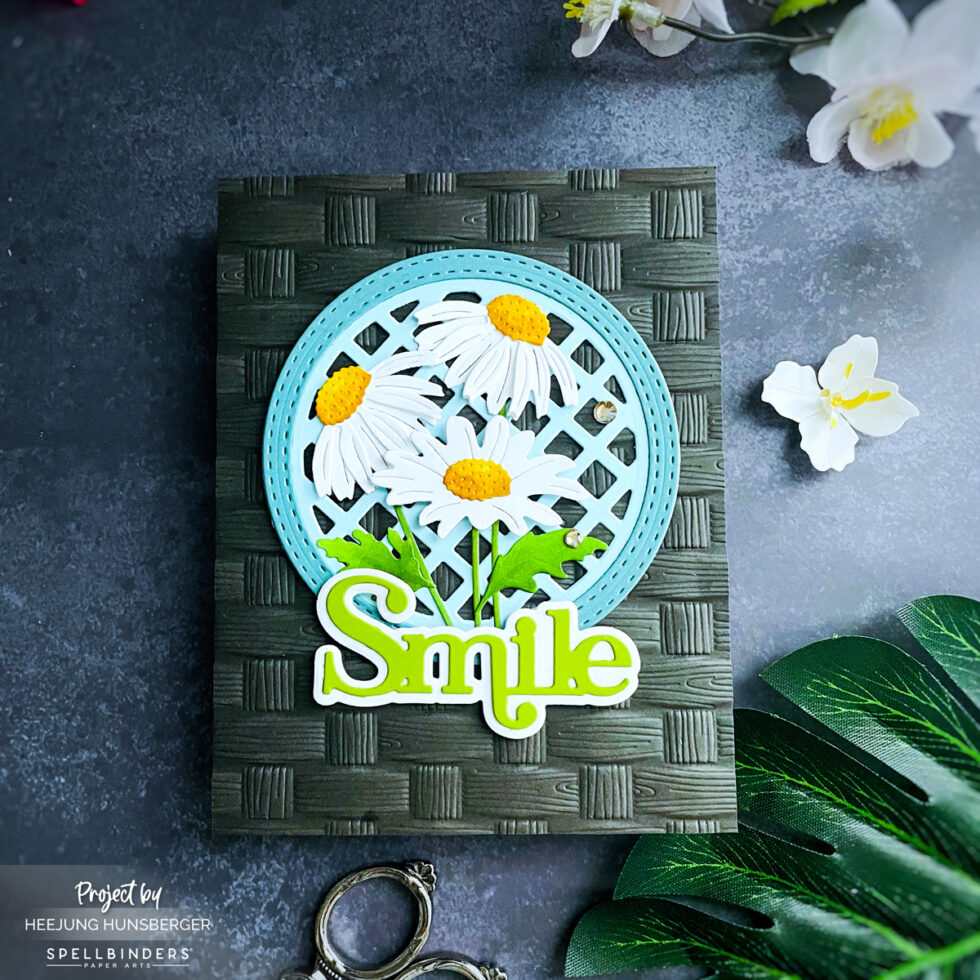
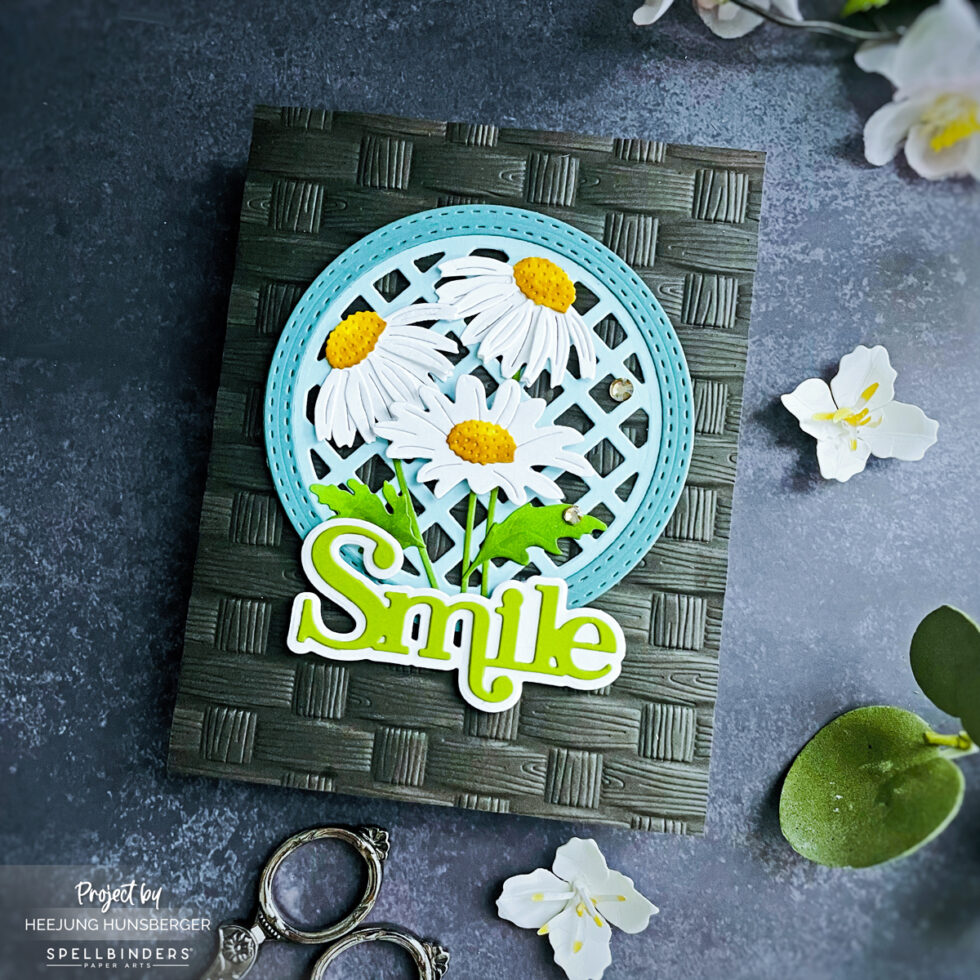
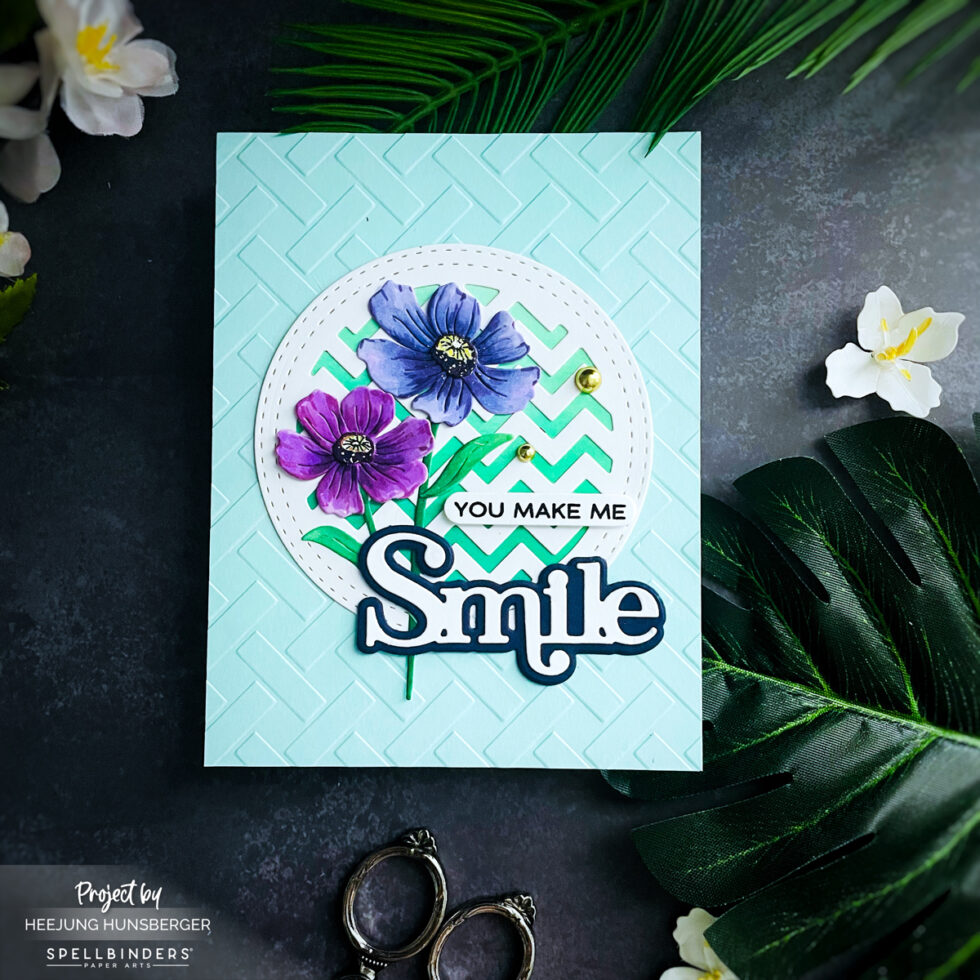
I used the embossing Folder Club of May 2024 for the background.
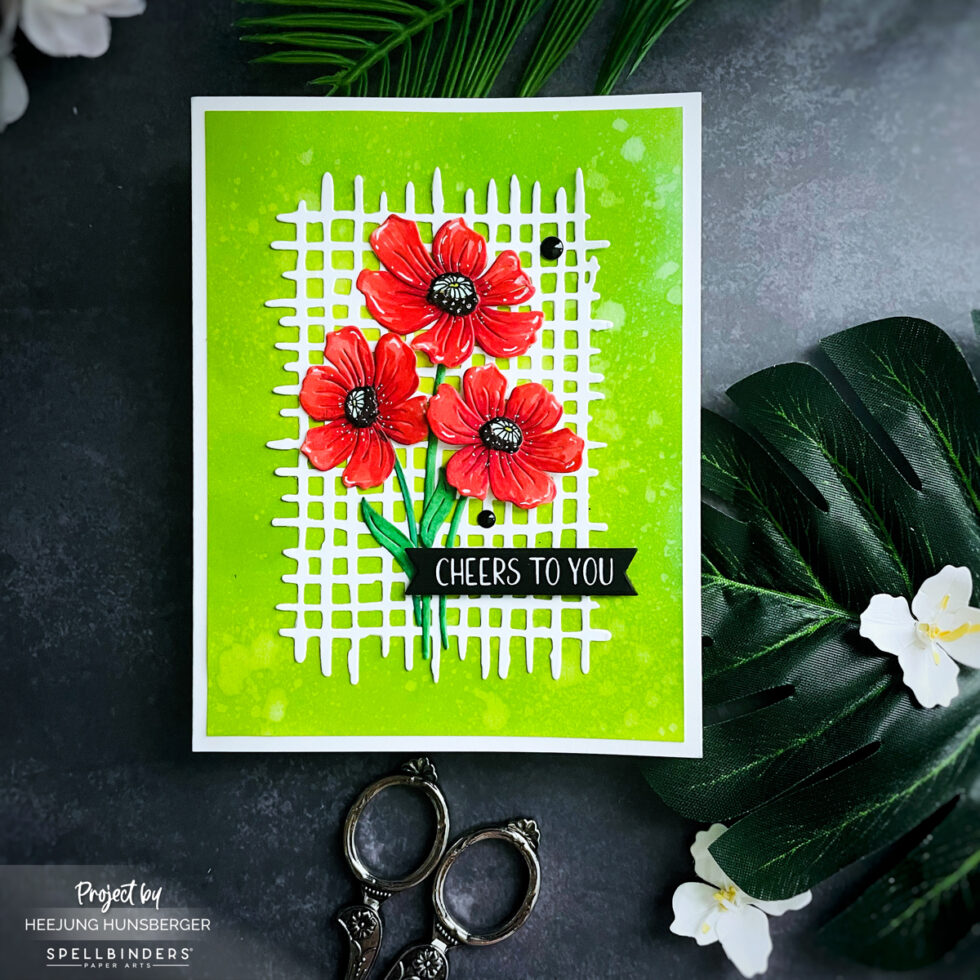
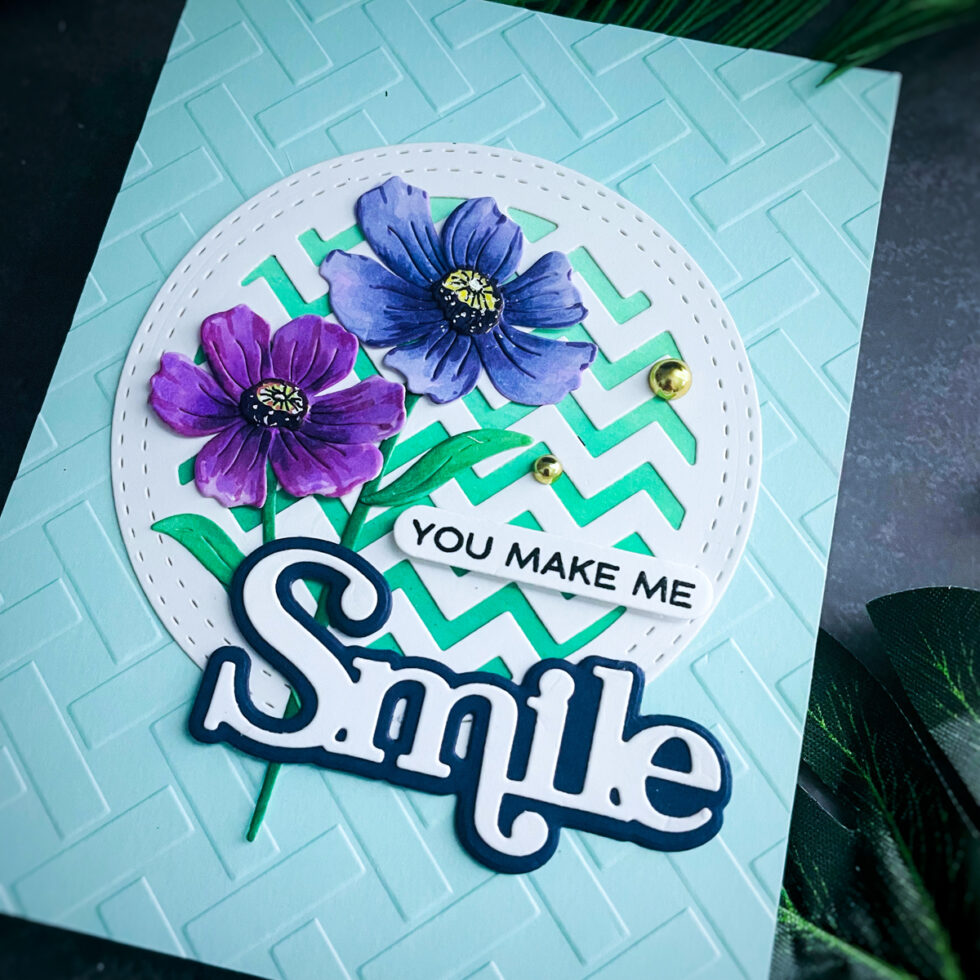
I die-cut the Anemonies on white card card stock, and colored it with markers.
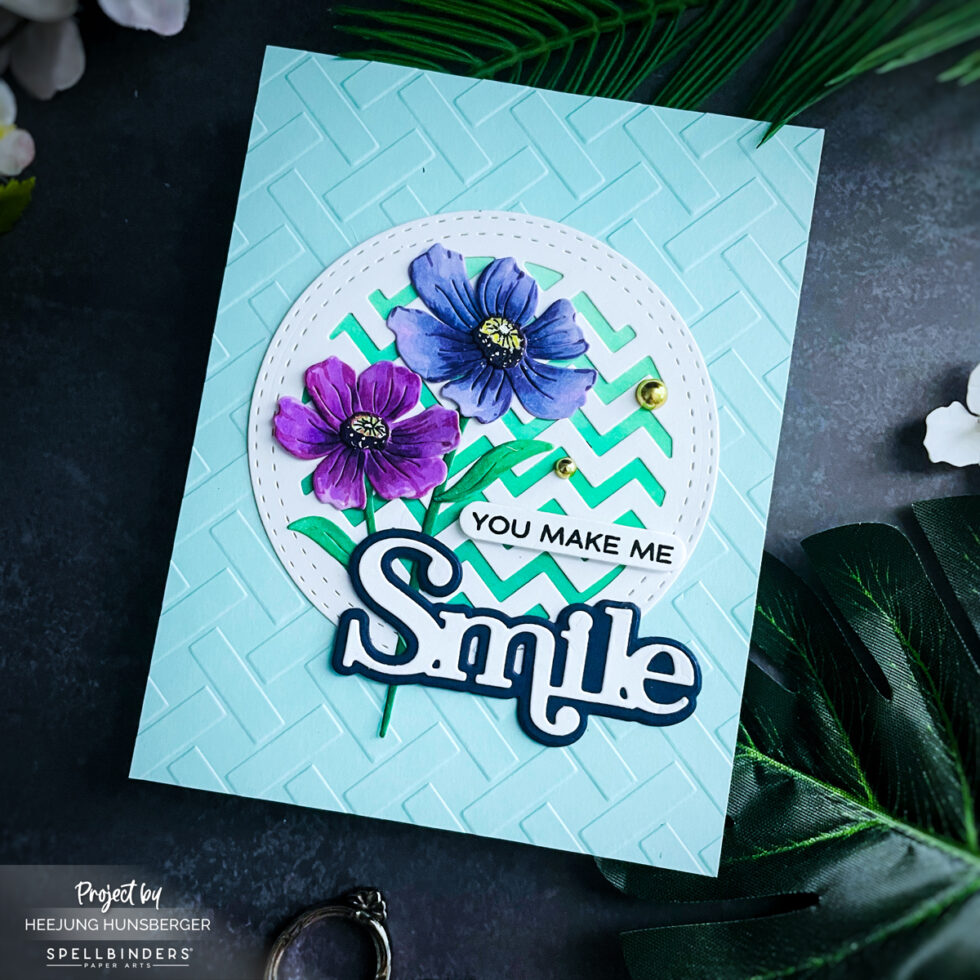
I used the color palette a little bit, and I didn’t want a dark background color, so I embossed it with an embossing folder on the waterfall color card stock.
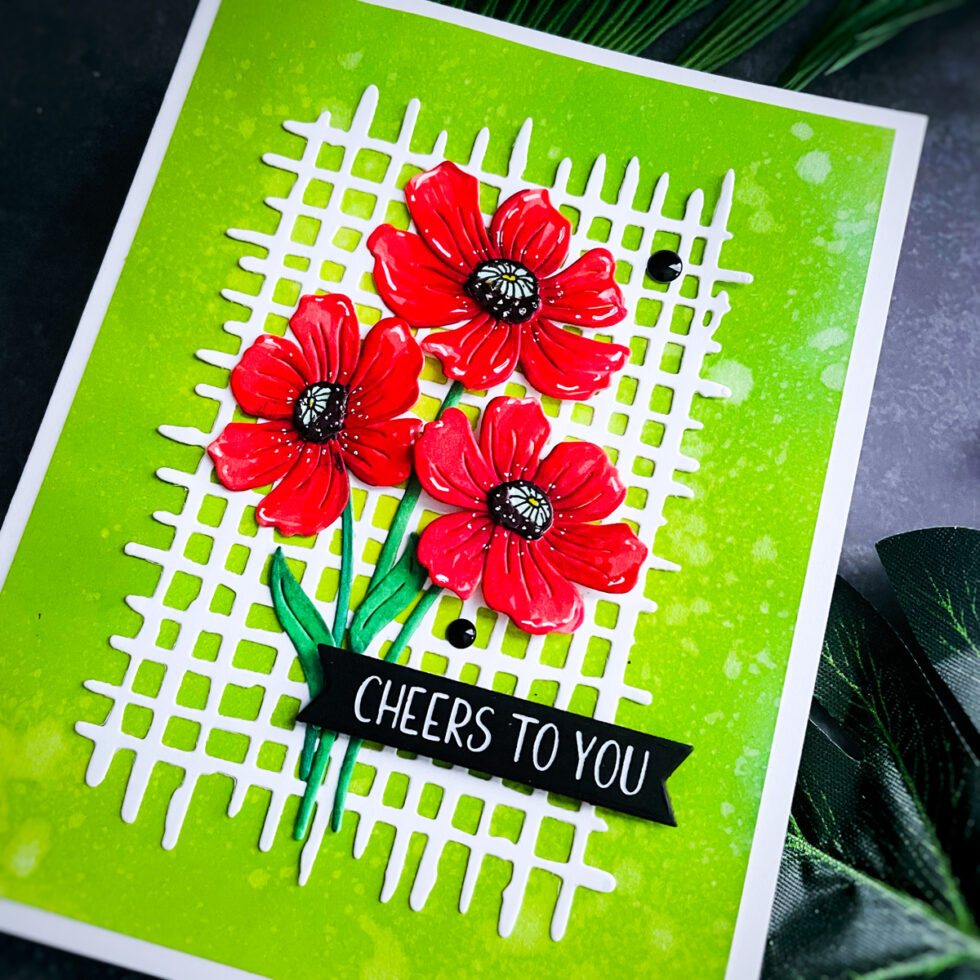
I added some dots and detailed the flower with a gel pen and a yellow acrylic pen.
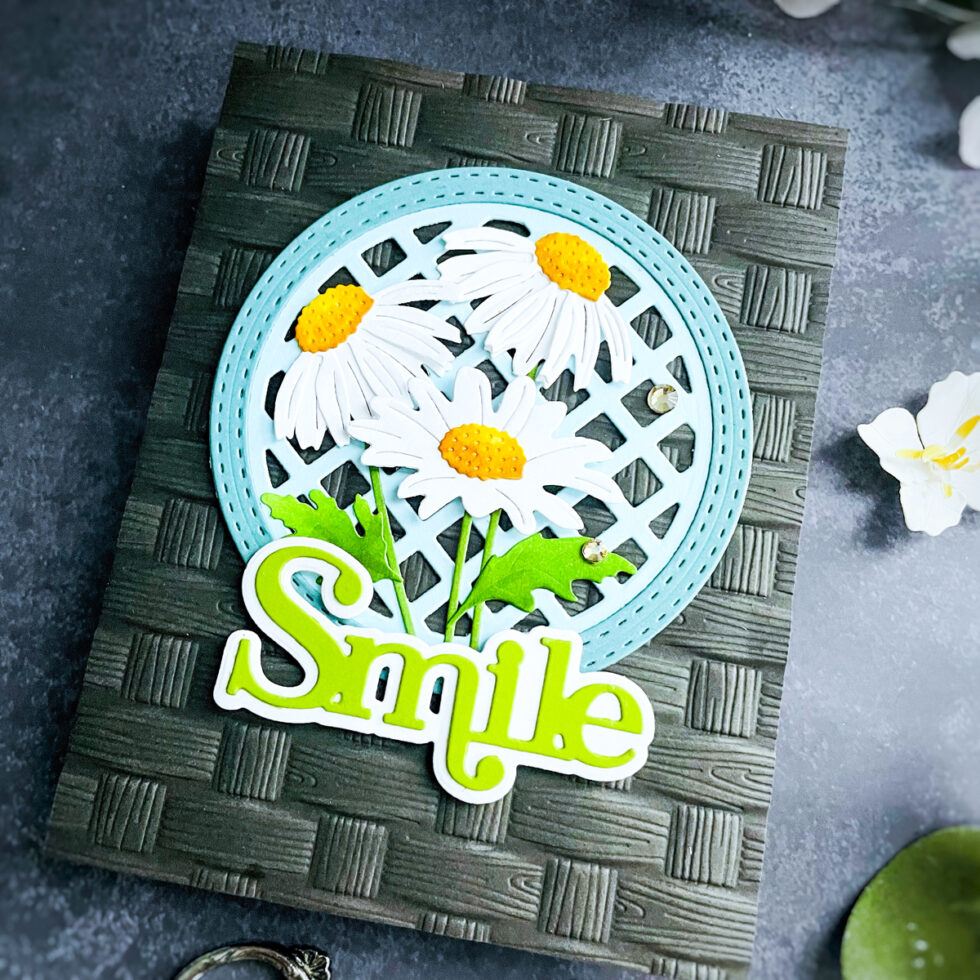
I layered the circle with a green ombre beyond the stitched edge circle frame.
(I used the blending brushes for the ombre)
I am glad you took the time to read this post. I hope it has motivated you to unleash your creativity. Do not hesitate to contact me if you have any questions or feedback. I’m looking forward to sharing more content with you soon.
Love,
Heejung
SUPPLIES
When you make purchases through affiliate links, it won’t cost you anything extra. I am grateful for your support!