Spellbinders- New Wax Seal Beads and Bead Mixes Card

Hello, crafty friends!

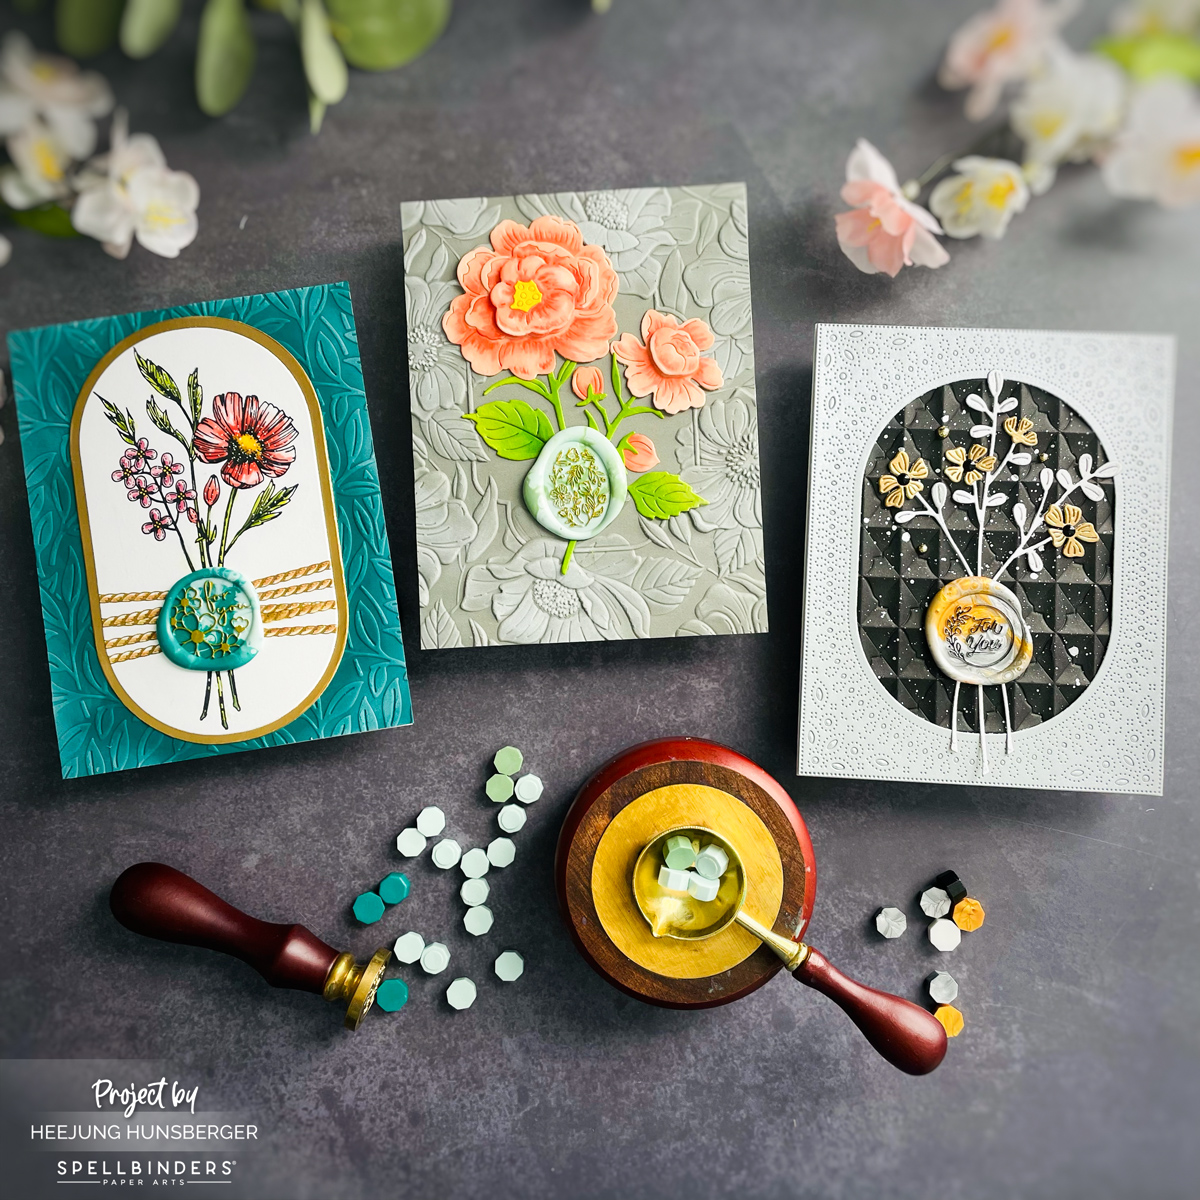
Today, I will share some of my latest projects using the new beads and bead mixes from Spellbinders.


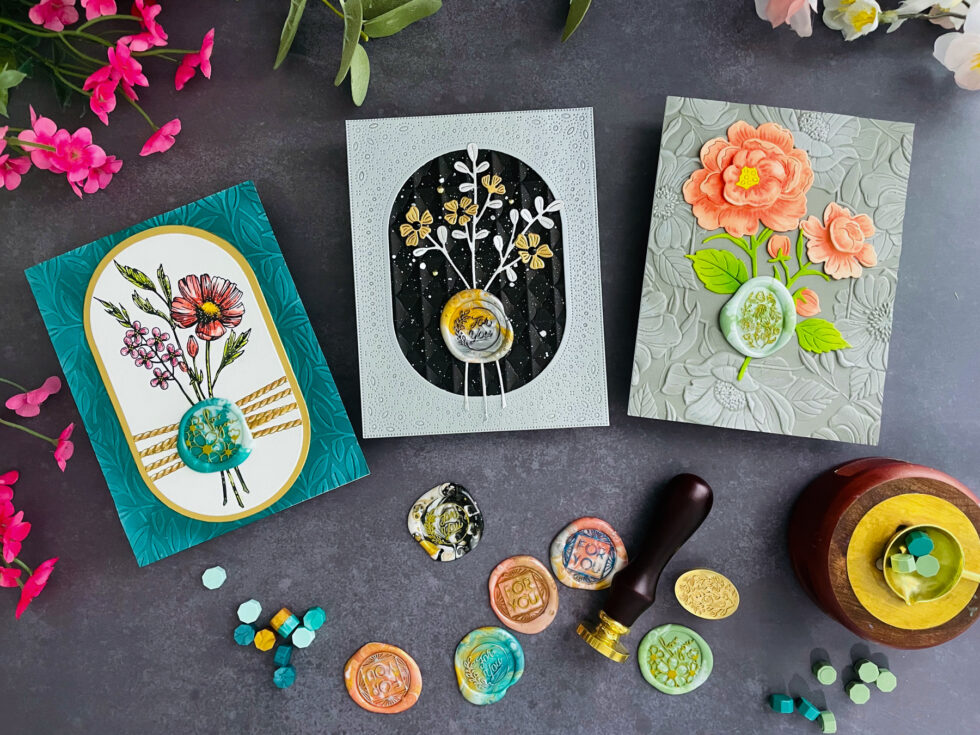
The Spellbinder wax beads and bead mixes are stunning. Today, I am showcasing three sets of color-coordinated beads and cards.


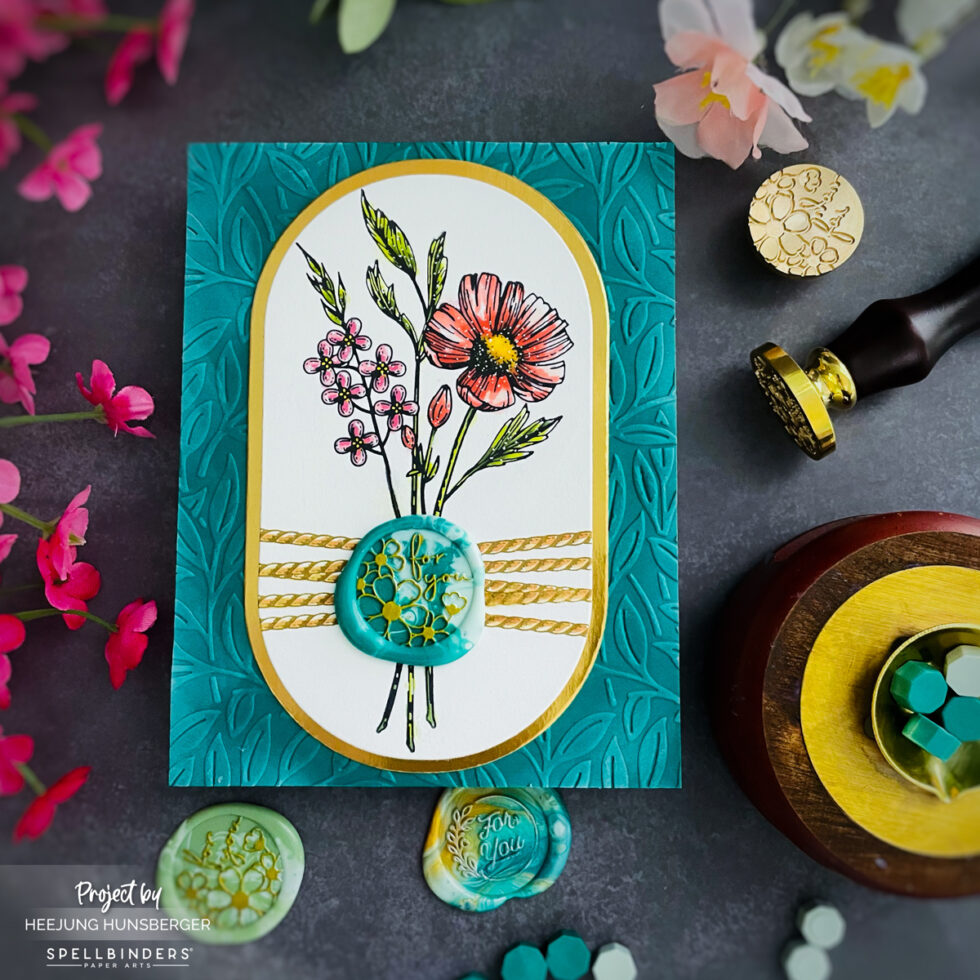
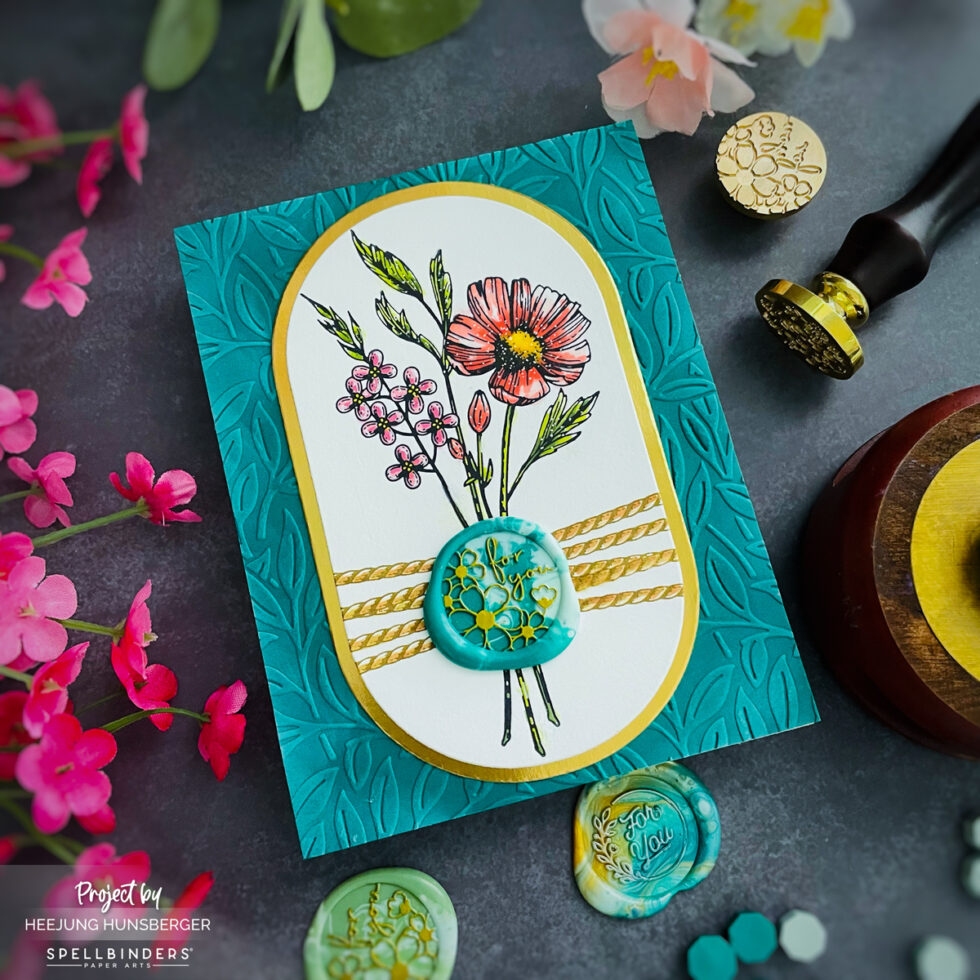
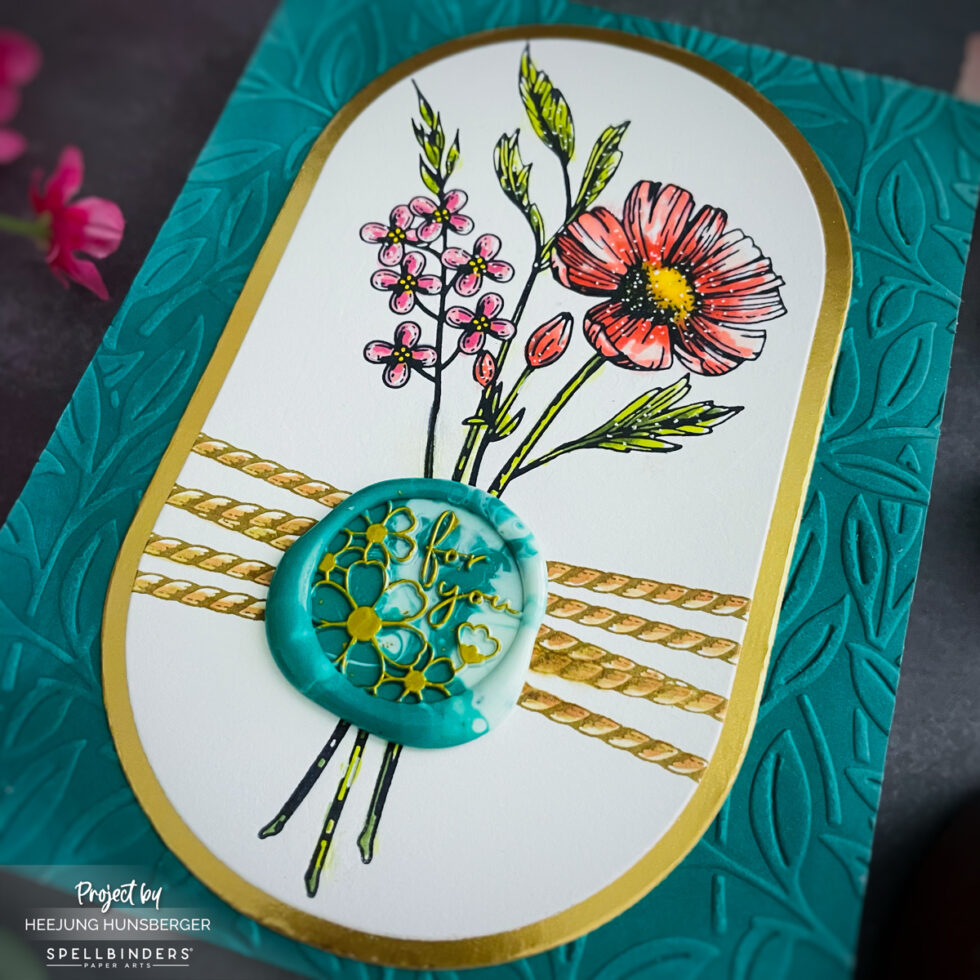
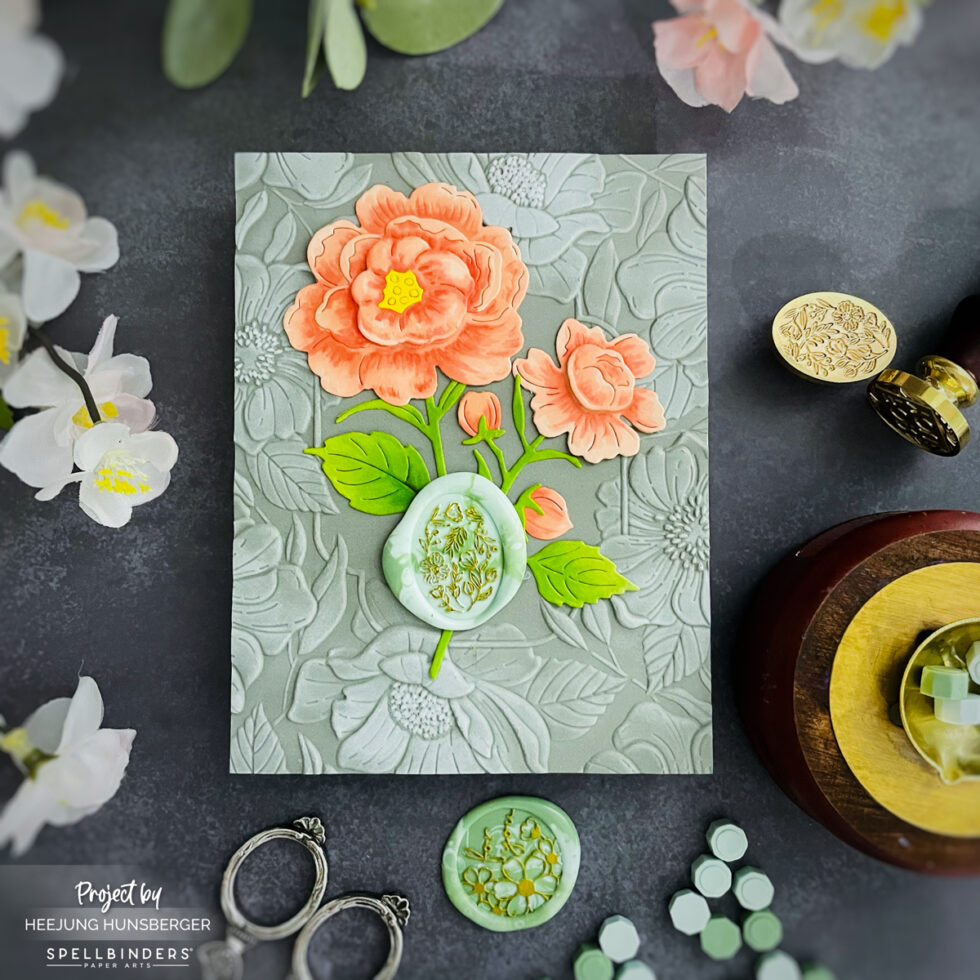
Spruce & Pistachio Wax Beads Mix Card

I made a card using the Sealed Florals BetterPress Plate and the Sealed Cord & Faux Seal Sentiment BetterPress Plate. The card base is Teal, so I created custom bead mixes using Spruce and Pistachio beads that match the color of the card. Spruce and Pistachio color beads are also new releases of this month.

CARD RECIPE:

  1. Trim a piece of Lagoon Color Cardstock to 4.25” x 5.5, and emboss it with the Embossing Folder Club of the Month (Jan 2024)
  2. I used a white Paper Pouncer to apply white ink onto the embossed paper.
  3. Better Pressed the Sealed Florals Plate onto the Better Press Cotton Card Panel with black ink. Then I Better Pressed the Sealed Cord Plate with Tawny Brown ink in the middle of the flower bouquet.
  4. Use markers to color the flower bouquet, then die-cut it with the Essential Modern Ovals die. Cut the gold mirror cardstock with the bigger size of the bouquet image oval and mat it under the bouquet.
  5. Melt the three spruce wax beads and one of the Pistachio wax beads on the warmer spoon.
  6. Pour the melted mixture onto the silicone mat and stamp it with the Bloomy For You Wax Seal Stamp, WSOM Nov. 23.
  7. To add a touch of elegance, use a gold metallic marker to color the wax seal.
  8. Attach the wax seal with glue on the card.

Supplies

BP-116, BP-107, CS-015, BPC-002, BPI-002, SCS-118, S4-1266, 250-S, WSOM-NOV23, WS-111, WS-106, WS-001, PPP-102

Wax Beads Mix- Basic Card

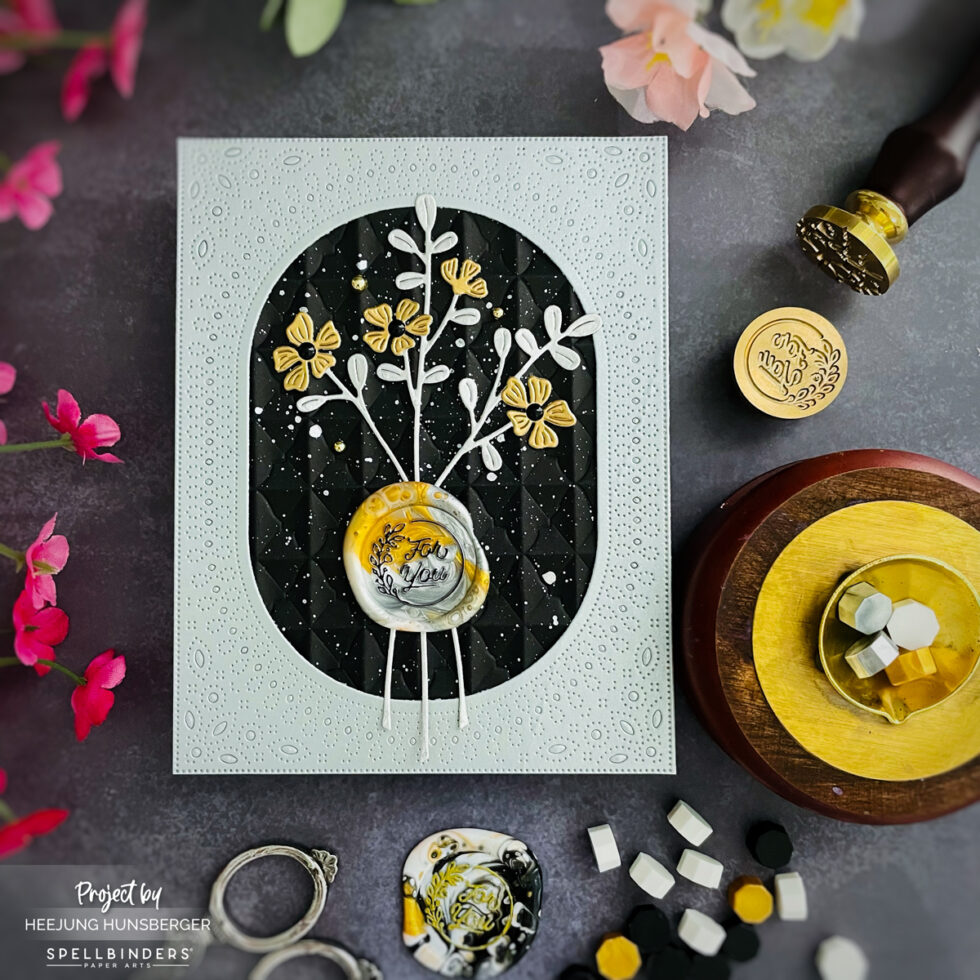
I love all of the new bead mixes. There are five different color mixes: Teal, Basic, Coral Pink, and Purple. One of my favorite mixes is Basic, which includes gold, silver, white, and black.

I used the Basic Mix to make a wax seal on a card. I mixed 3 silver beads and 1 gold bead to create the seal. I played around with the mix a couple of times before deciding on this combination.

CARD RECIPE:

  1. First, I created the card base by die-cutting the Brushed Silver Cardstock with the Infinity Punch and Pierce Plate die.
  2. I embossed the Geo Quit 3D Embossing Folder on the black card stock.
  3. Sprayed white pear-colored ink on the embossed paper.
  4. Die cut the Sealed Blooms die on the Silver and Gold card stock.
  5. Attach the oval frame to the embossed paper.
  6. Attach the flowers to the embossed paper.
  7. Melt three silver beads and one gold bead on the warmer spoon.
  8. Pour the melted mixture onto the silicone mat and stamp it with the For You Wax Seal Stamp (which is included the Wax Seal Starter Kit)
  9. To add a touch of elegance, use a Black marker to color the wax seal.
  10. Attach the wax seal to the flowers.
  11. Attach the Black enamel dot to the flower.

Supplies

WS-115, SCS-117, S3-457, S5-566, E3D-068, WS-001, SCS-285

Soft Color Wax Bead Mixes Card

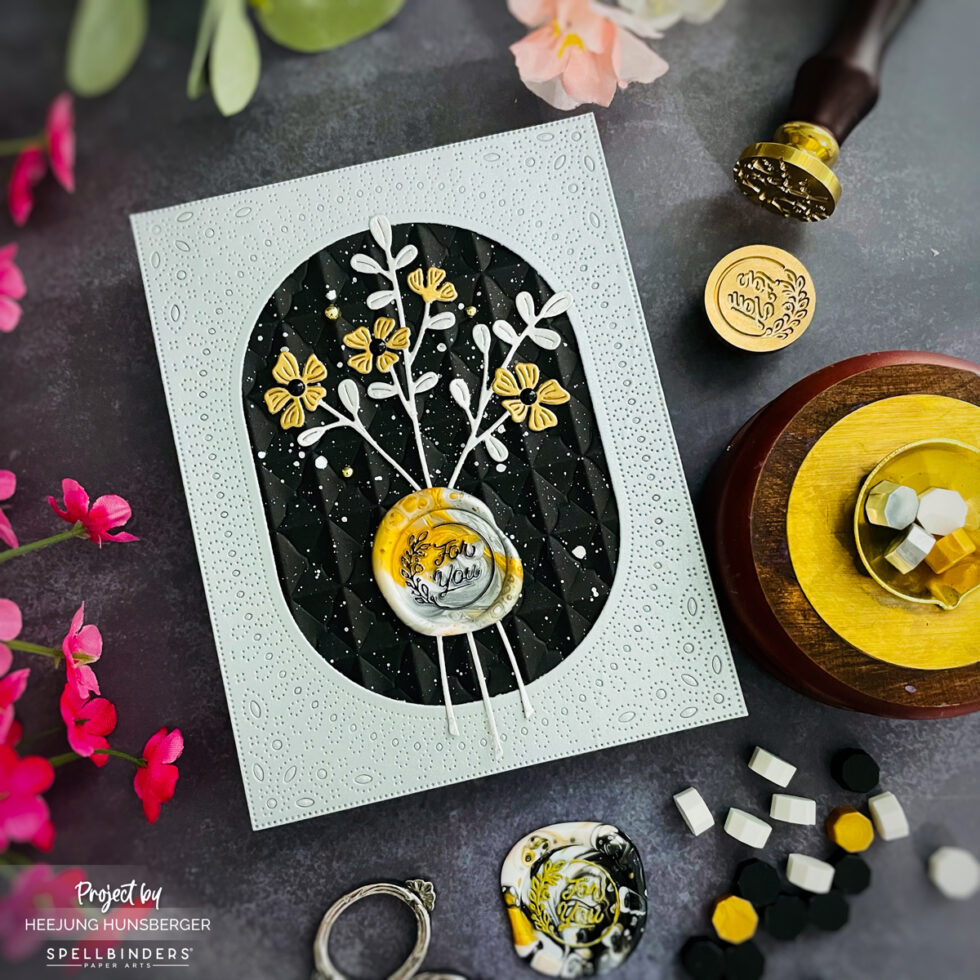
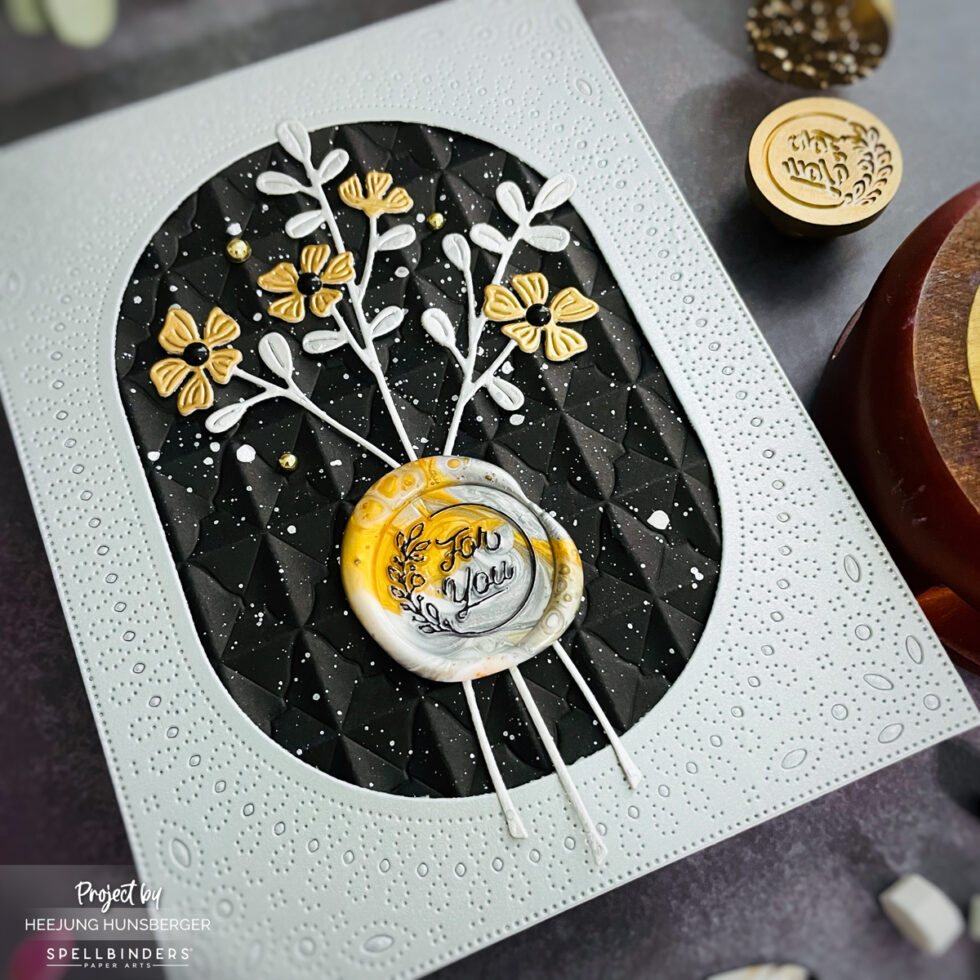
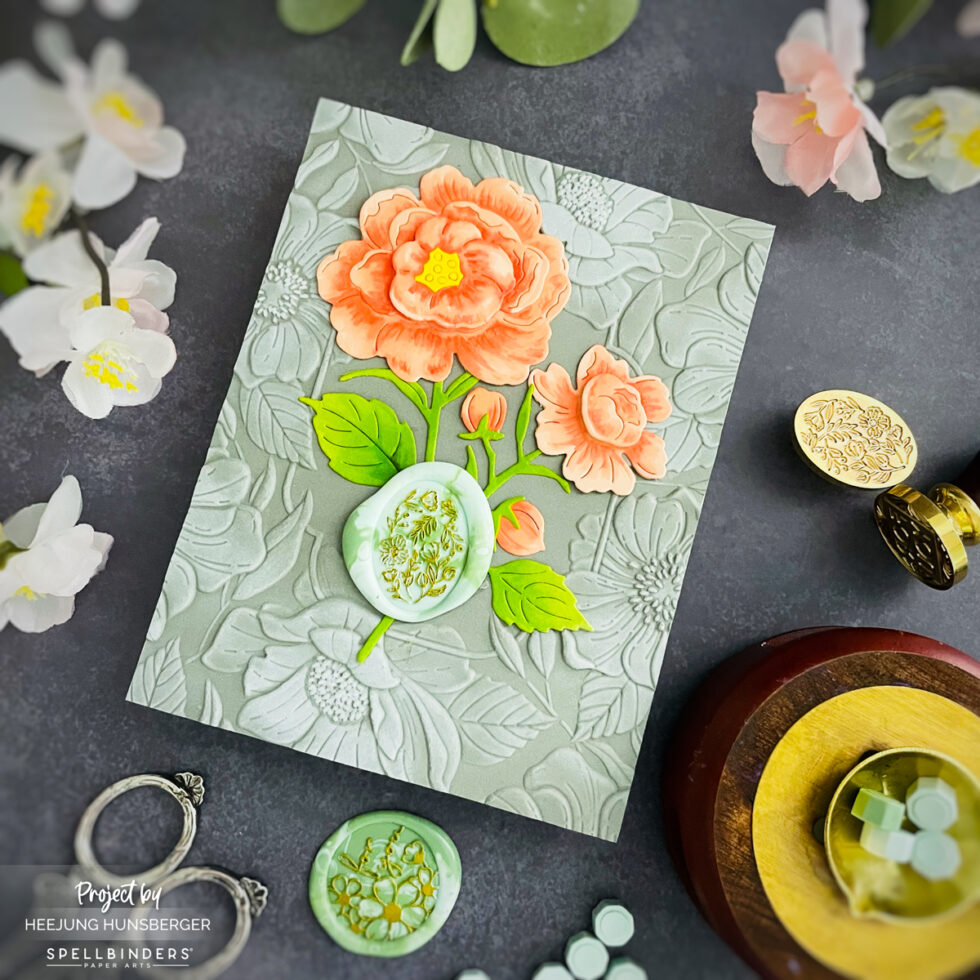
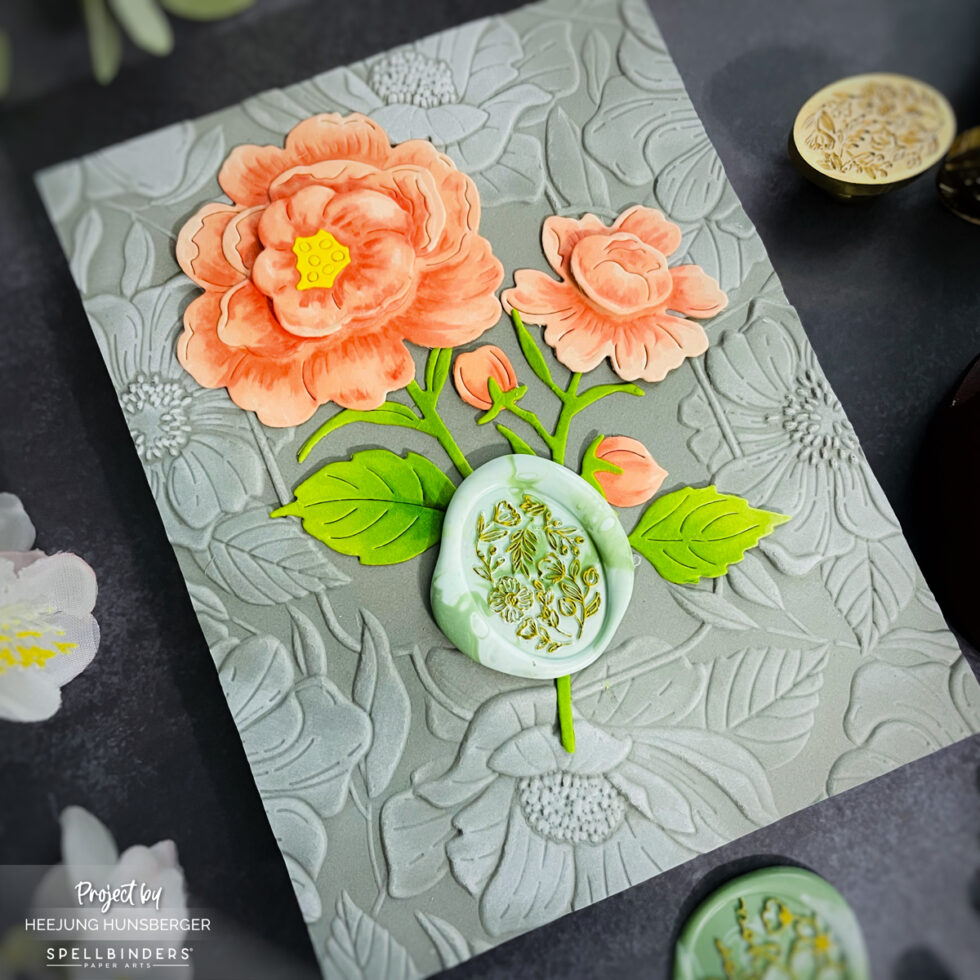
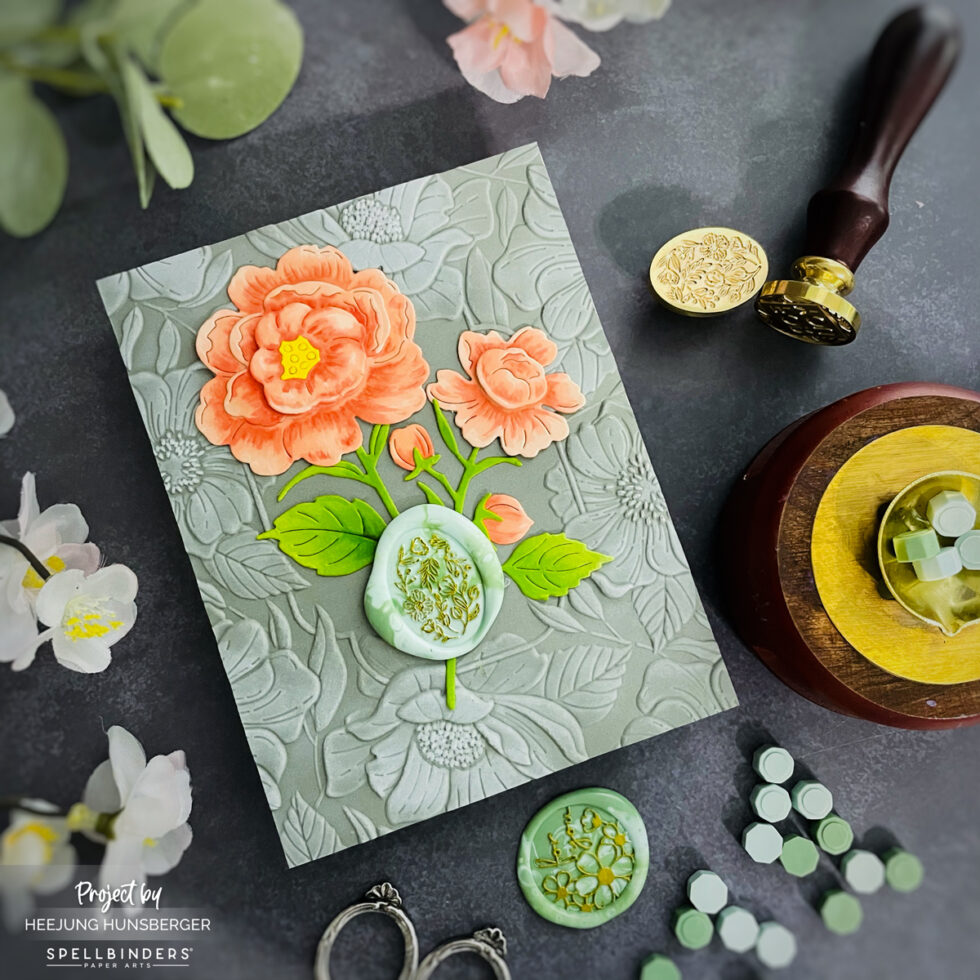
The most effective way to select colors for a wax seal is to match them with the die-cut or card base. I found it challenging to choose the wax color for my card as the base was a warm gray shade with a stunning floral pattern embossed on it and a beautiful flower die-cut.


I decided to use a soft-toned wax mix to match the card.


CARD RECIPE:


  1. Cut the Lunar Gray Card Stock into pieces of size 4.25 x 5.5 inches. Use the Four Petal 3D Embossing Folder to emboss the card stock.
  2. Die cut the Vintage Florals Die on Rainforest and Peach Sorbet Color Card Stock, then color with markers.
  3. Gently dab the white pigment ink onto the embossed paper using a paper pouncer.
  4. Attach the Vintage Florals die-cut on the card.
  5. Melt three of the Pistachio wax beads and one Fern wax bead on the warmer spoon.
  6. Pour the melted mixture onto the silicone mat and stamp it with the 3pack wax seal stamp.
  7. To add a touch of elegance, use a gold metallic marker to color the wax seal.
  8. Attach the wax seal to the stem of the flower.

Supplies

CS-034, E3D-053, S4-1328, CS-012, CS-051, PPP-102, WS-107, WS-106, WS-089

I had a lot of fun experimenting with different mixes of colored beads. I hope this post inspires you to play around with your own unique creations.


Thank you for stopping by!

XOXO

Heejung

SUPPLIES

When you make purchases through affiliate links, it won’t cost you anything extra. I am grateful for your support!