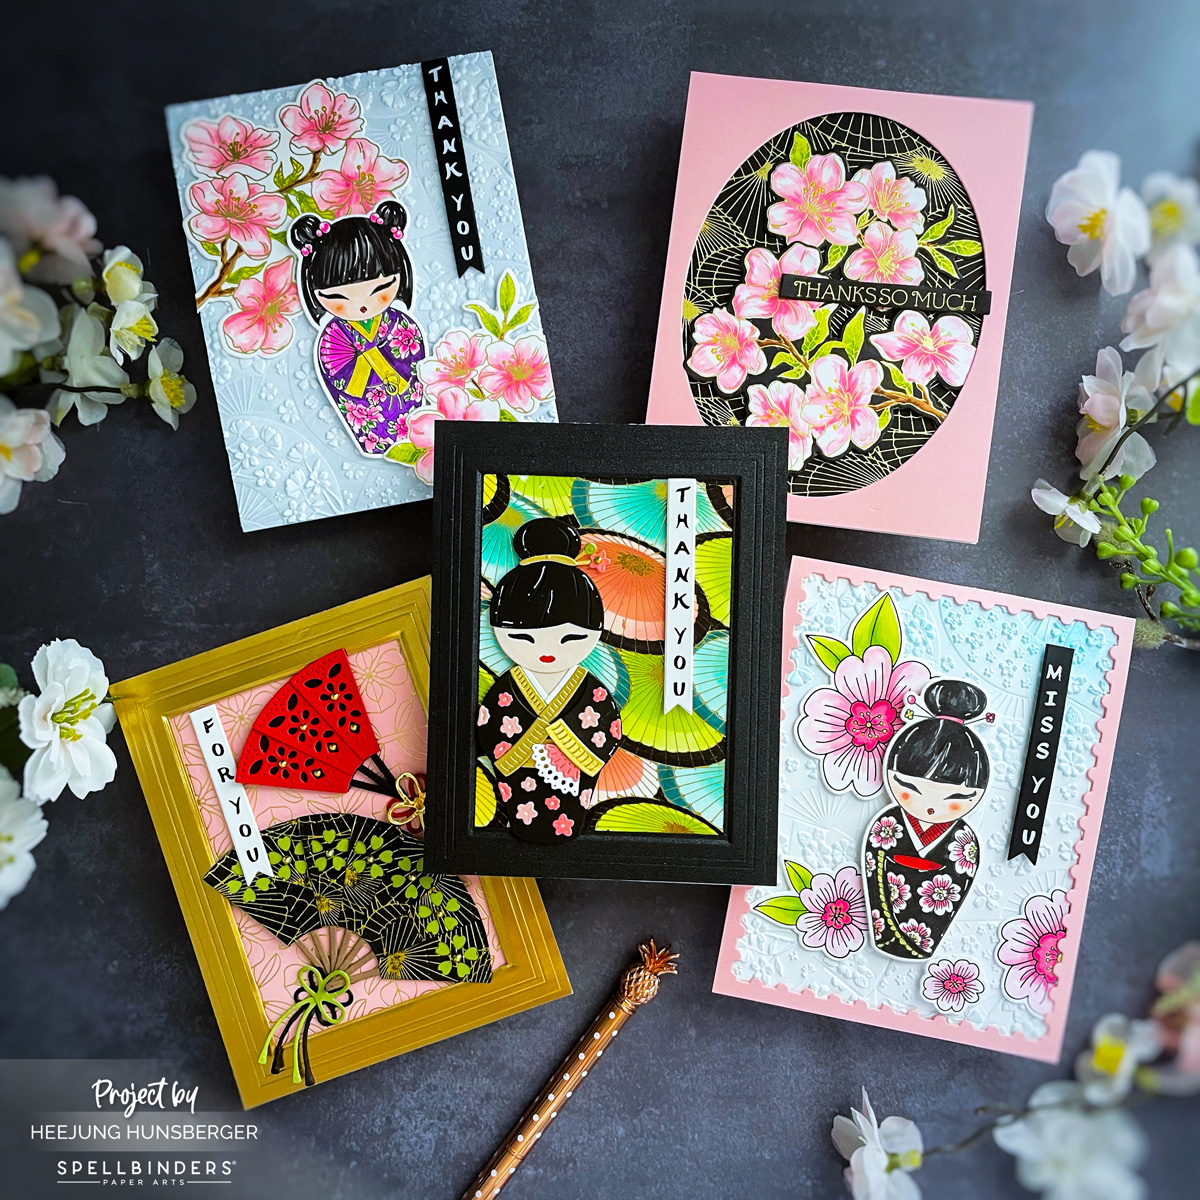
Embrace the Beauty of Spring in Kyoto with Spellbinders!
Spring has sprung, and with it comes the delicate beauty of cherry blossoms and the serene charm of Kyoto. Inspired by this enchanting season, Spellbinders has released the exquisite “Spring in Kyoto Collection,” by Aelx Syberia Designs. I’ve had the pleasure of crafting five unique cards using various elements from this stunning line. Join me as I walk you through each card’s creation, showcasing this collection’s versatility and elegance.
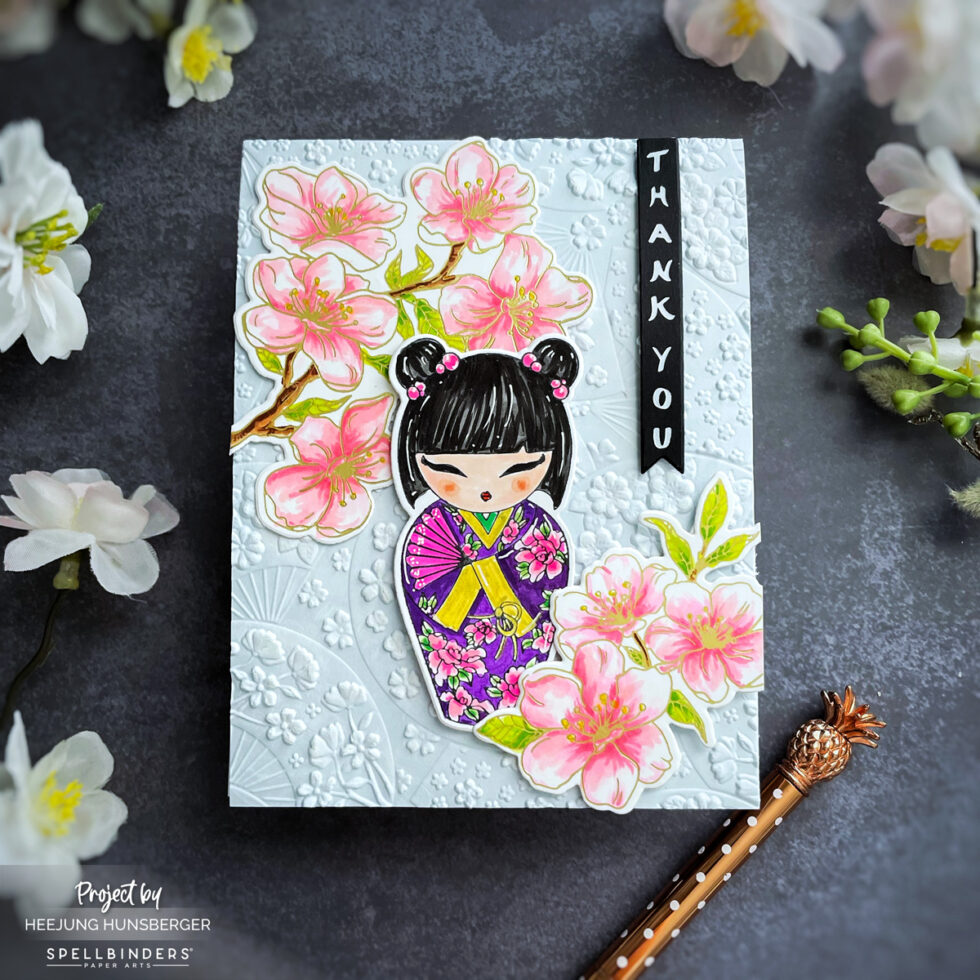
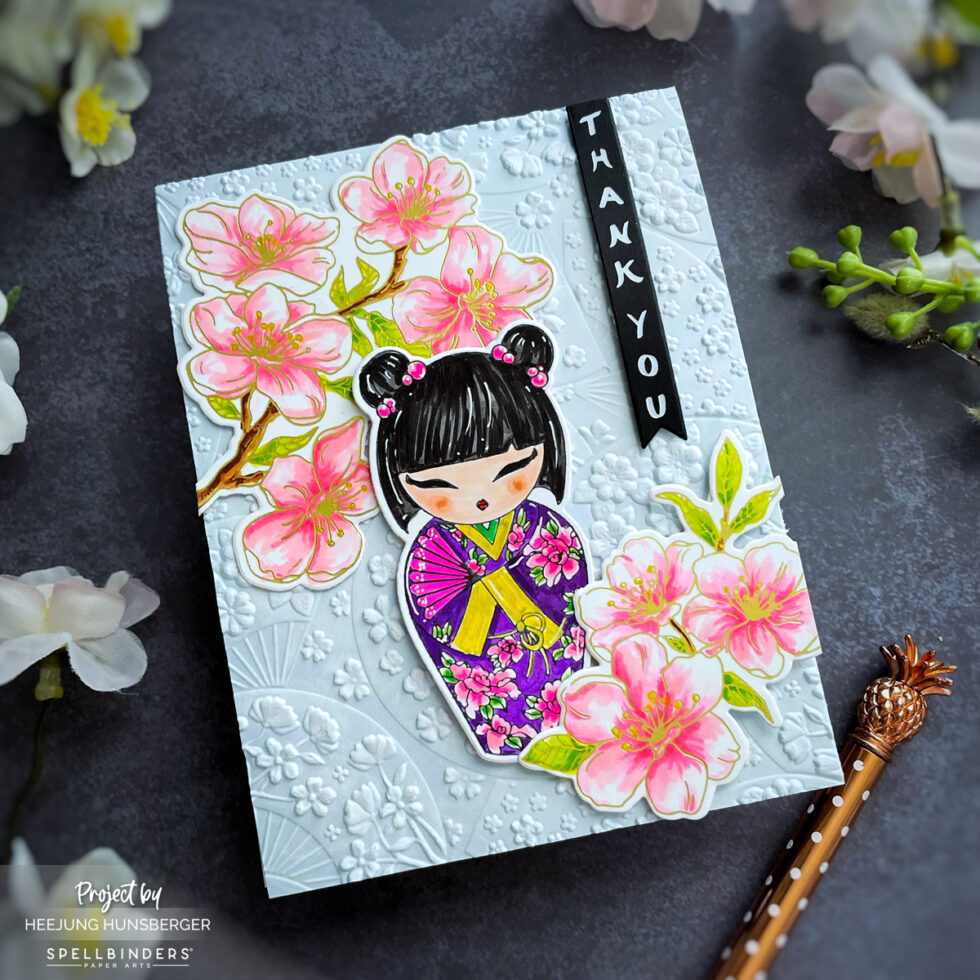
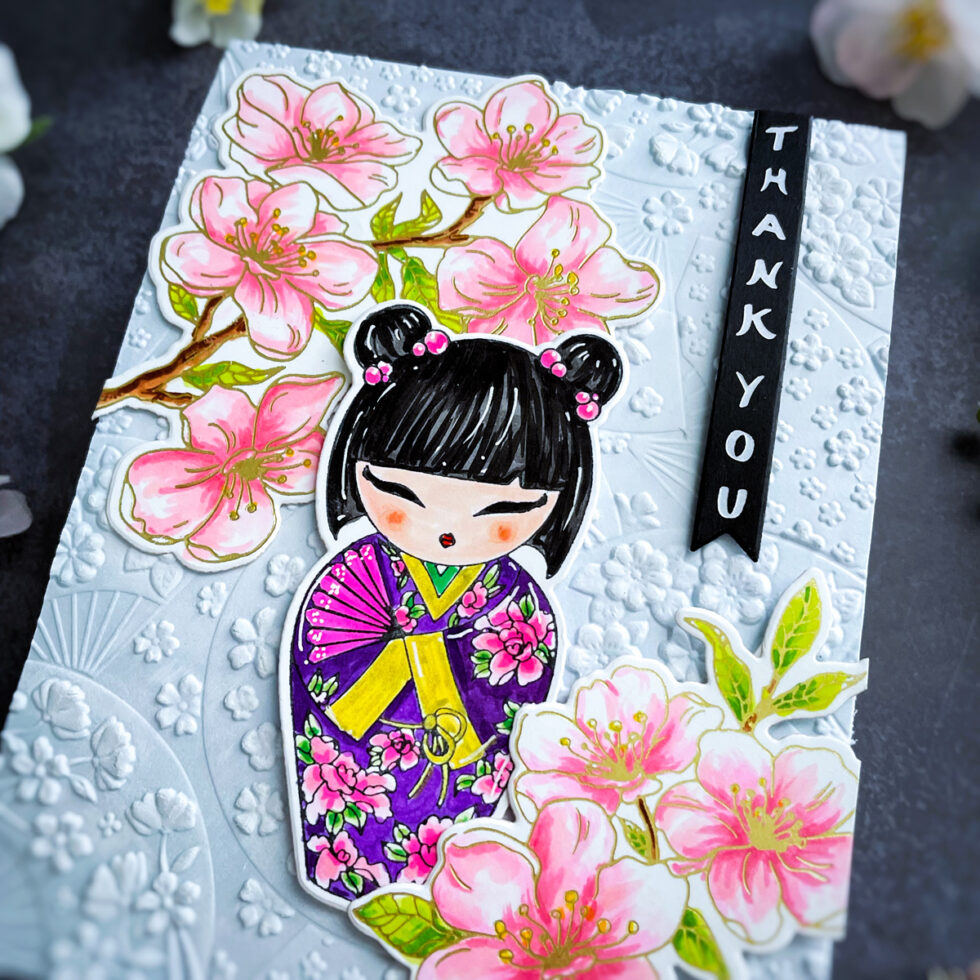
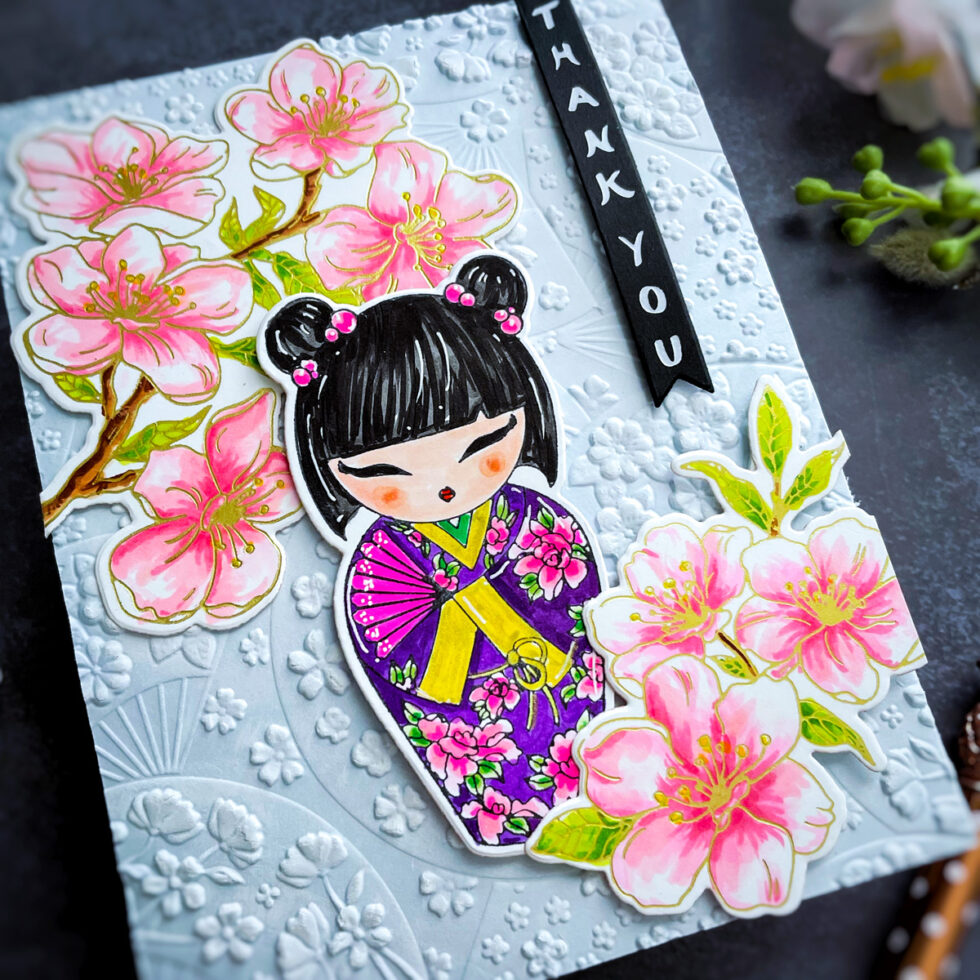
Gold Foiled Blossoms: Using the Cherry Blossoms BetterPress Plate, I hot-foiled the intricate floral design onto a panel of white cardstock with matte gold foil. The crisp impression beautifully captures the delicate details of the cherry blossoms.
Color and Cut: I colored the gold foiled cherry blossoms with soft pinks and a touch of yellow marker for the centers. Once dry, I used the coordinating dies to cut out the individual flowers and leaves.
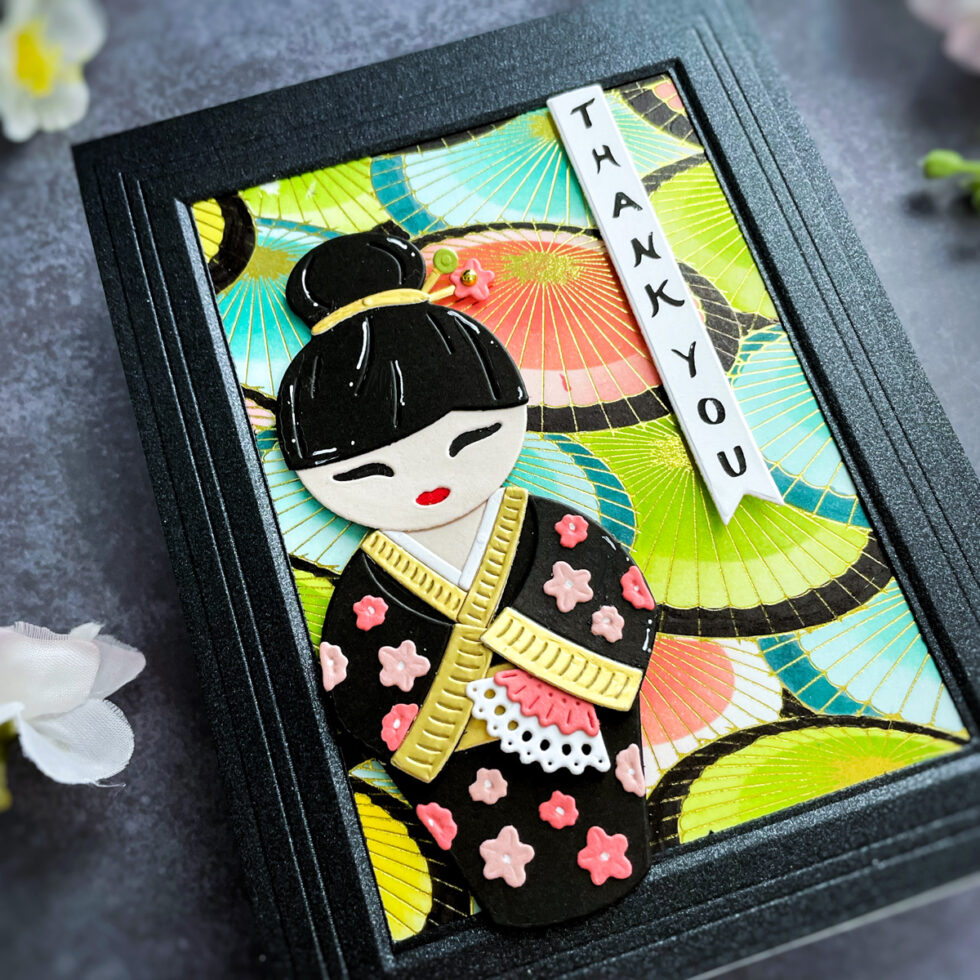
Color the Doll: I colored the Kokeshi doll with vibrant markers, paying attention to the intricate details of her kimono.
Assemble the Scene: I arranged the colored blossoms and leaves around the pressed image, adhering them with foam squares for added dimension.
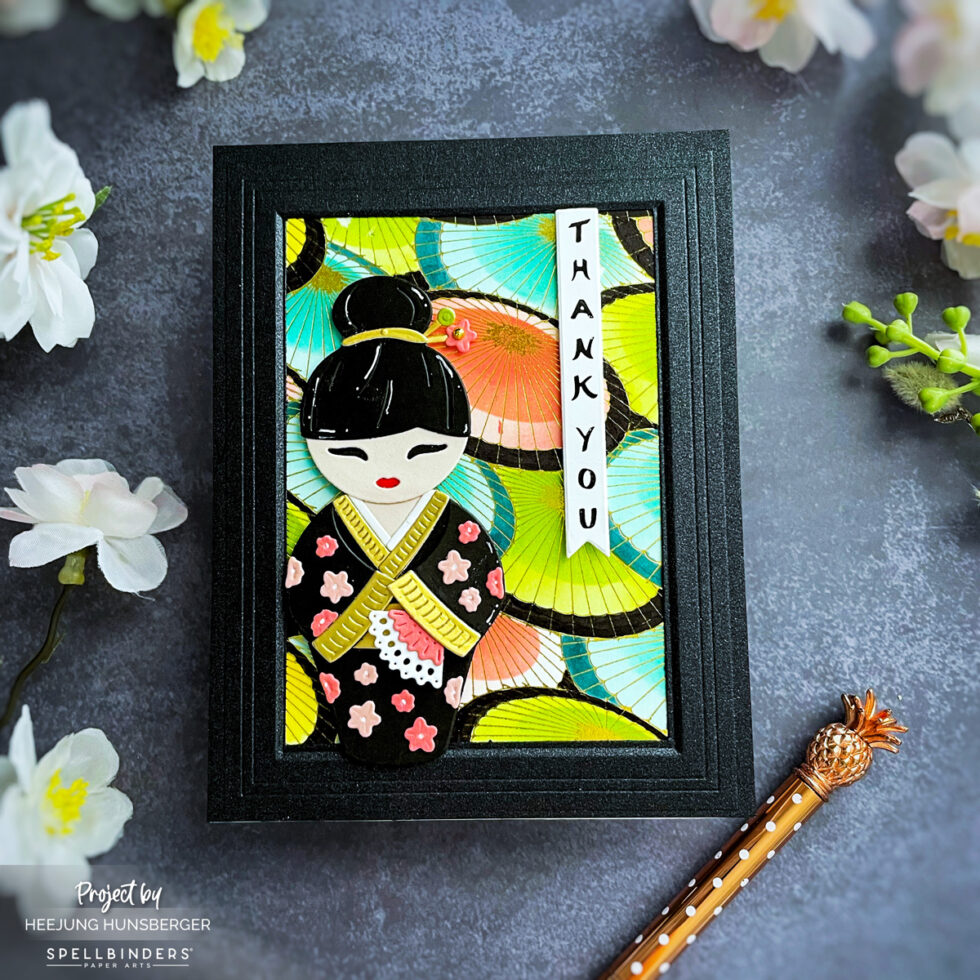
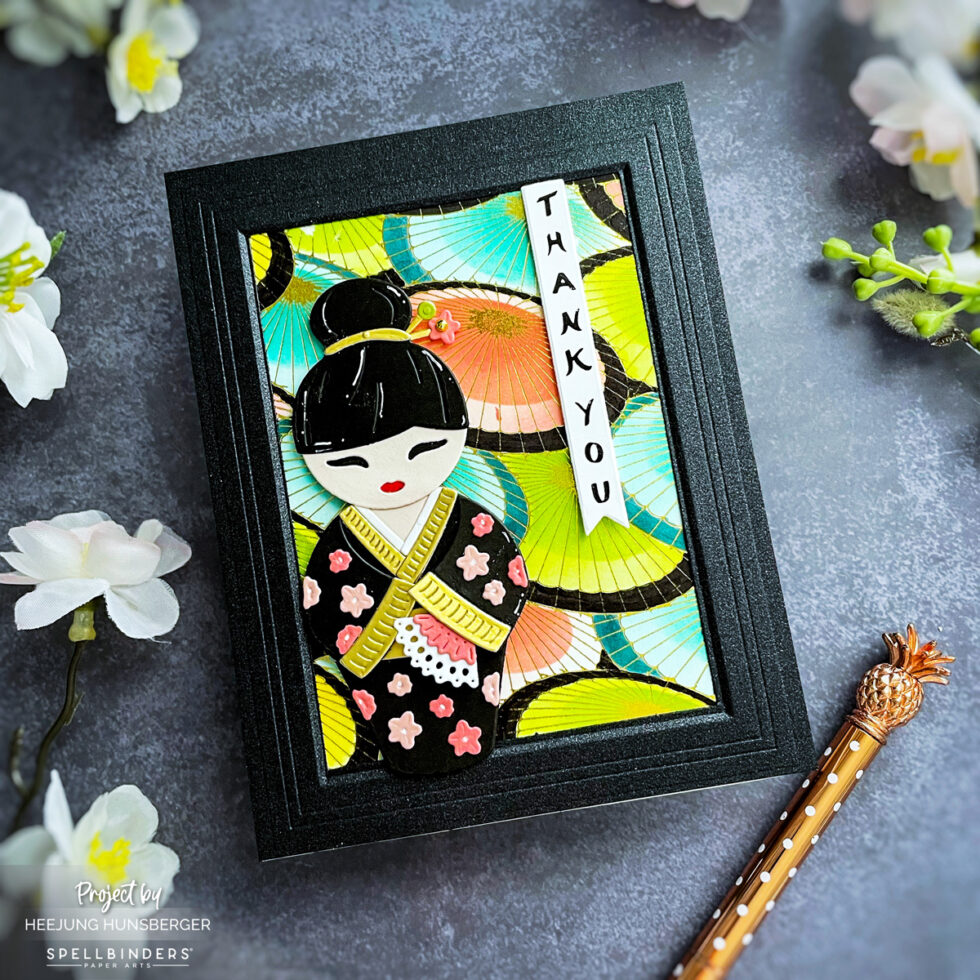
Die-Cut the Kokeshi: I used the Kokeshi Dolls Die on colored card stock. (Kimono- Gold Metallic Card Stock, Blush, Tutu, white, Raven Card Stock)
Create a Vibrant Backdrop: Gold hot-foiled the Spring in Kyoto BetterPress Plate on white card stock, and colored the parasols with the coordinating stencil.
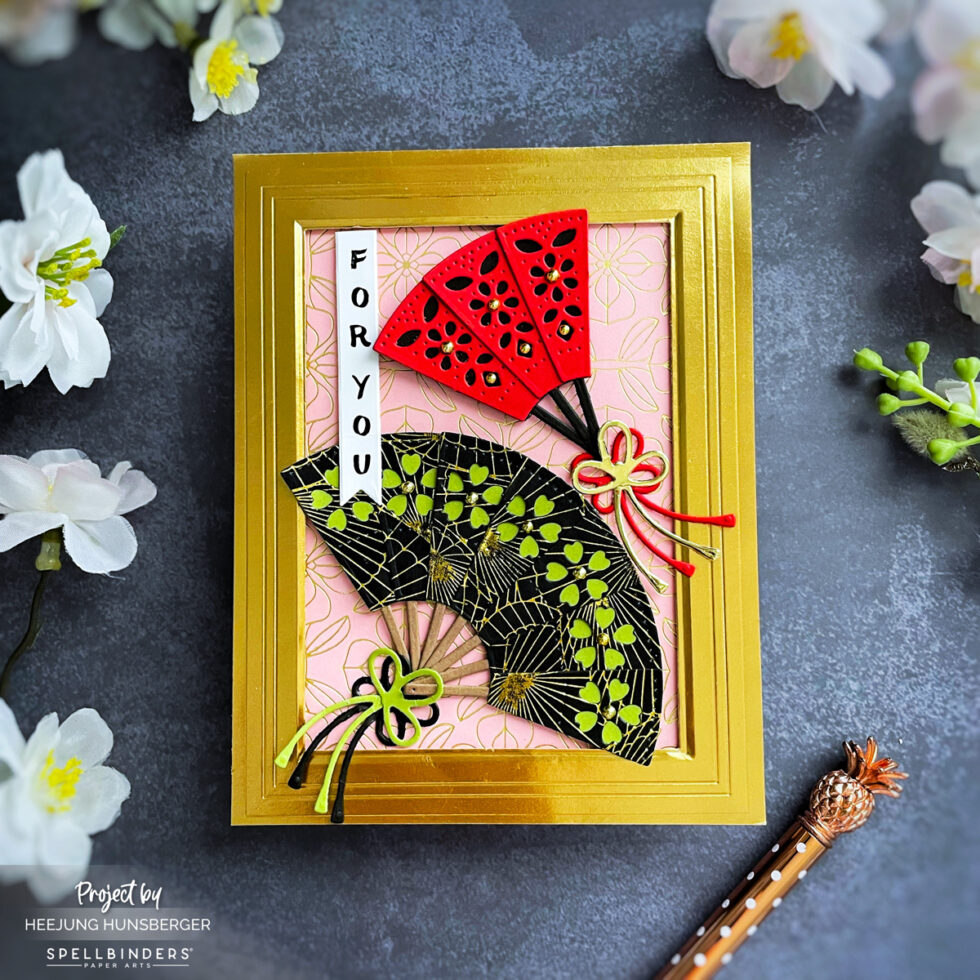
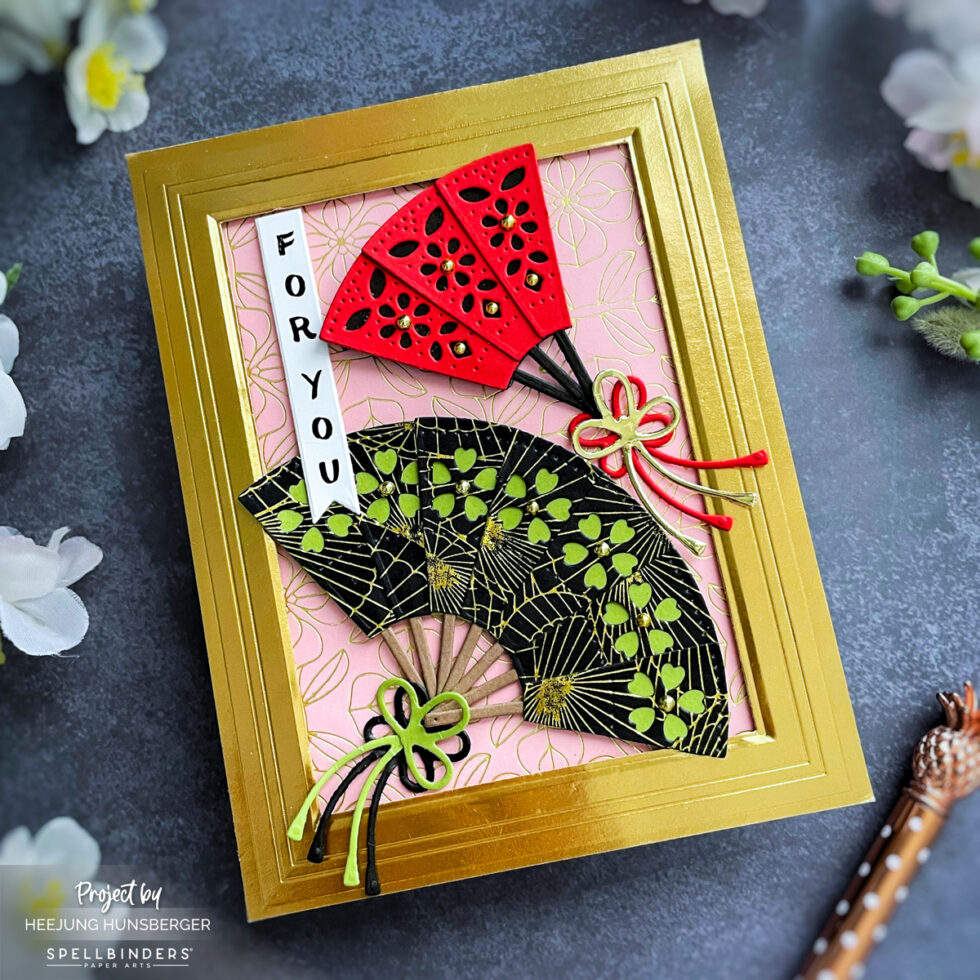
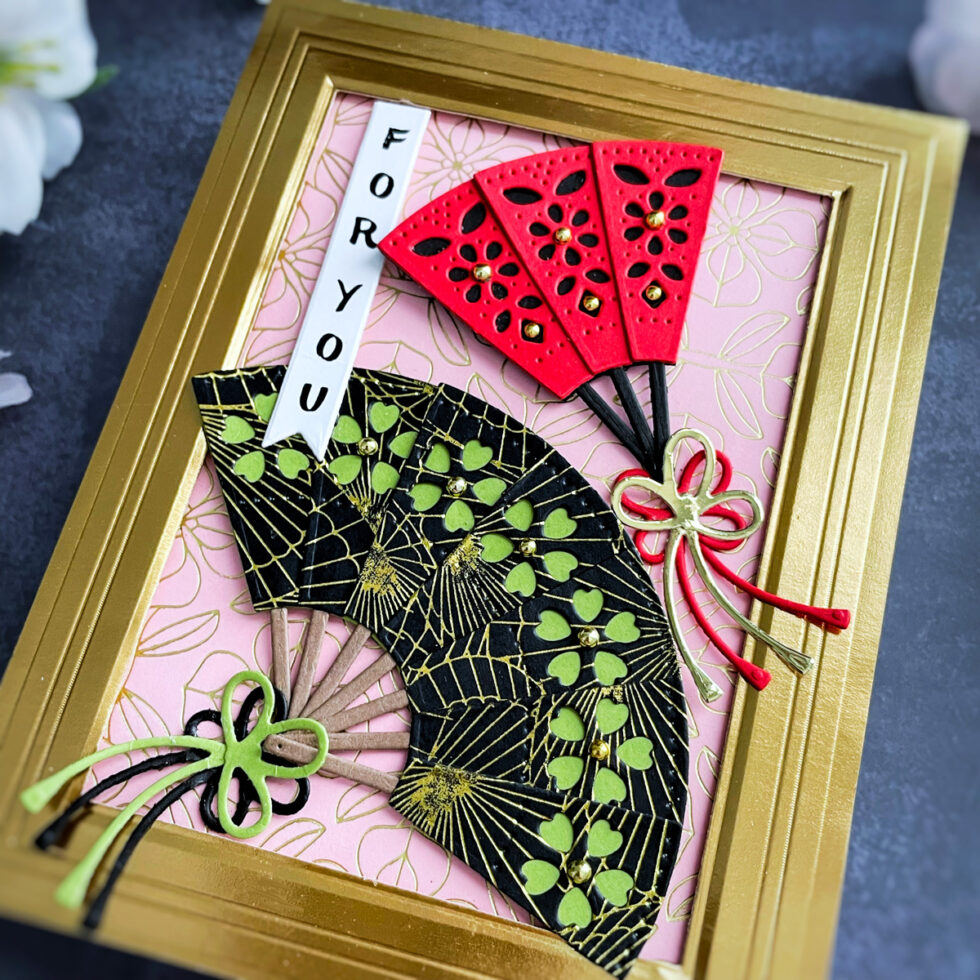
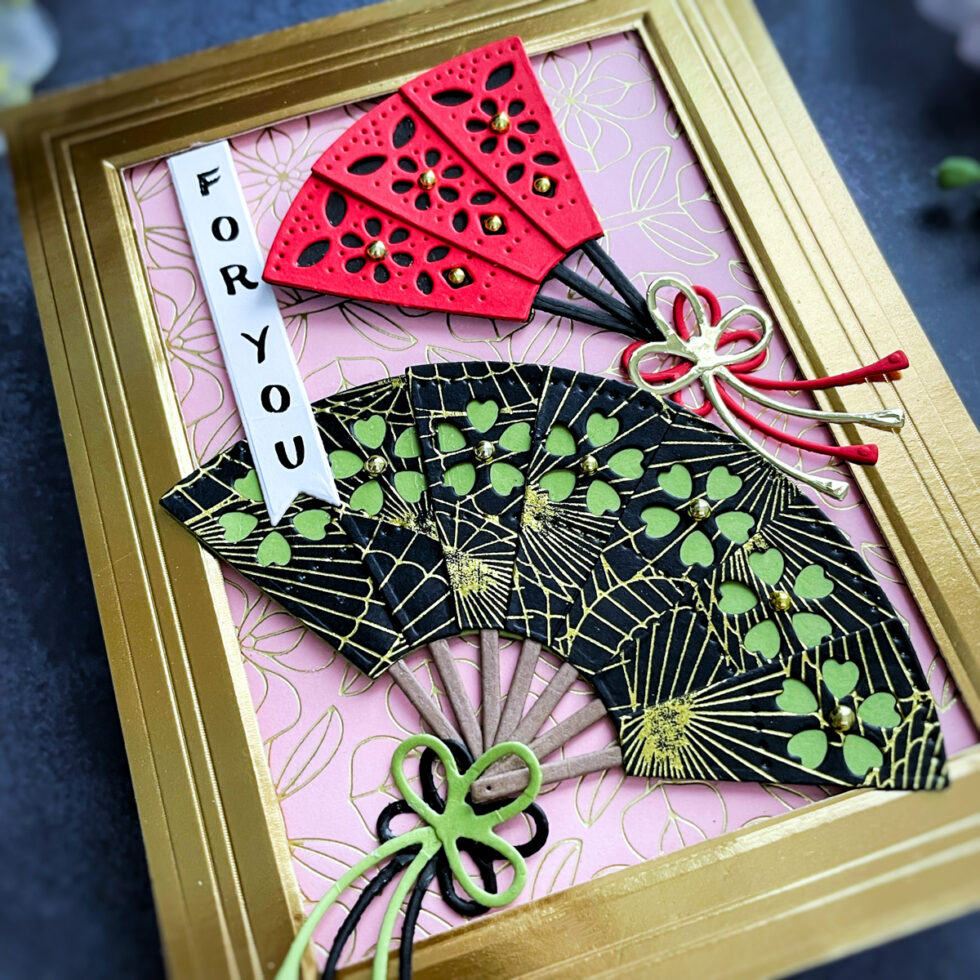
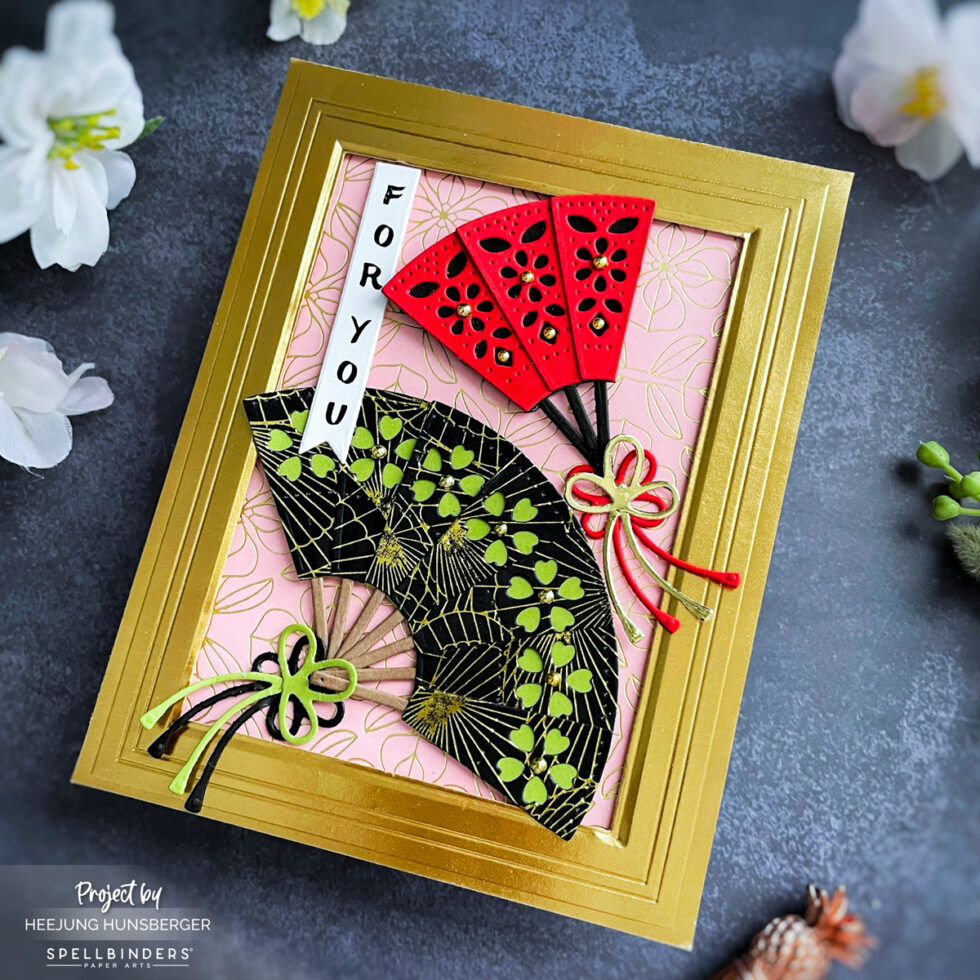
Create a Golden Frame: To add a touch of luxury, I embossed a piece of matte gold cardstock using the Molded Frame 3D Embossing Folder. This created a stunning dimensional frame for the card. I first die-cut a rectangle from gold matte cardstock and then embossed it with the Molded Frame to form the frame.
Create an Oriental pattern for fans: I gold hot foiled the Spring in Kyoto BetterPress Plateon black card stock and die-cut the fan from the Fan & Bow Die.
Assemble the Layers: I adhered the gold foiled panel inside the gold frame. Then, I arranged the fans on this panel, overlapping them slightly.
Add a Bow and Sentiment: I created a small decorative bow with gold and red twine and adhered it to the fans. Finally, I pressed the “FOR YOU” sentiment from the Blossoms & Sentiments BetterPress Plate & Die Set onto a white cardstock strip and positioned it vertically on the card.
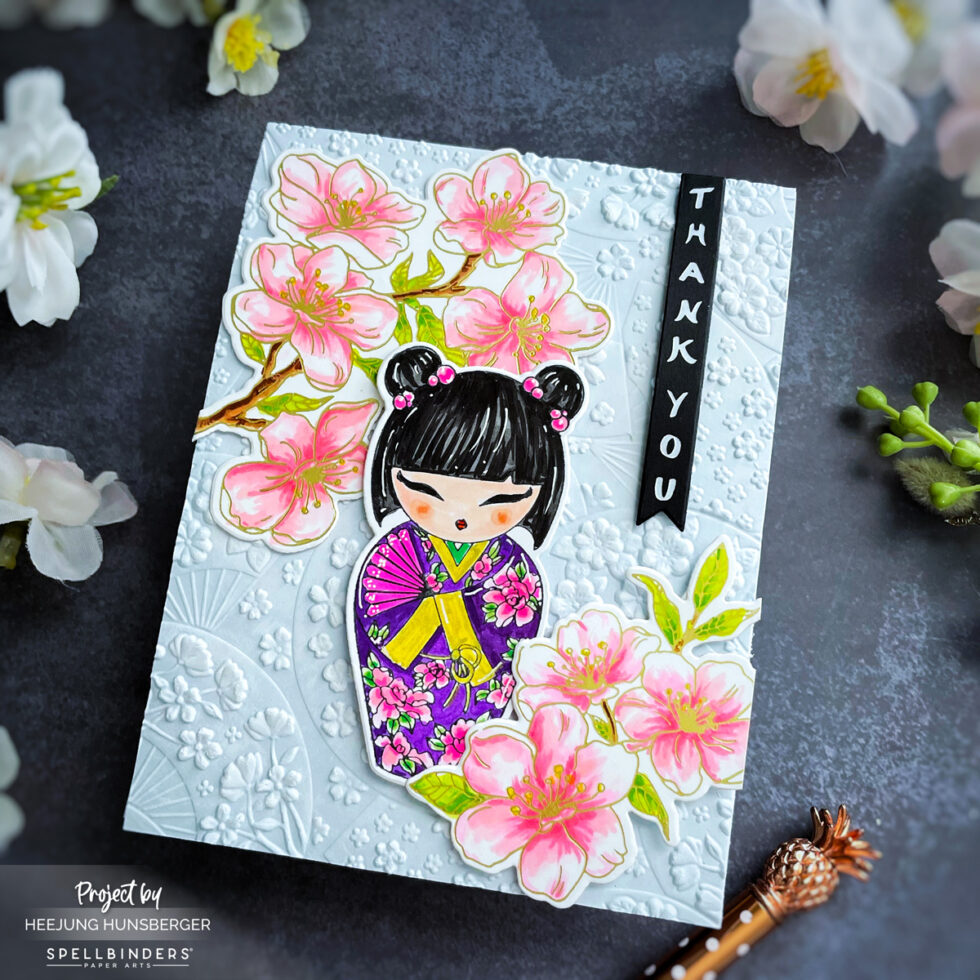
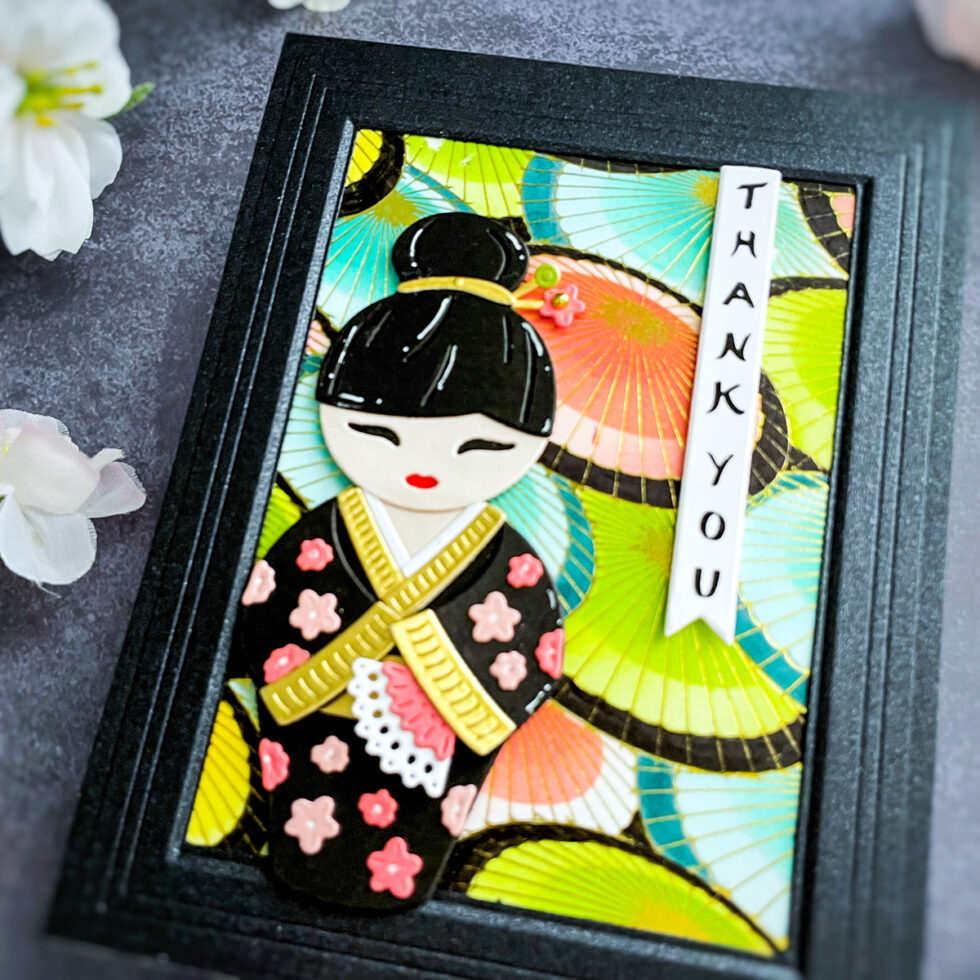
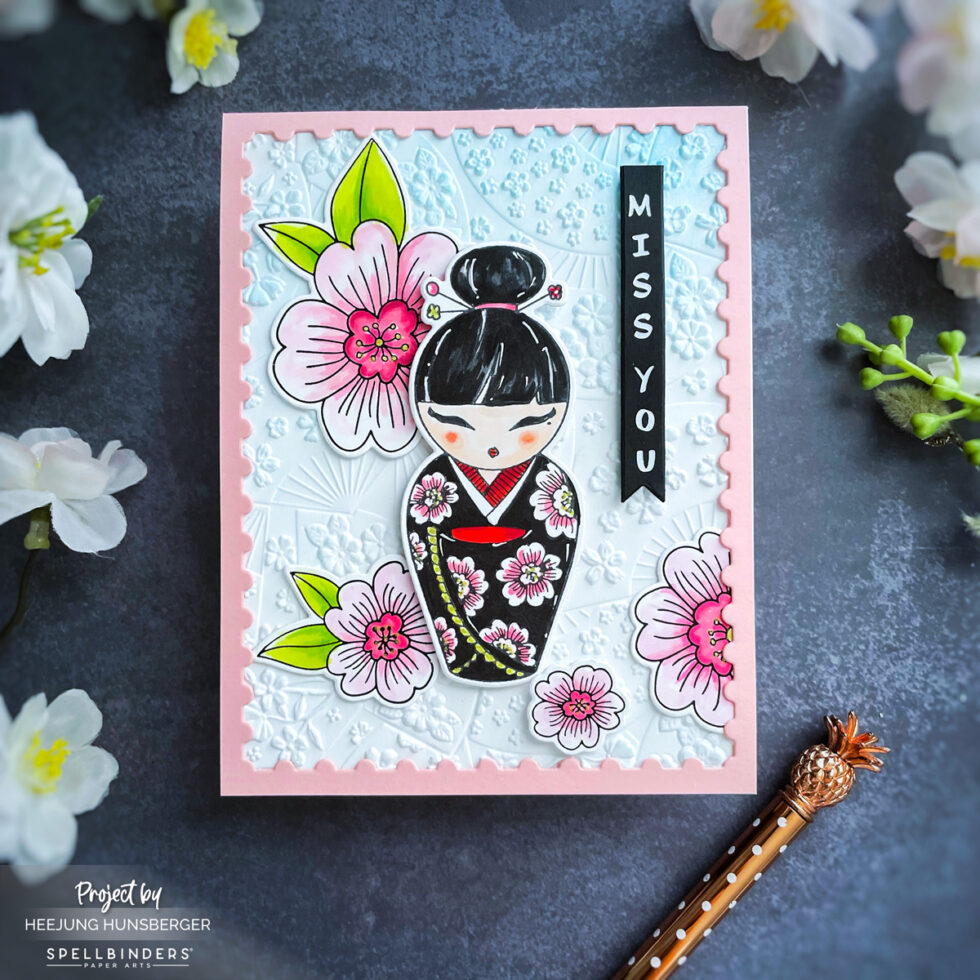
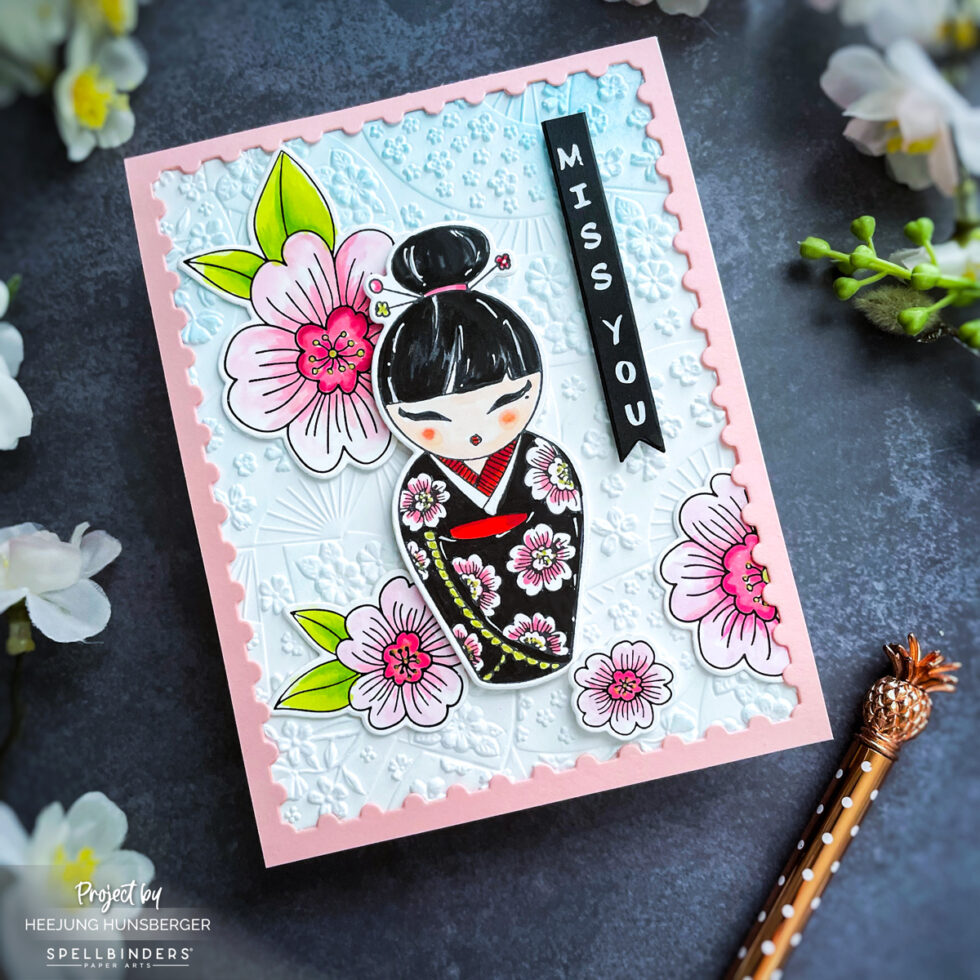
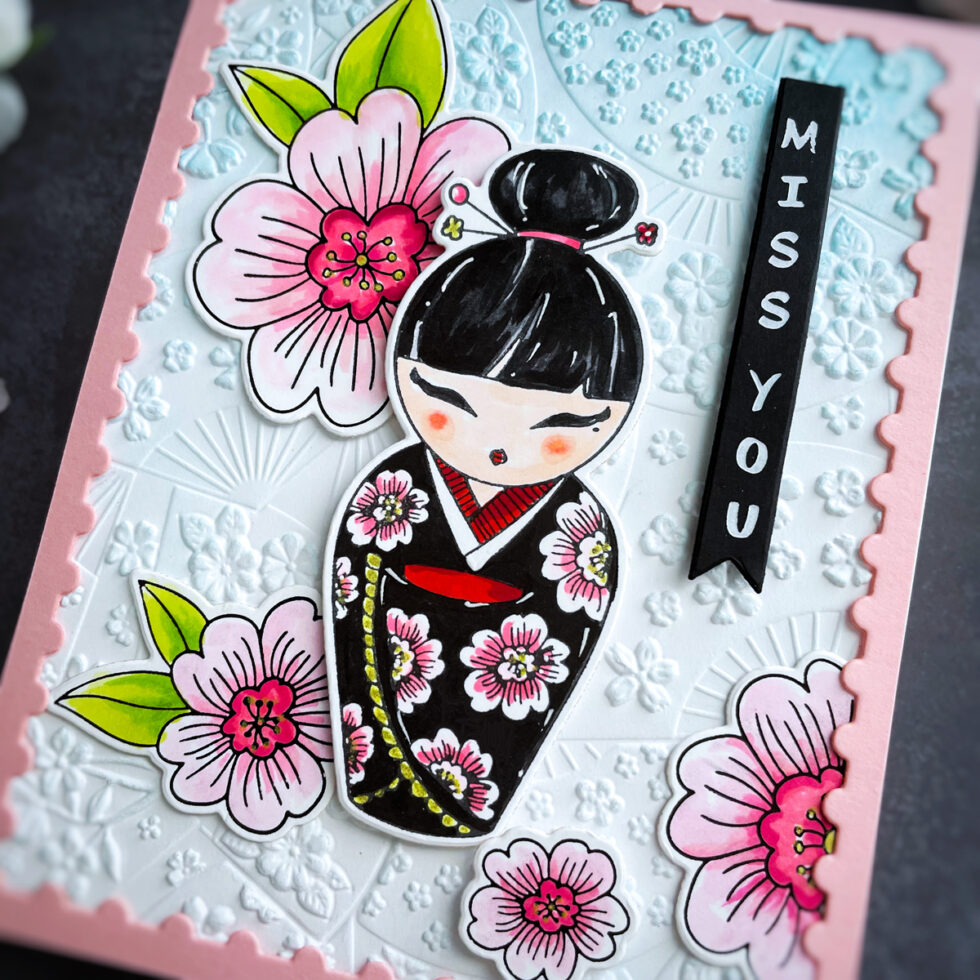
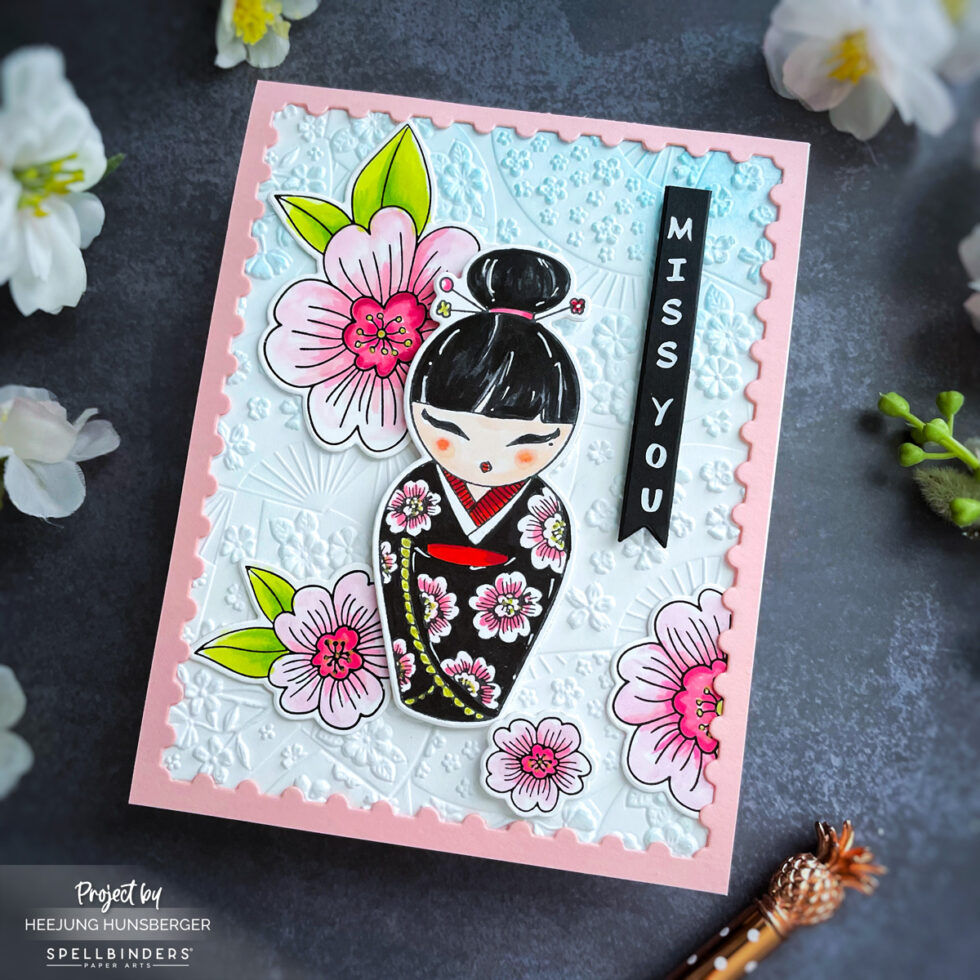
Press and Color the Kokeshi: I used the Kokeshi Dolls BetterPress Plate to press the doll image. Then, color it with markers.
Die-cut the Doll: I used the Kokeshi Dolls Etched Dies to cut out.
Create a Textured Background: I used the floral Fans 3D embossing folder on white cardstock, light blue color, and shaded it with blending blushes.
Color the Blossoms: Press the blossoms from the Blossom & Sentiments BetterPress Plate on white card stock in black ink and color them with markers.
Assemble and Sentiment: I adhered the Kokeshi doll to the card front with foam squares. I then white hot foiled the “MISS YOU” sentiment from the Blossoms & Sentiments BetterPress Plate & Die Set onto a black cardstock strip and adhered it vertically.
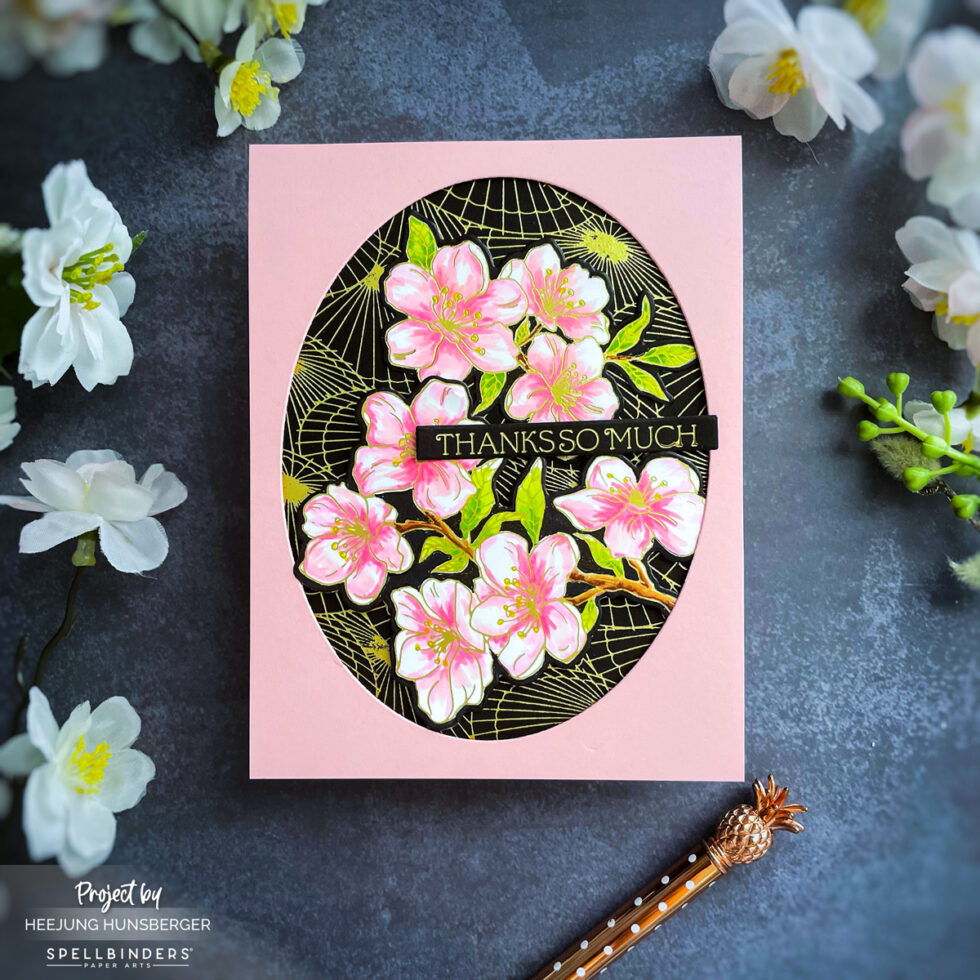
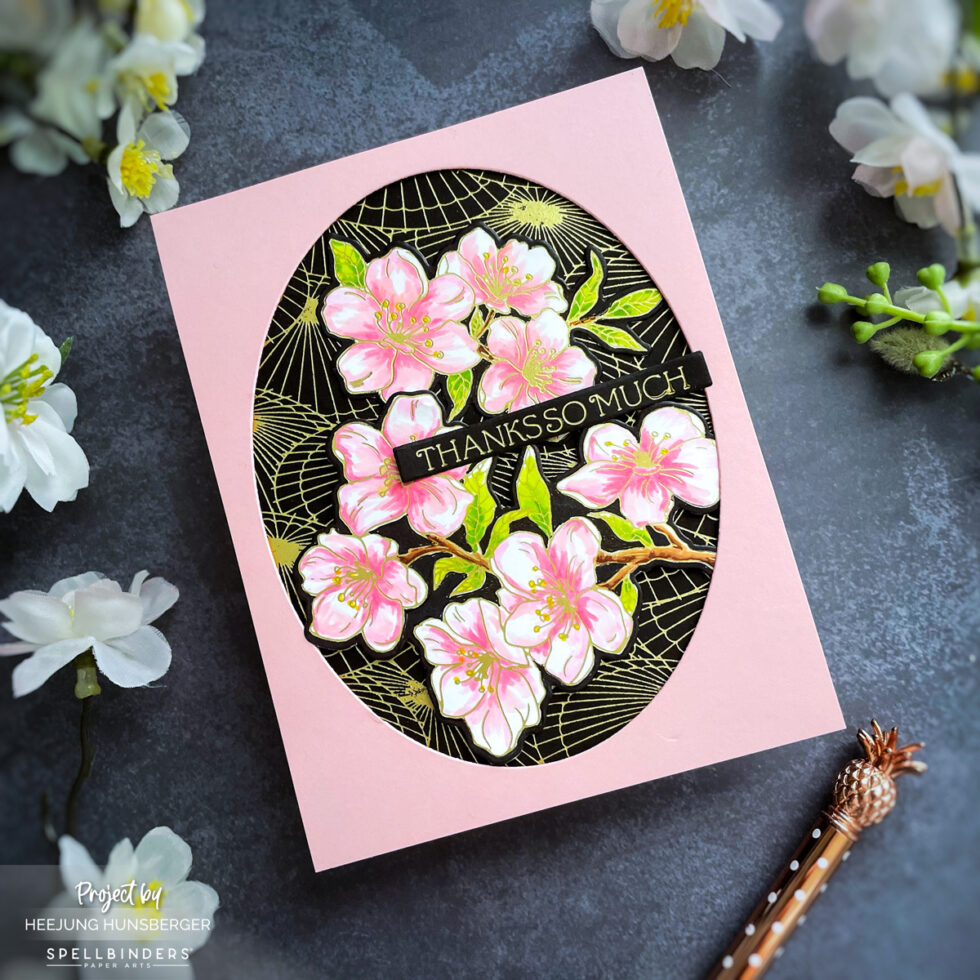
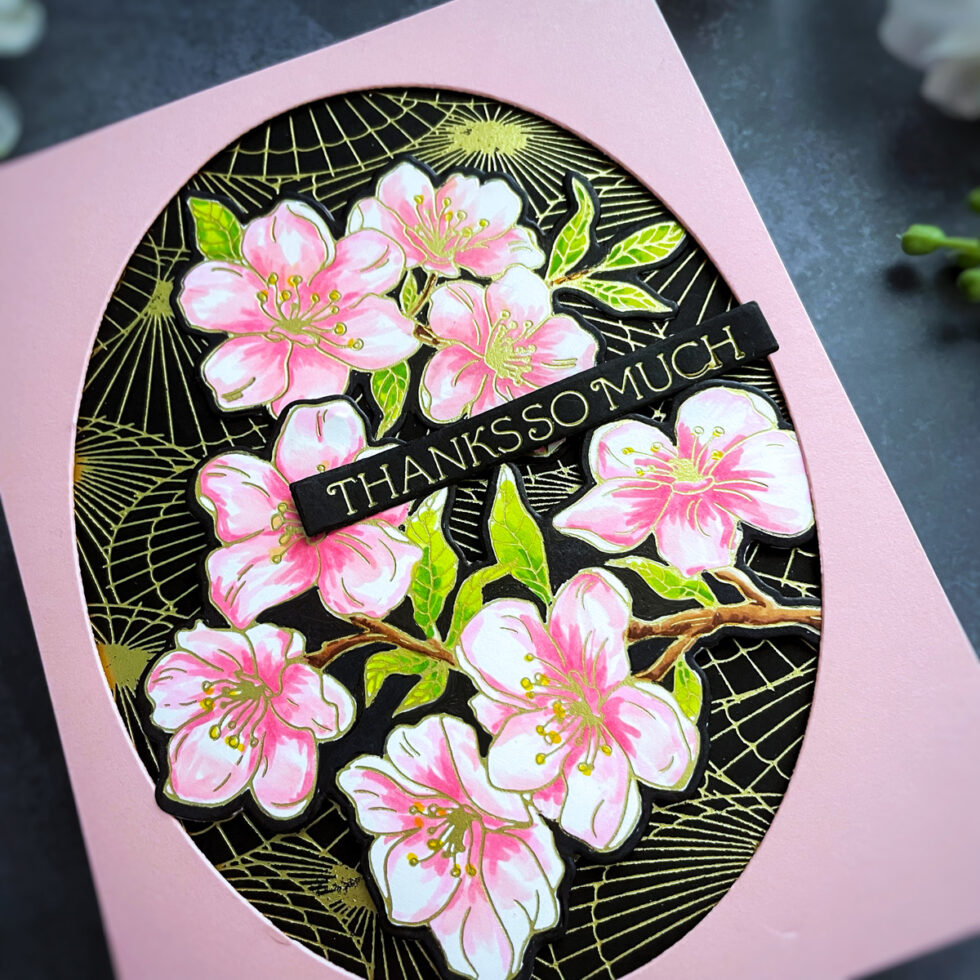
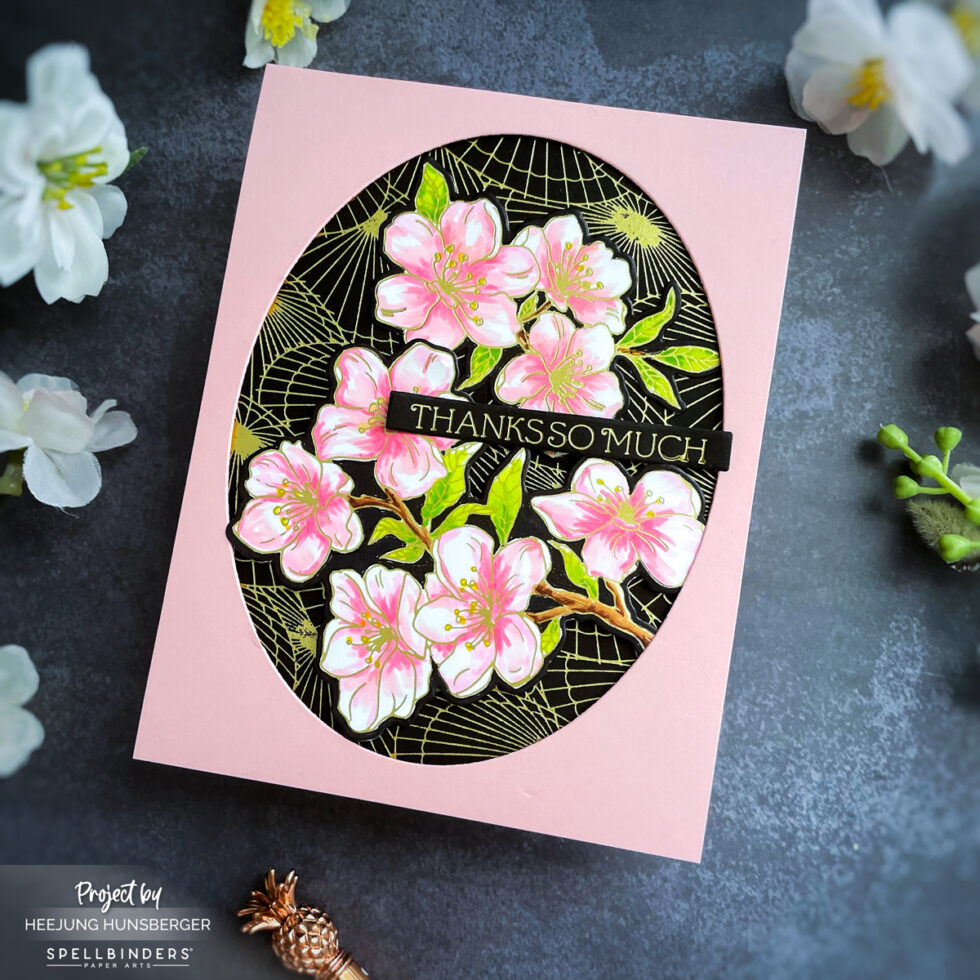
Gold Hot-Foiled the Cherry Blossoms: I hot-foiled the Cherry Blossoms BetterPress Plate onto white cardstock.
Color Details: I colored the blossoms with markers, cut them with the coordinating die, and colored the outlines of the blossoms in black to match the background.
Create an Oval Window: I die-cut an oval window from a pink card base. I also die-cut a slightly larger black oval to create a contrasting border.
Layer the Elements: I adhered the black oval behind the window on the pink card base. Then, I arranged the cherry blossom branch behind the oval opening, adhering it to the inside of the card.
Final Sentiment: I gold hot foiled the “THANKS SO MUCH” sentiment from the Flawless Sentiments BetterPress Plate & Die Set onto a black cardstock strip and adhered it across the center of the oval window.
The Spellbinders “Spring in Kyoto Collection” is a dream for cardmakers who appreciate delicate details and elegant designs. The combination of BetterPress plates, intricate dies, and beautiful stencils allows for endless creative possibilities. I hope these step-by-step instructions inspire you to explore this gorgeous collection and bring the serene beauty of Kyoto’s spring to your own crafting projects! Happy creating!
SUPPLIES LIST
When you make purchases through affiliate links, it won’t cost you anything extra. I am grateful for your support!