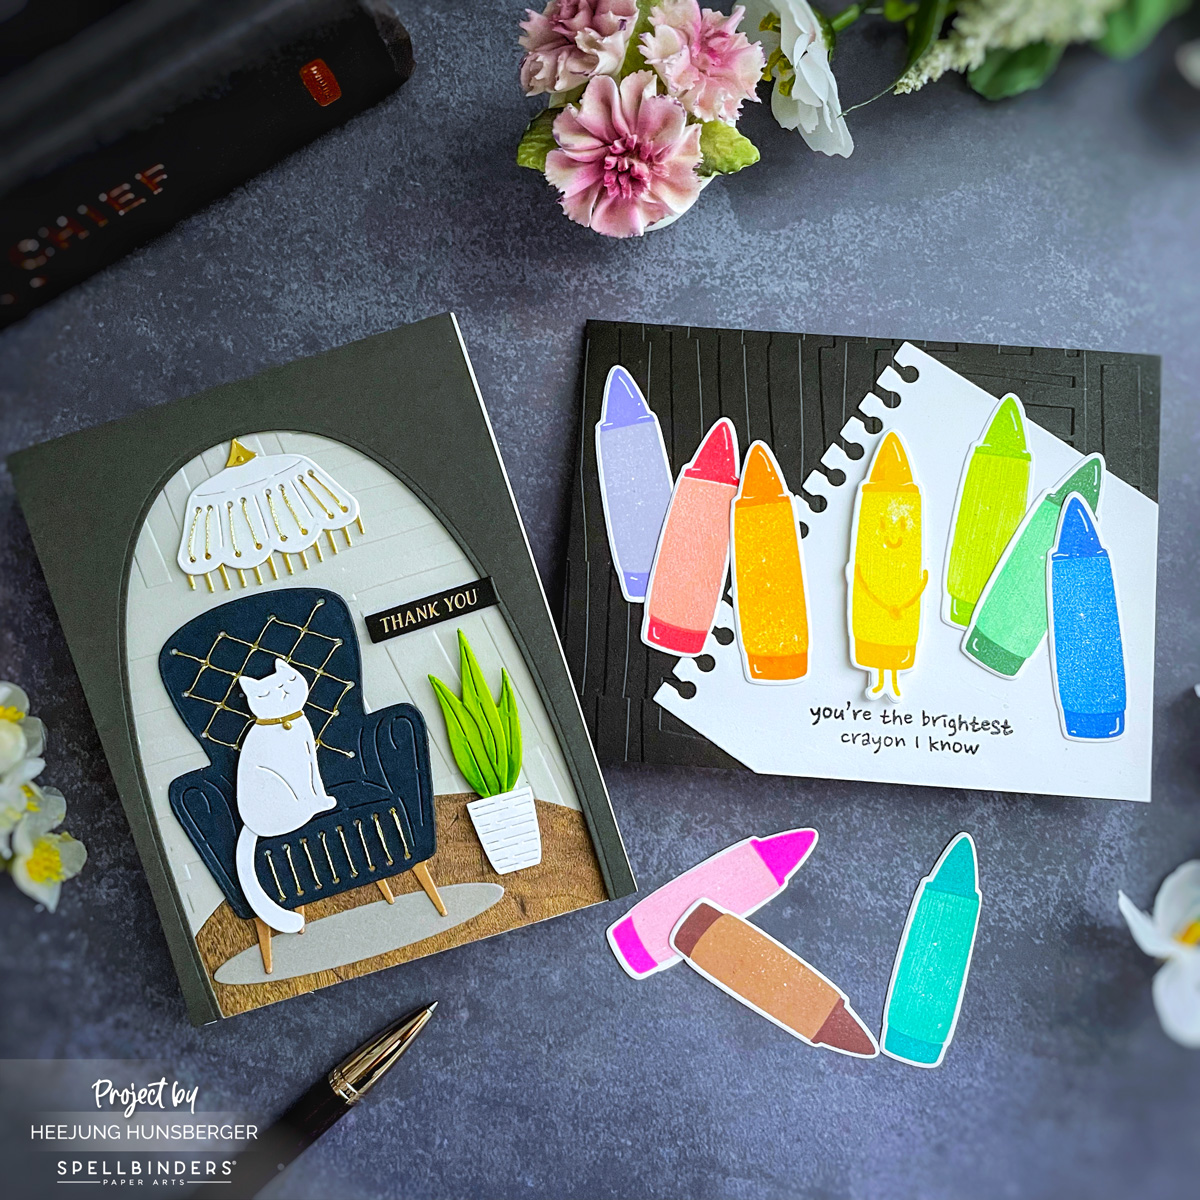
Today I’m sharing two cheerful and detailed cards made with the Spellbinders May 2025 Club Kits. I combined elements from the Stitching Die of the Month, Clear Stamp & Die of the Month, and the Embossing Folder Club. Plus, I brought in the Notebook Die from a past Stitching Club set to create a colorful sketchbook effect.
Let’s dive into the step-by-step details for each card!
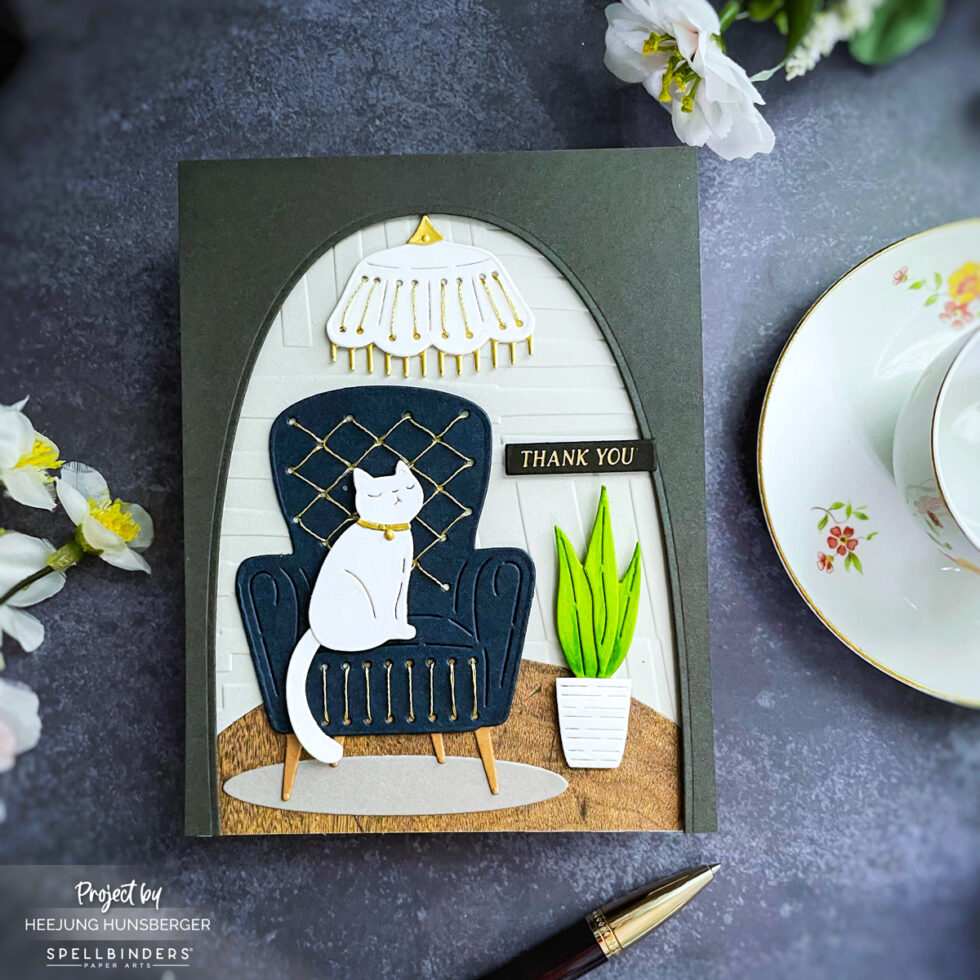
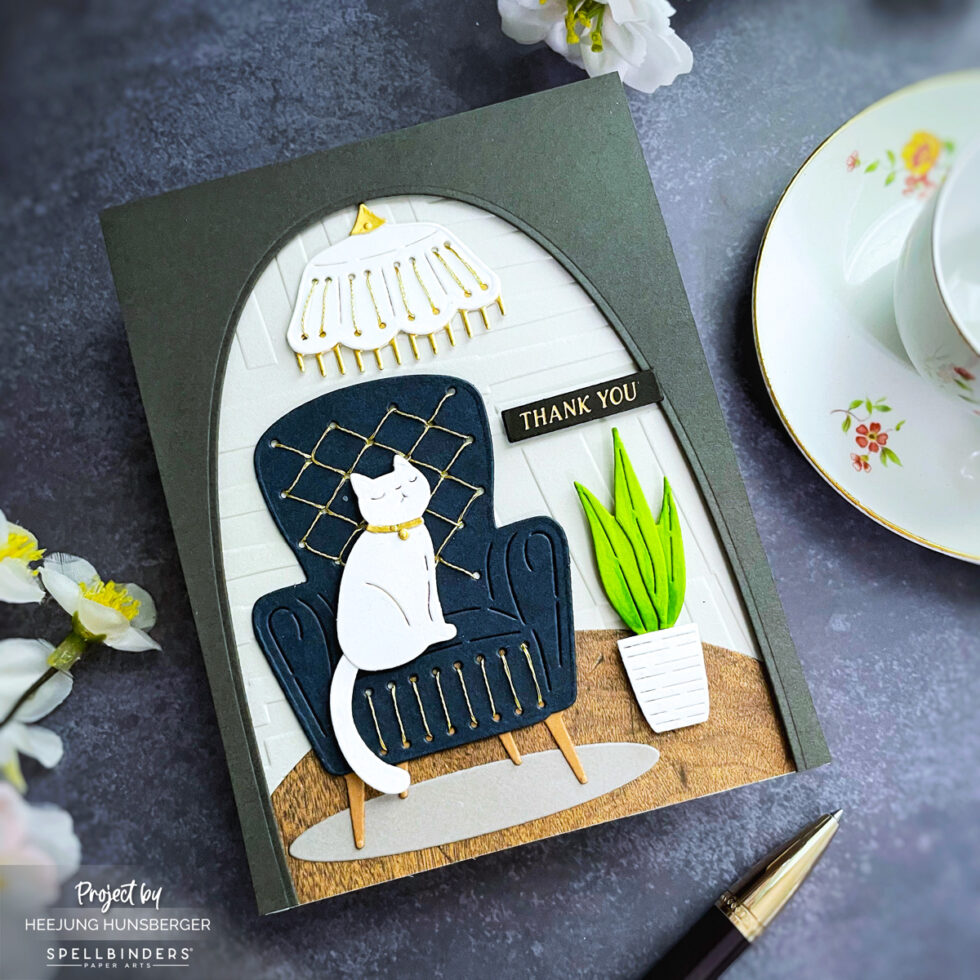
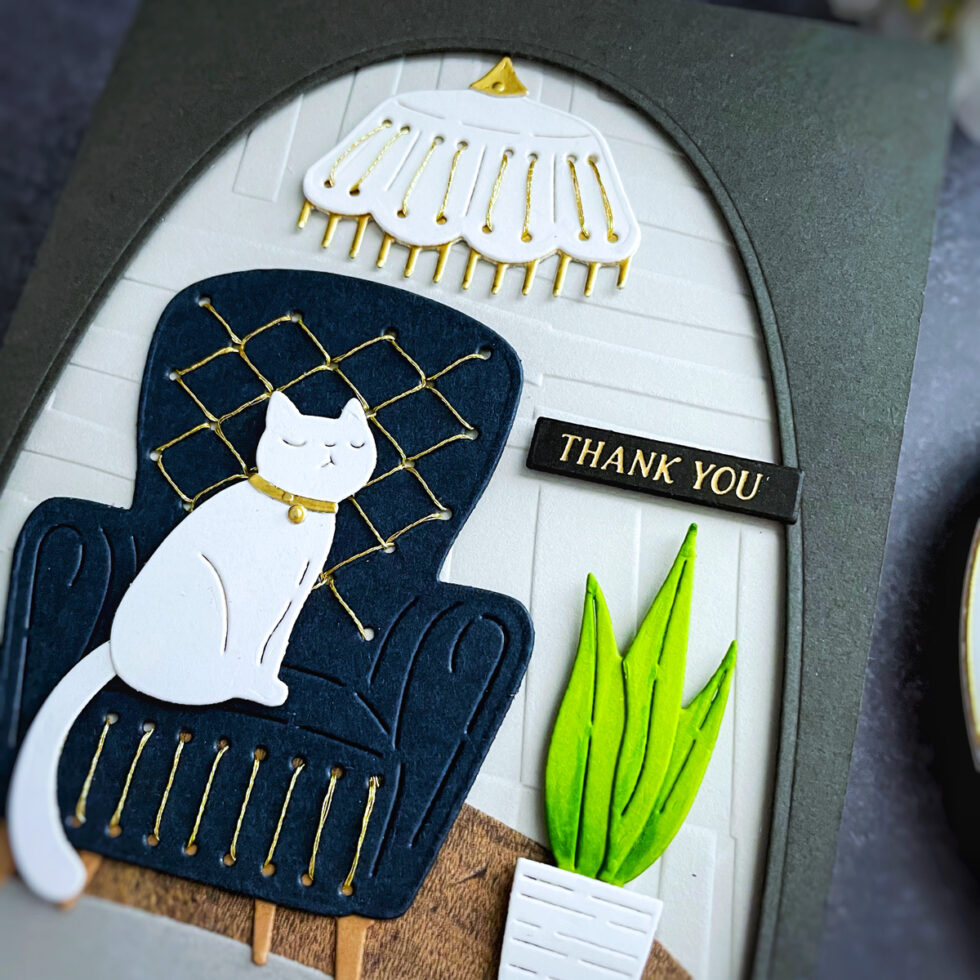
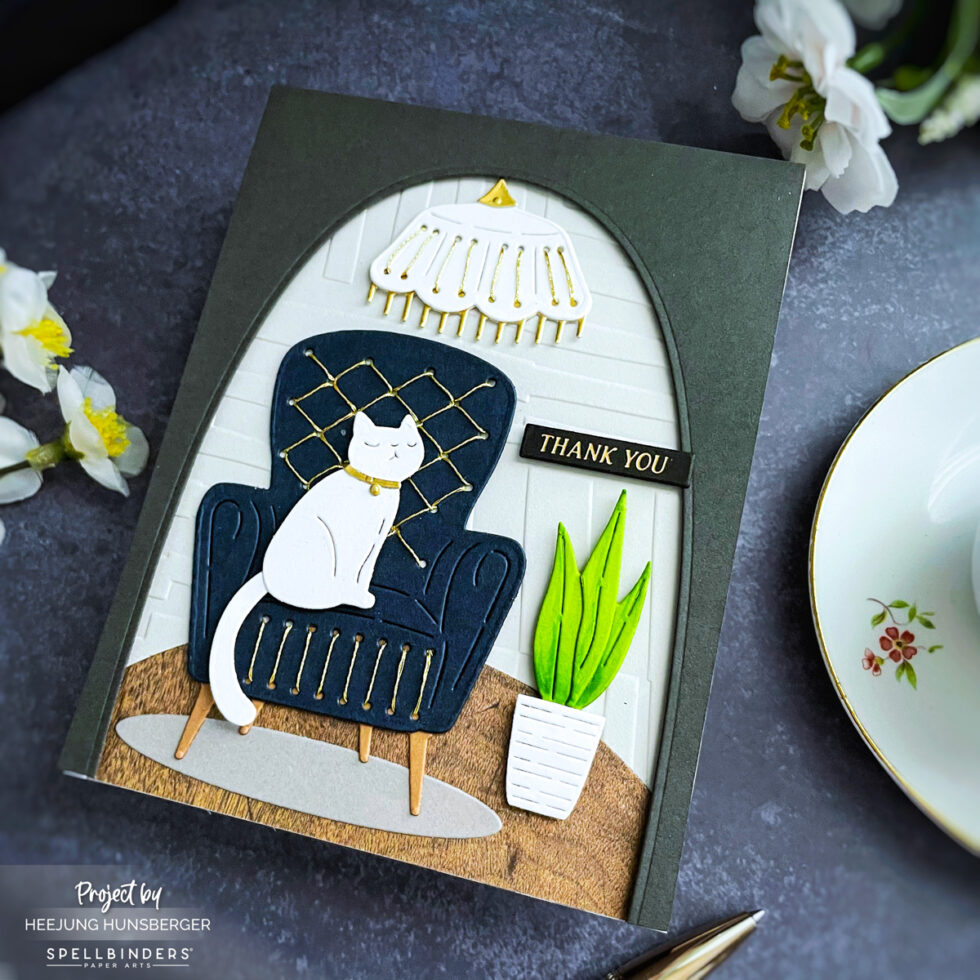
Emboss the Background – I used a Fog cardstock with the May embossing folder (Abstract Study) to mimic an interior wall texture.
Arch Wall– I created an arch label die using Anchor cardstock. When cutting the arch, ensure that the bottom line remains uncut so that the arch bottom is open.
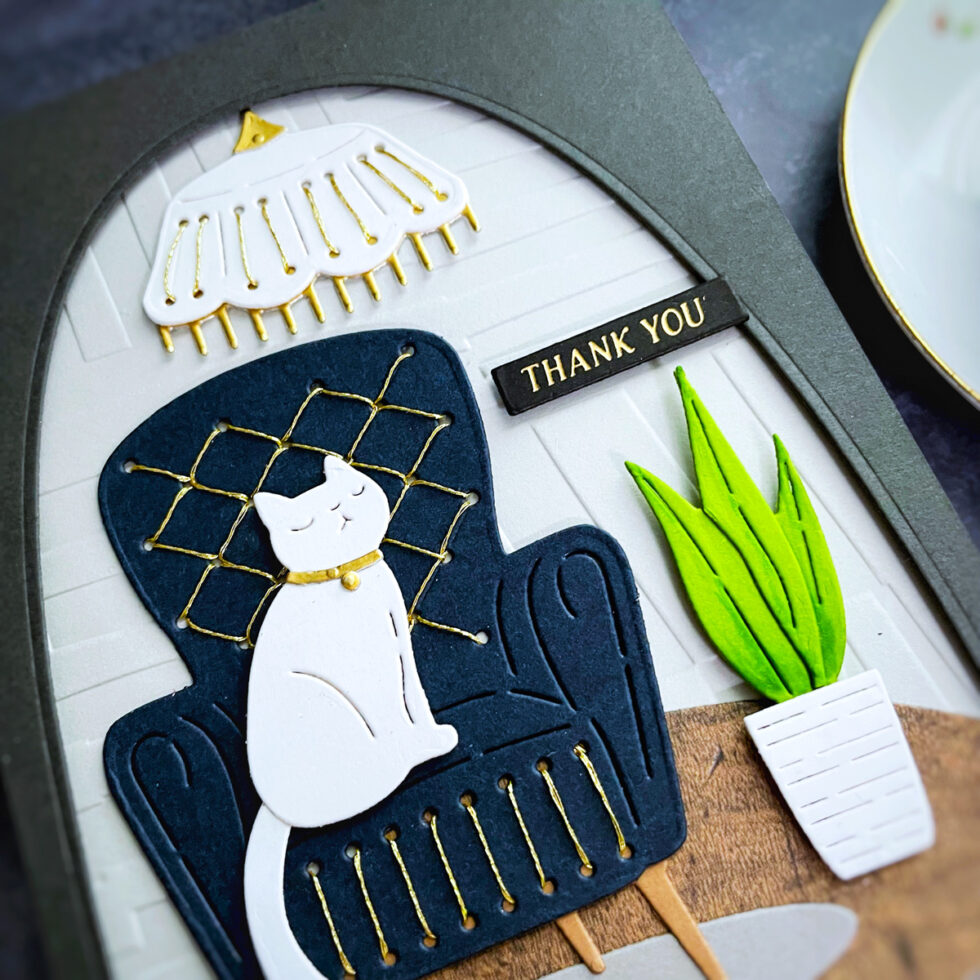
Die Cut & Stitch (Stitched Study Nook Die)– Die cut the armchair, lamp, and other elements from colored cardstock. I stitched gold metallic thread through the pre-punched holes to add rich detail.
Assemble the Scene – I layered the pieces on top of the arched card front cutout, placing the cat on the stitched chair for a relaxed look.
Add Final Details – I tucked in the plant beside the chair, added a stitched rug, and finished with a simple “Thank You” gold foiled sentiment for balance.
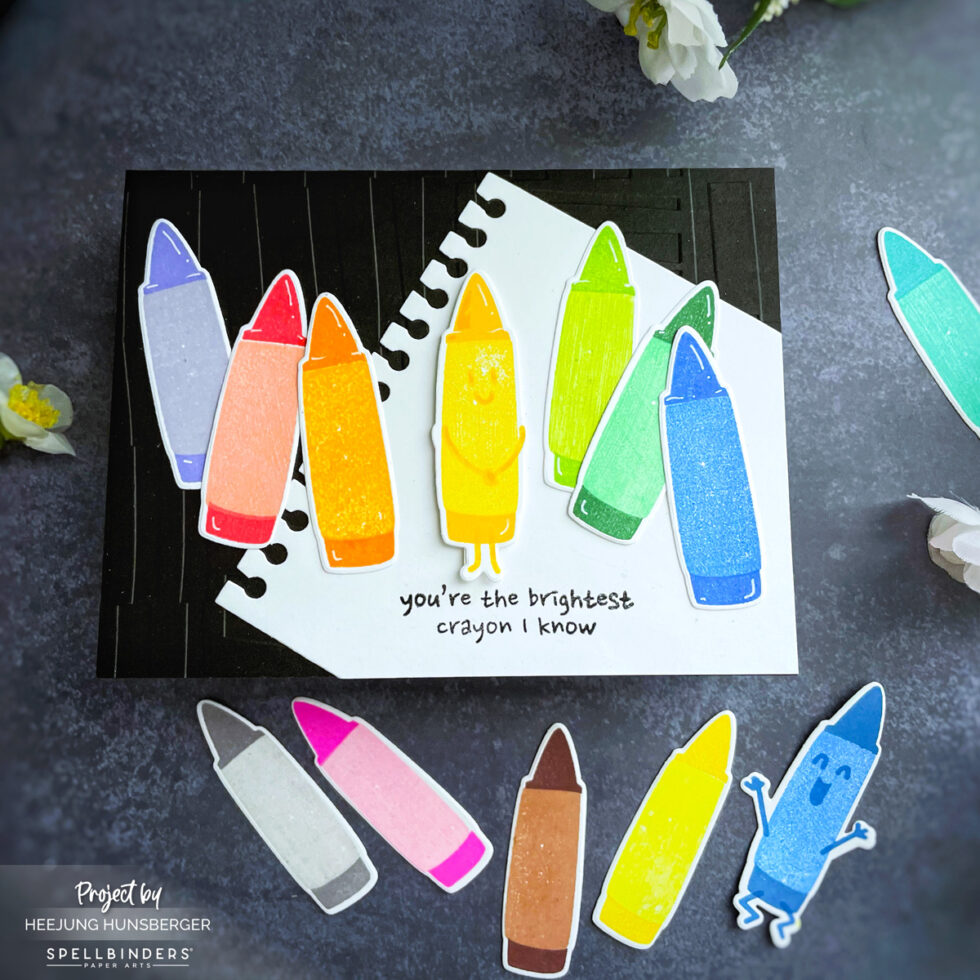
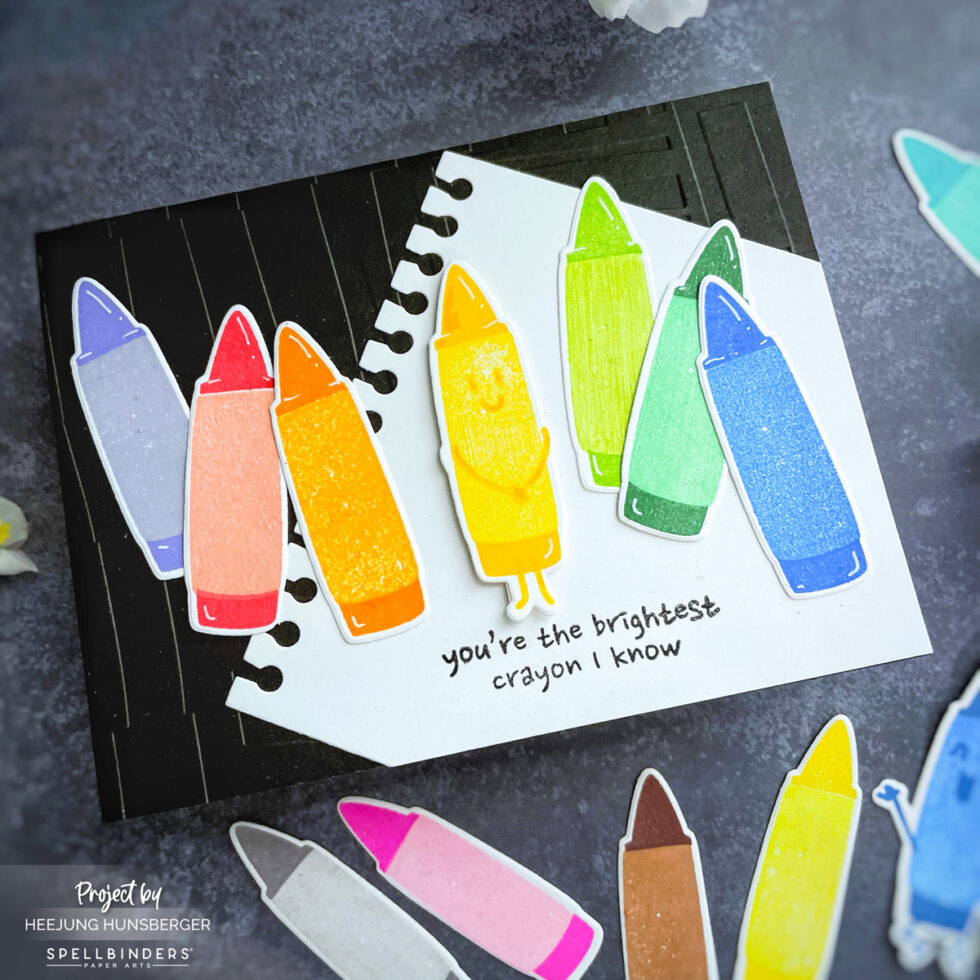
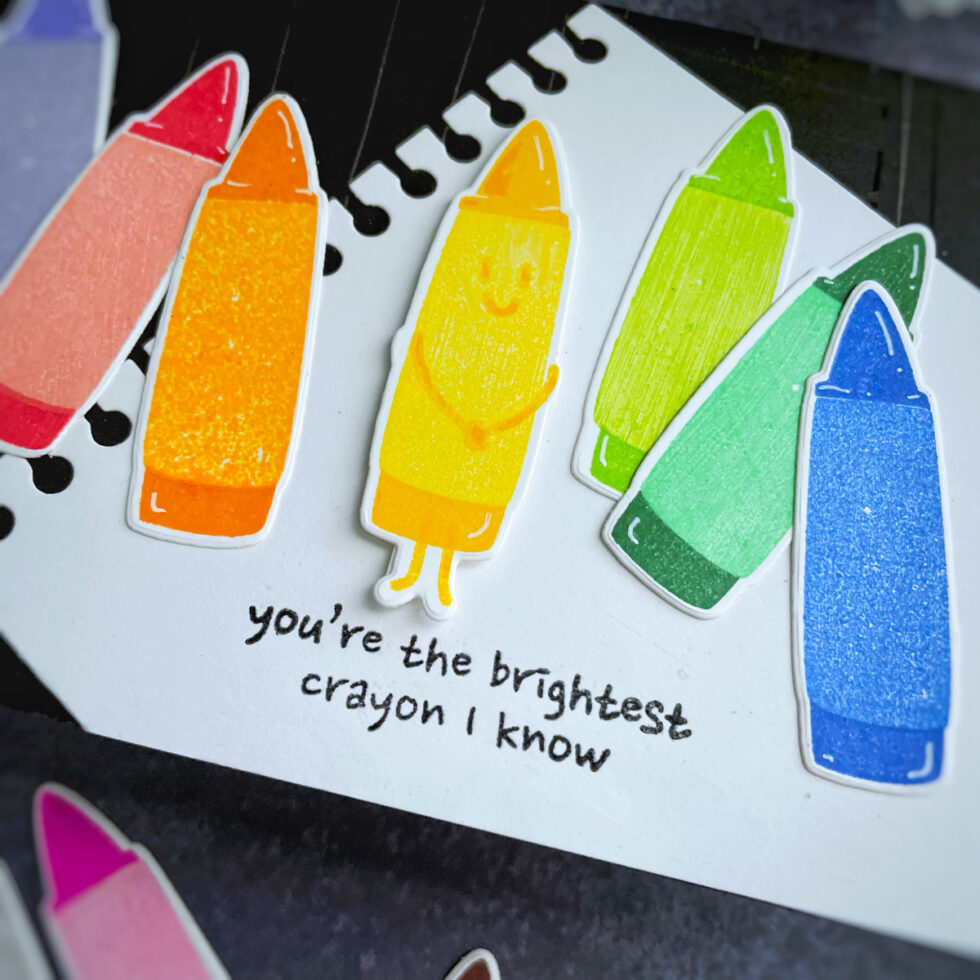
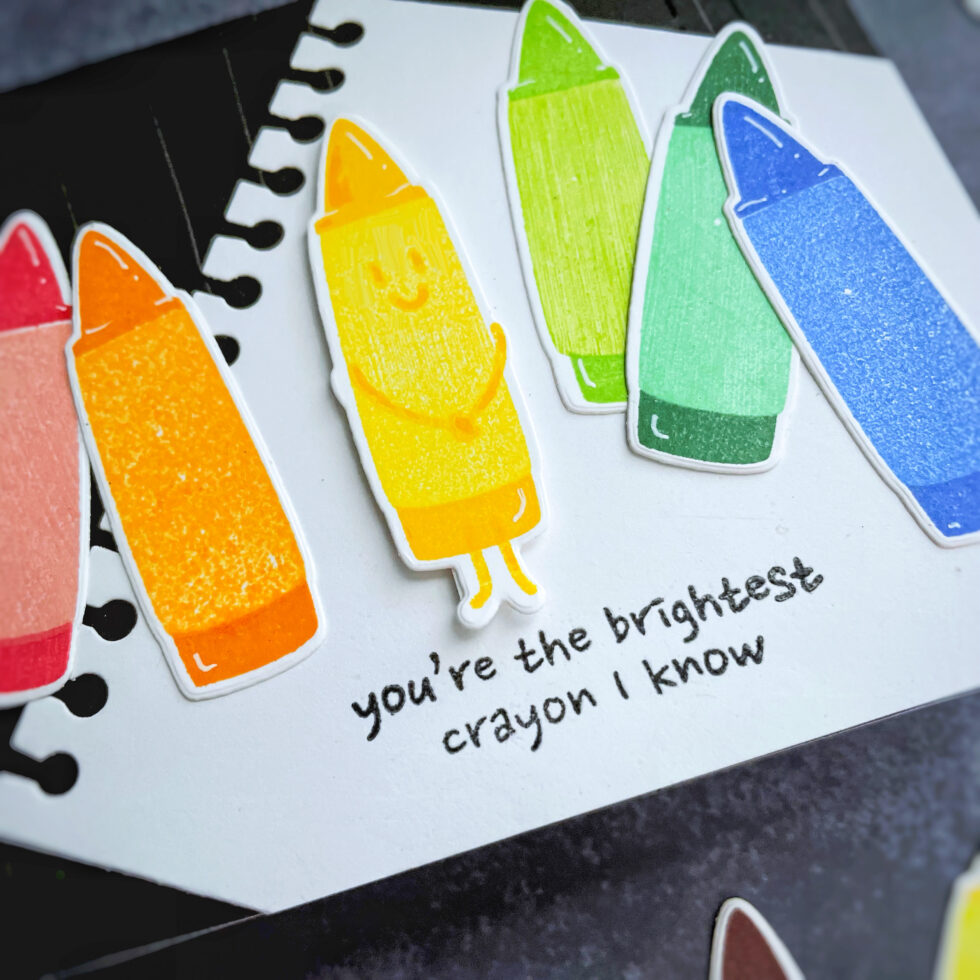
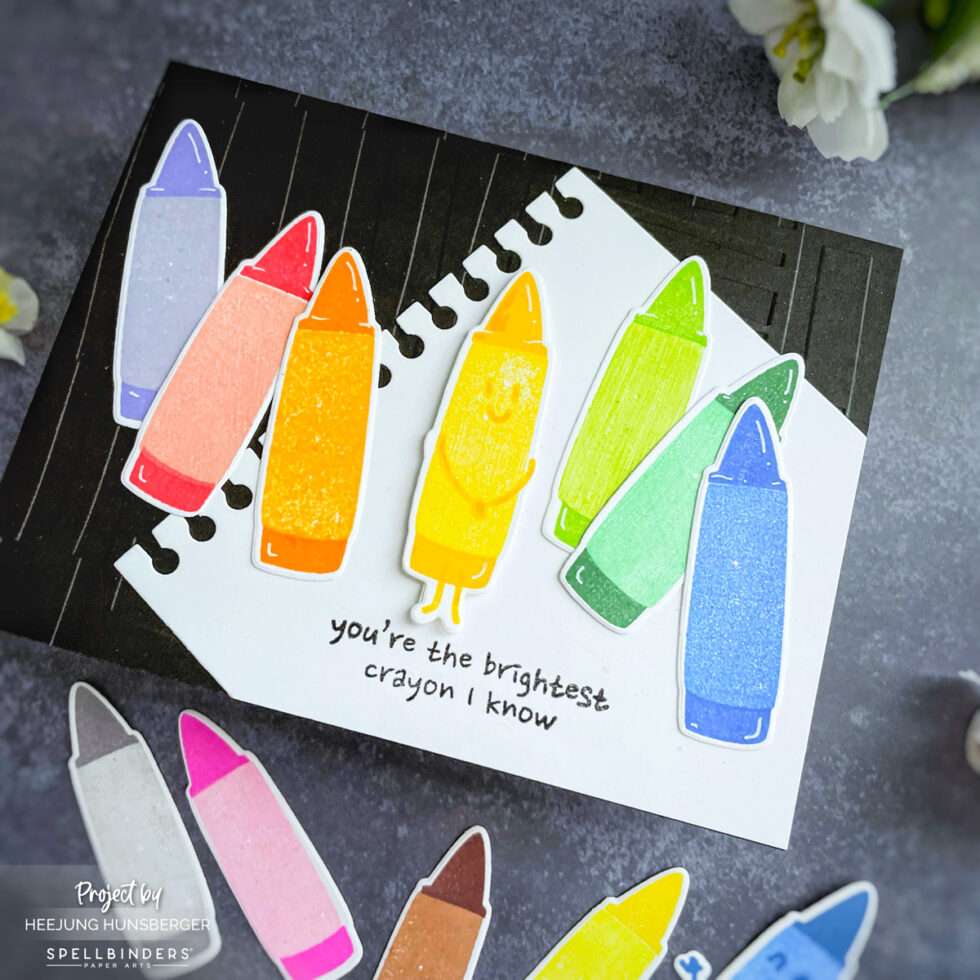
Stamp & Die-Cut Crayons – I used the clear stamp set to stamp each crayon in a rainbow of colors, then die-cut each and added white pen details for dimension.
Assemble – I laid the crayons on the notebook page at fun angles and attached them to the black embossed panel.
Sentiment – Stamped directly onto the notebook paper: “You’re the brightest crayon I know.”
🎨 These two cards demonstrate the versatility and inspiration of the Spellbinders Club Kits—ideal for stitching, stamping, or layering textures! Thank you for reading this post, and I hope it provides you with good inspiration.
SUPPLIES LIST
When you make purchases through affiliate links, it won’t cost you anything extra. I am grateful for your support!