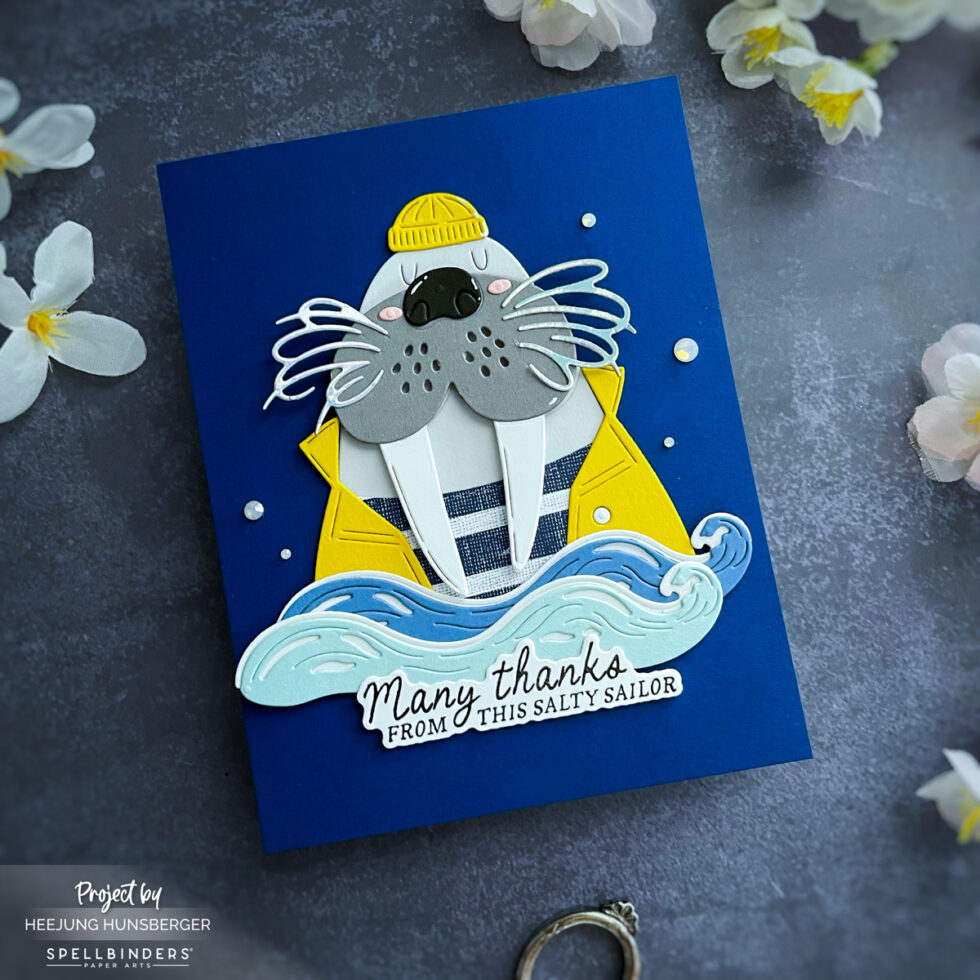
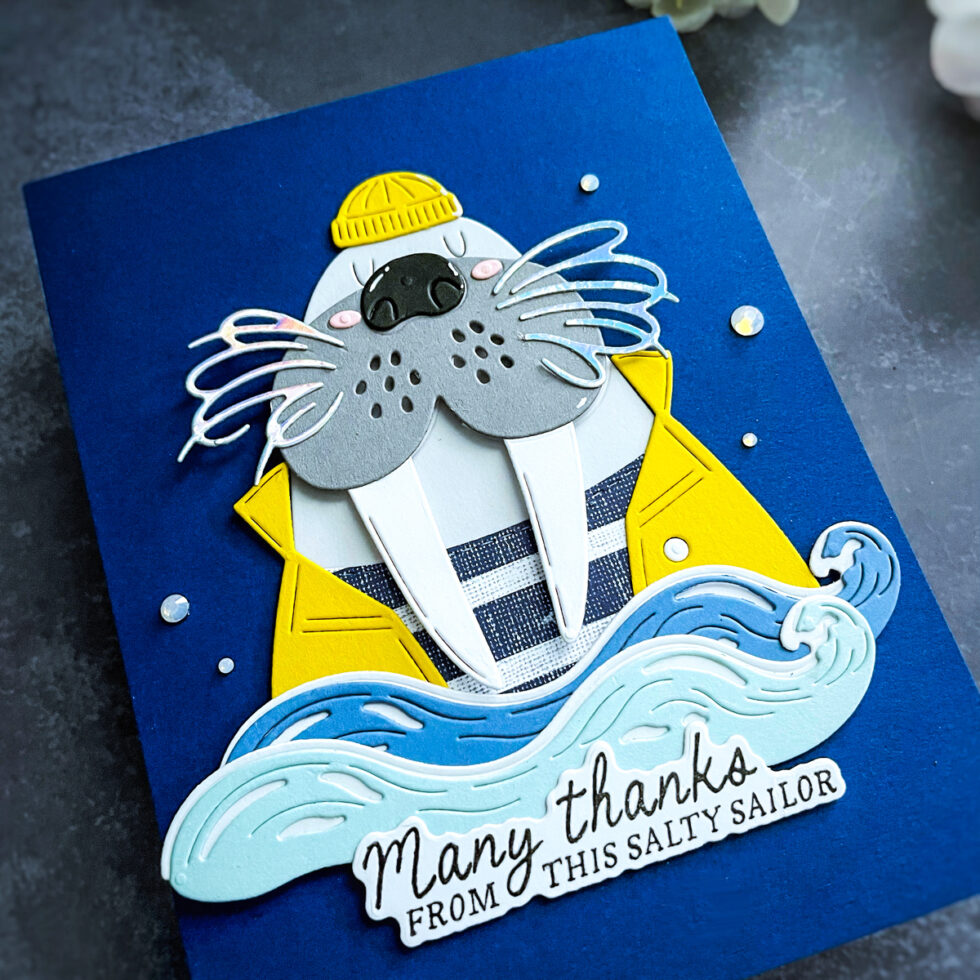
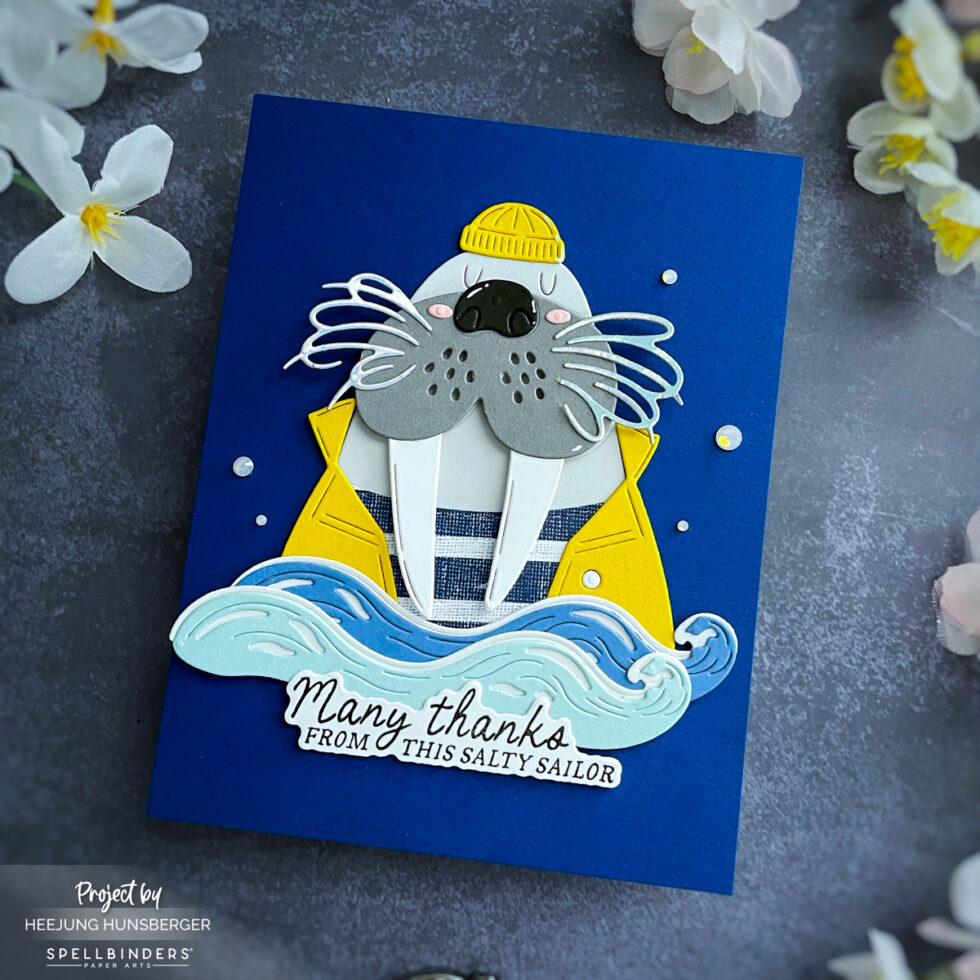
Today, I’m excited to share a card I created using some fantastic Spellbinders clubs for June 2025. This month’s releases are adorable and perfect for sending a thank-you note with a nautical twist!
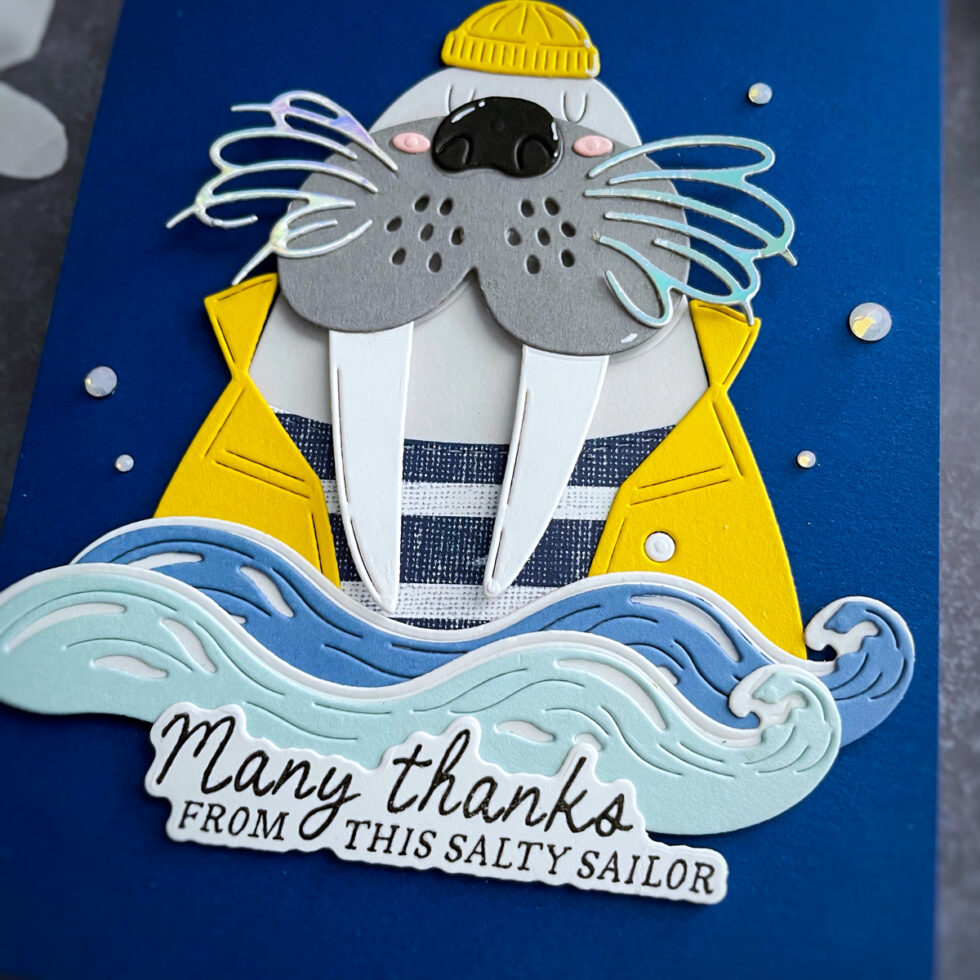
For this project, I combined the June 2025 Small Die of the Month with elements from the June 2025 Large Die of the Month and the June 2025 Clear Stamp & Die of the Month to create a charming “salty sailor” thank-you card.
Cut a piece of Cosmic Sky cardstock to 8.5″ x 5.5″ and score it at 4.25″ to create a standard A2-sized card base. Fold it in half and use a bone folder to sharpen the crease.
Use your June 2025 Large Die of the Month to create waves with Seaside and Cascade cardstock. Layer the Seaside wave piece on top of the Cascade wave piece, slightly offsetting it for added depth.
5. Stamp and Die-Cut the Sentiment (Clear Stamp & Die of the Month):
From the June 2025 Clear Stamp & Die of the Month set, choose the “Many thanks from this salty sailor” sentiment stamp. Use black ink to stamp the sentiment onto a piece of white cardstock. Next, use the coordinating die from the same set to die-cut around your stamped sentiment.
6. Assemble the Card Front:
Adhere the assembled walrus sailor to the top half of your navy blue card base. I used a bit of foam adhesive behind the walrus for added dimension.
Position and glue the layered waves towards the bottom of the card, slightly overlapping the bottom of the walrus’s raincoat.
Adhere the die-cut sentiment onto the waves. Again, you can use foam adhesive here for a lifted effect.
7. Apply the Final Details: Attach the opal embellishments.
I adore how this card came together, and I hope you’re inspired to create your own “salty sailor” cards with the amazing Spellbinders June 2025 club kits!
Let me know in the comments below what you’ll be making with these fantastic new releases!
Happy Crafting!
Heejung Hunsberger
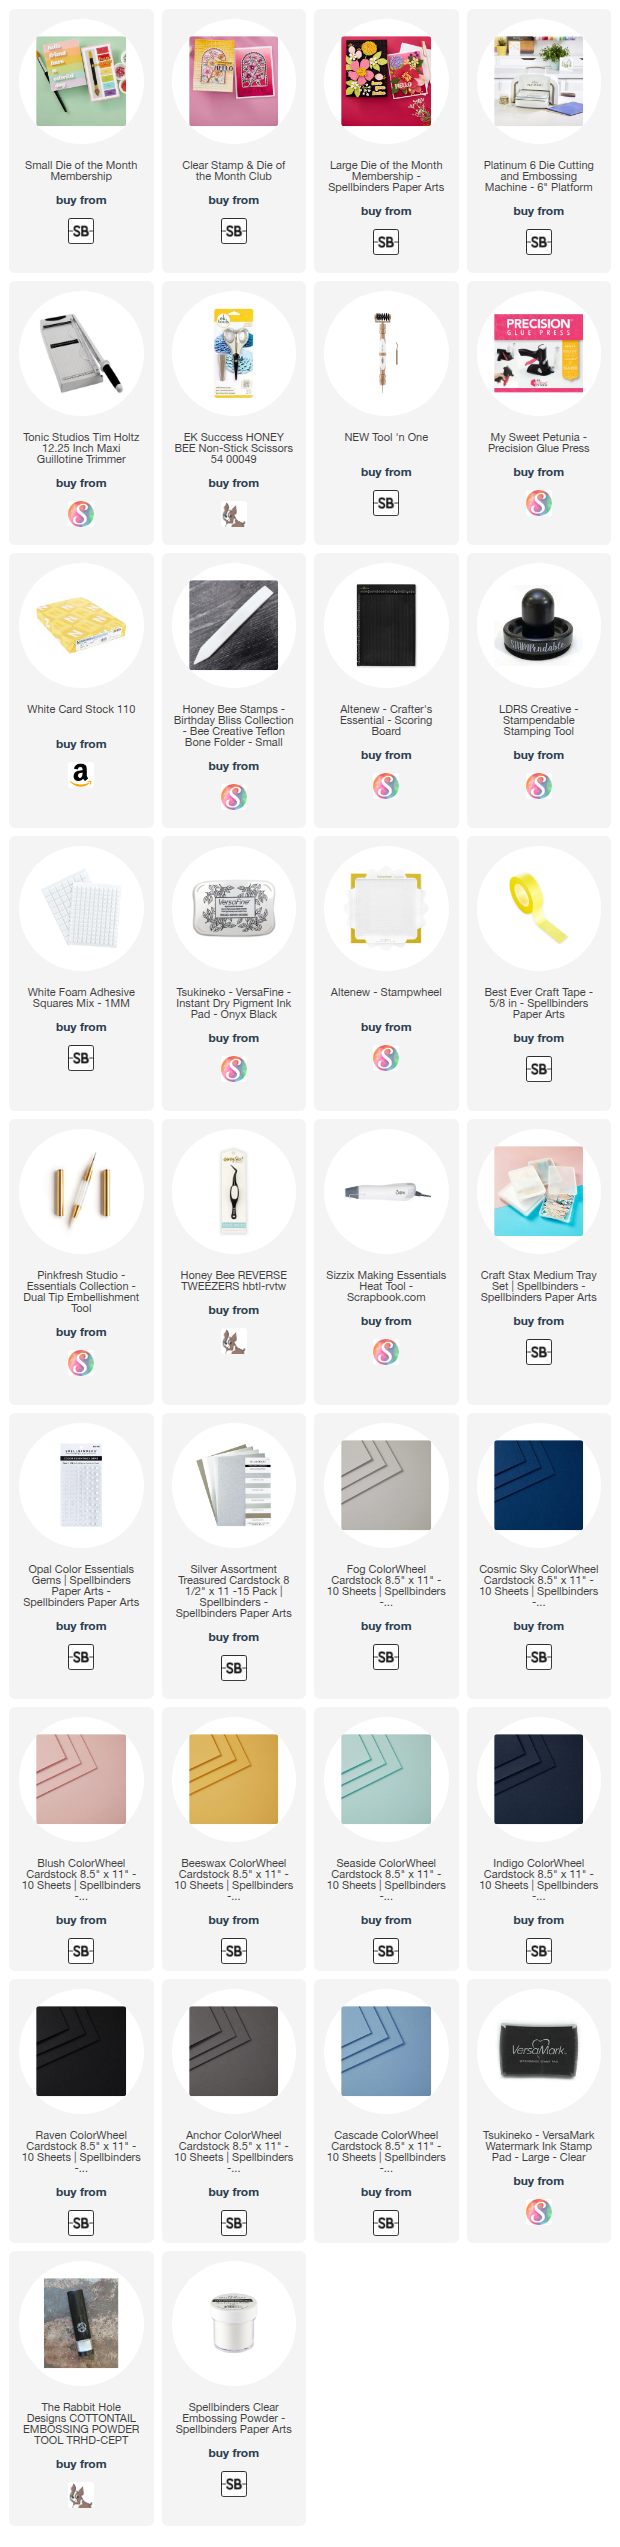
SUPPLIES
When you make purchases through affiliate links, it won’t cost you anything extra. I am grateful for your support!