Creating Stunning Cards with Lisa Horton’s Wildflowers Collection
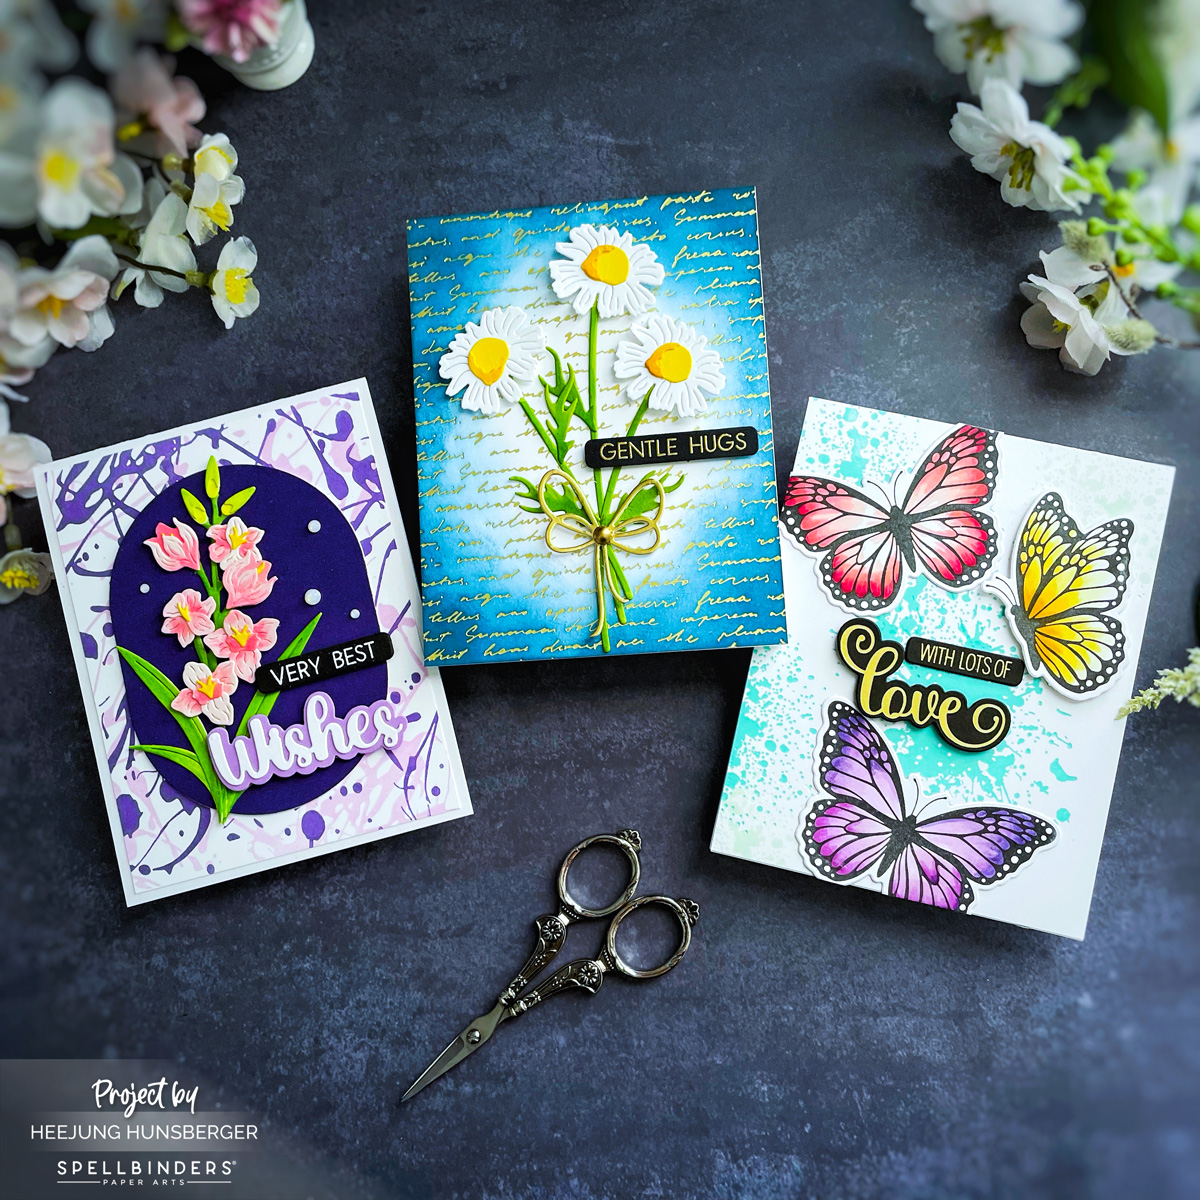
Hello crafty friends! Today, I’m excited to share a look at three beautiful cards I created using the gorgeous Wildflowers Collection by Lisa Horton for Spellbinders. This collection is brimming with delicate floral designs and versatile sentiments, making it perfect for various occasions. Let’s dive into how I brought these cards to life!
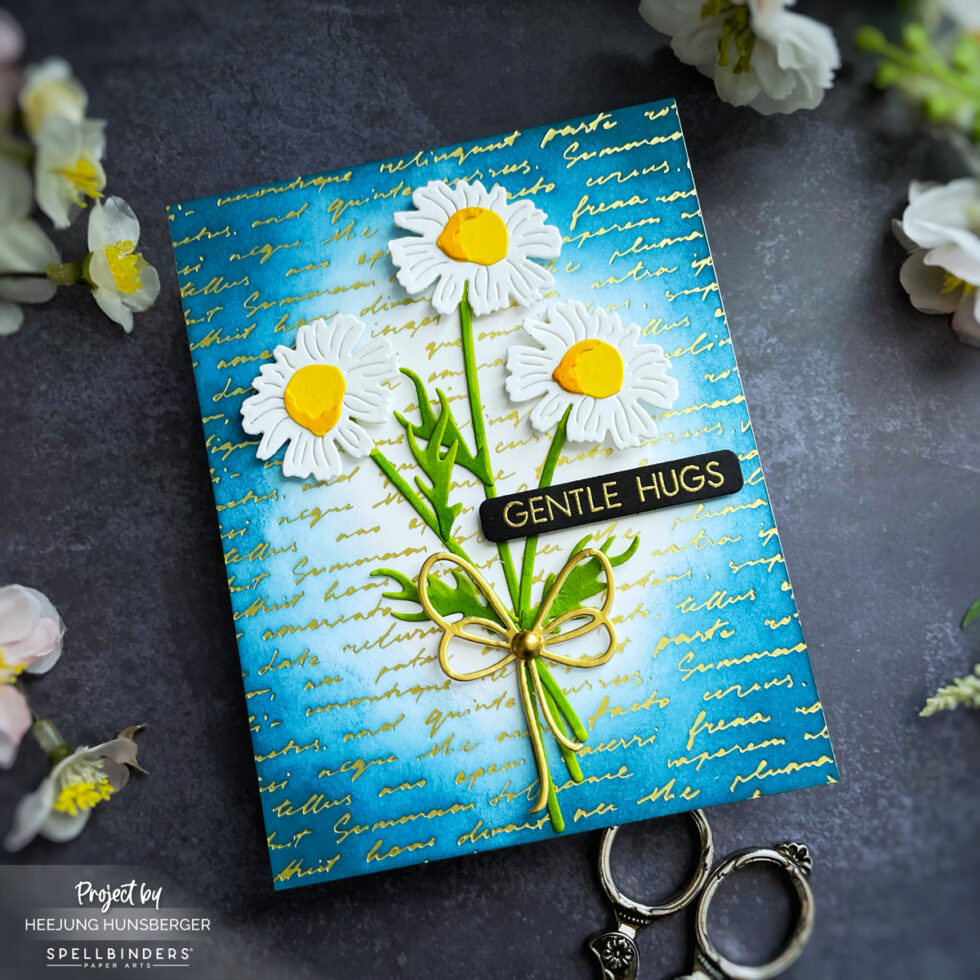
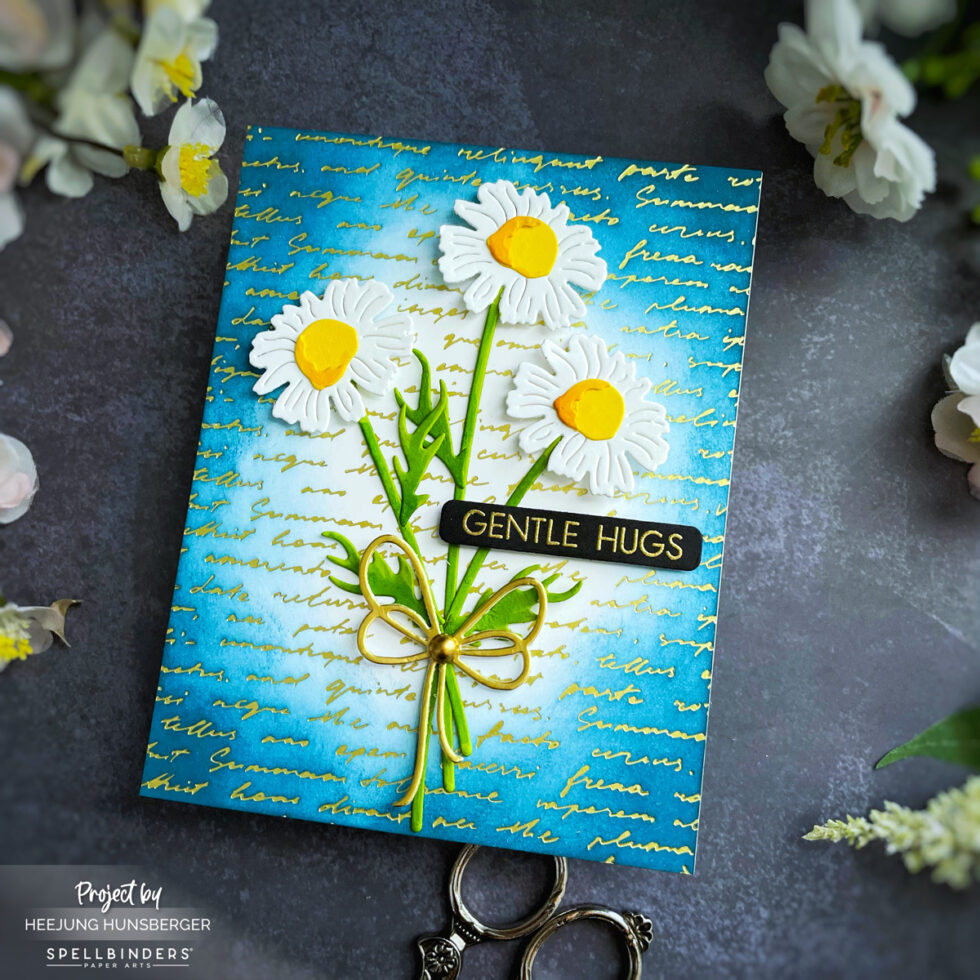
I started by using the Script Text BetterPress Plate to create a subtle and elegant background texture. I applied matte gold foilto the script on a light blue cardstock panel. Next, I used a blending brush to apply Uncharged Marine inkto the corners for added shading.
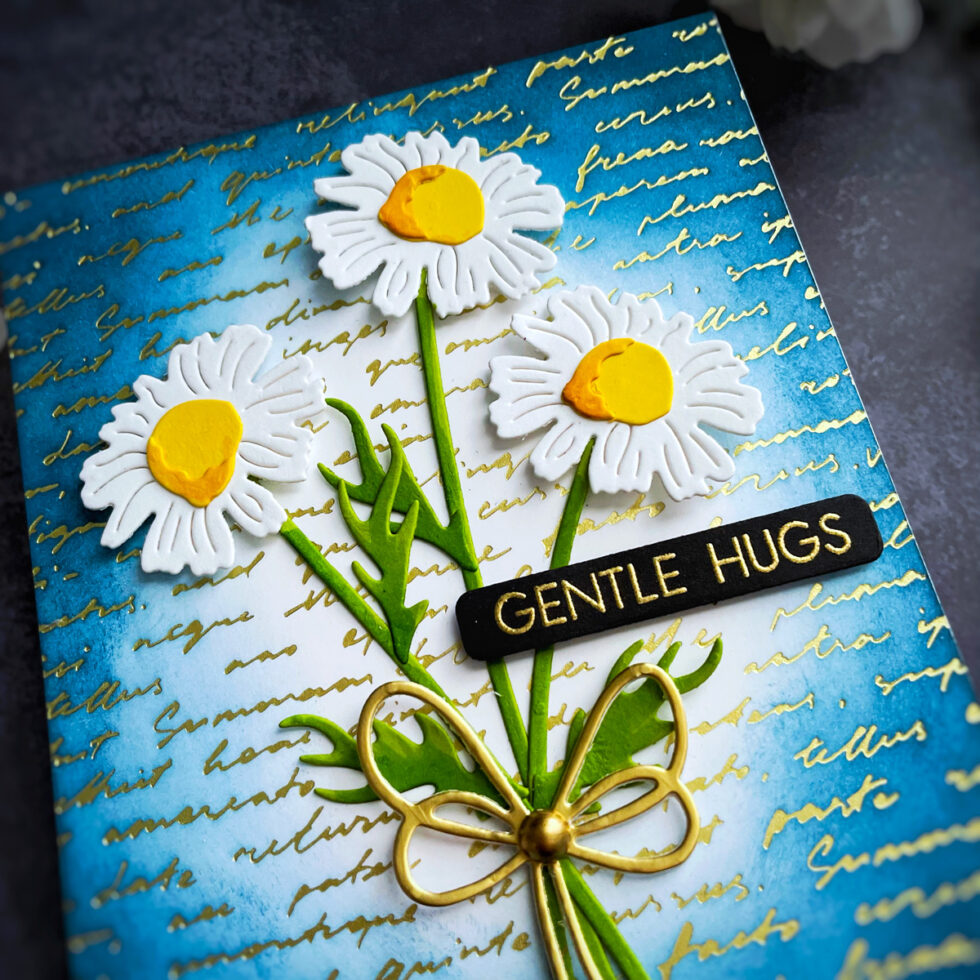
Focal Element: I used the Layered Wildflower Dies to cut out several daisy elements from white and Beewax cardstock. I layered these pieces to create dimension and adhered them together.
Stems and Leaves: Using Rainforest, Fern cardstock, I die-cut stems and leaves from theLayered Wildflower Diesset and arranged them to support the daisies.
Sentiment: I chose the “GENTLE HUGS” sentiment from the Sending Smiles Sentiments Clear Stamp & Dieset. I stamped it onto black cardstock using Versamark ink, applied white embossing powder, and heat set it with a heat tool. I then used the coordinating die to cut it out, creating a bold contrast against the floral background.
Assembly: I arranged the daisies, stems, and sentiment on the gold-foiled background panel. I added a small gold twine bow(from Scallop and Stitched Edge Ovals Etched Dies), the stems for an extra touch. Finally, I adhered the panel to a white card base.
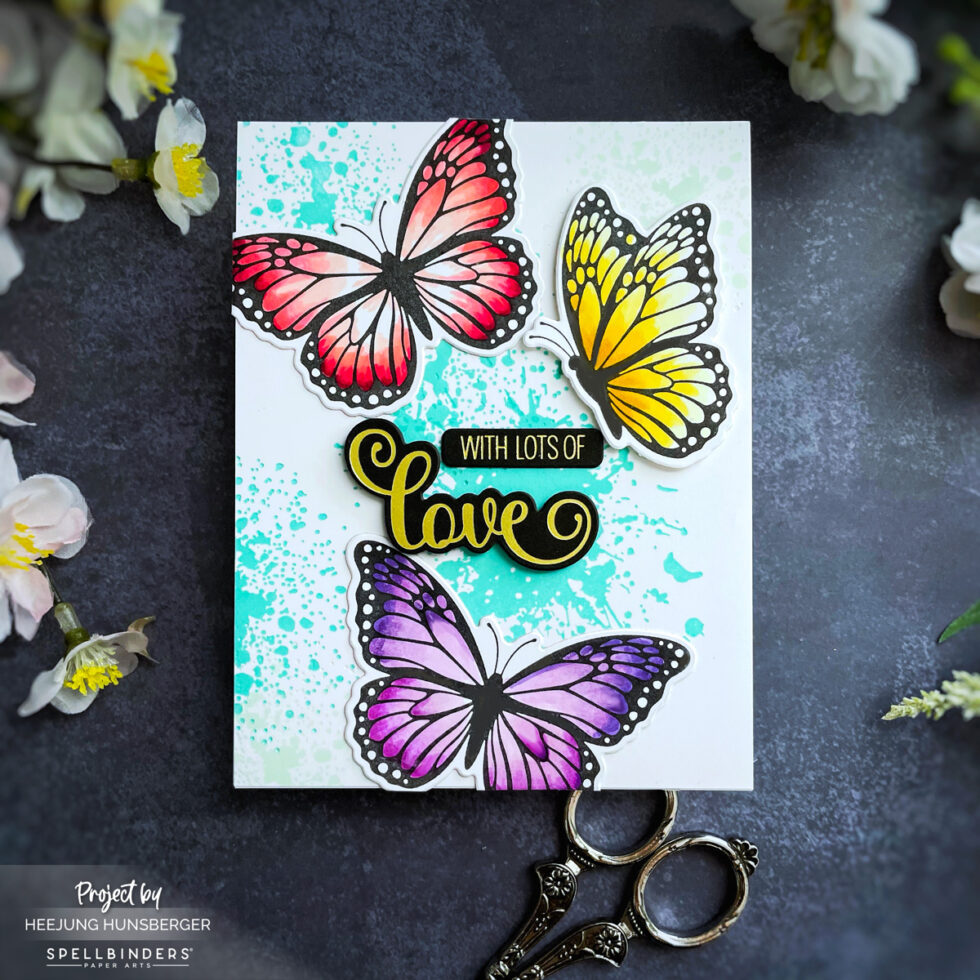
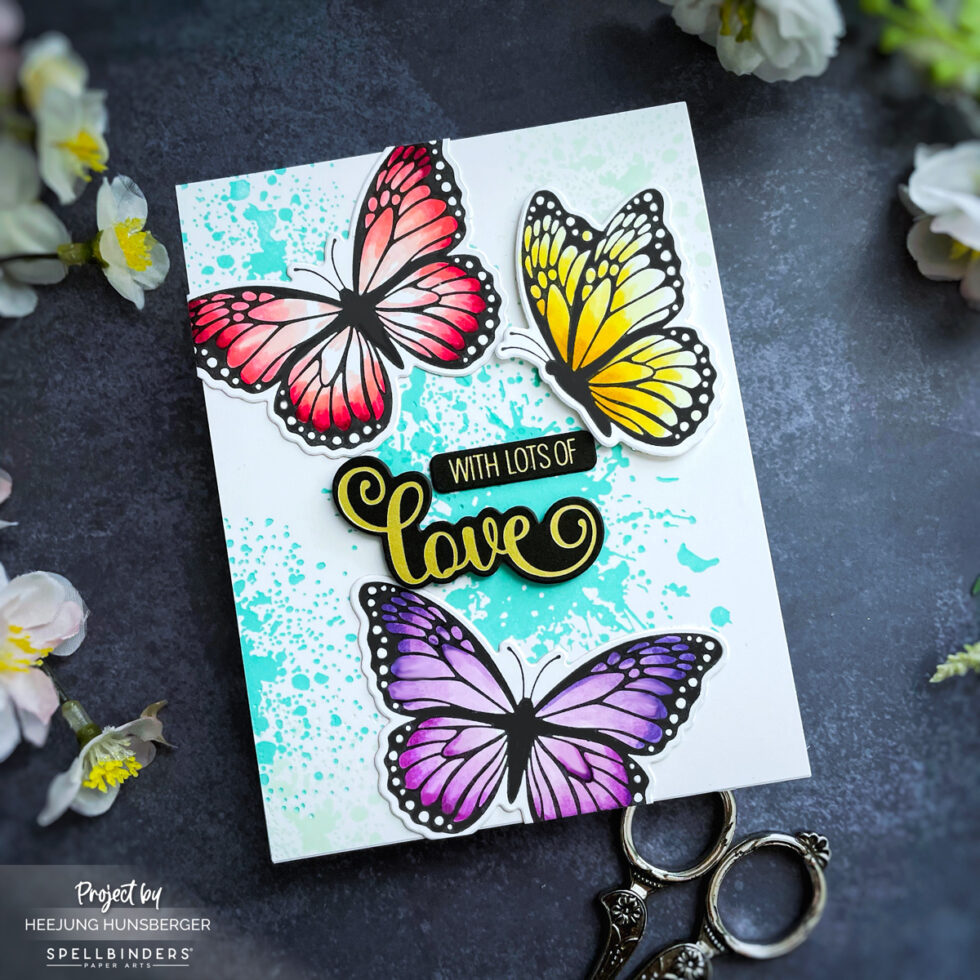
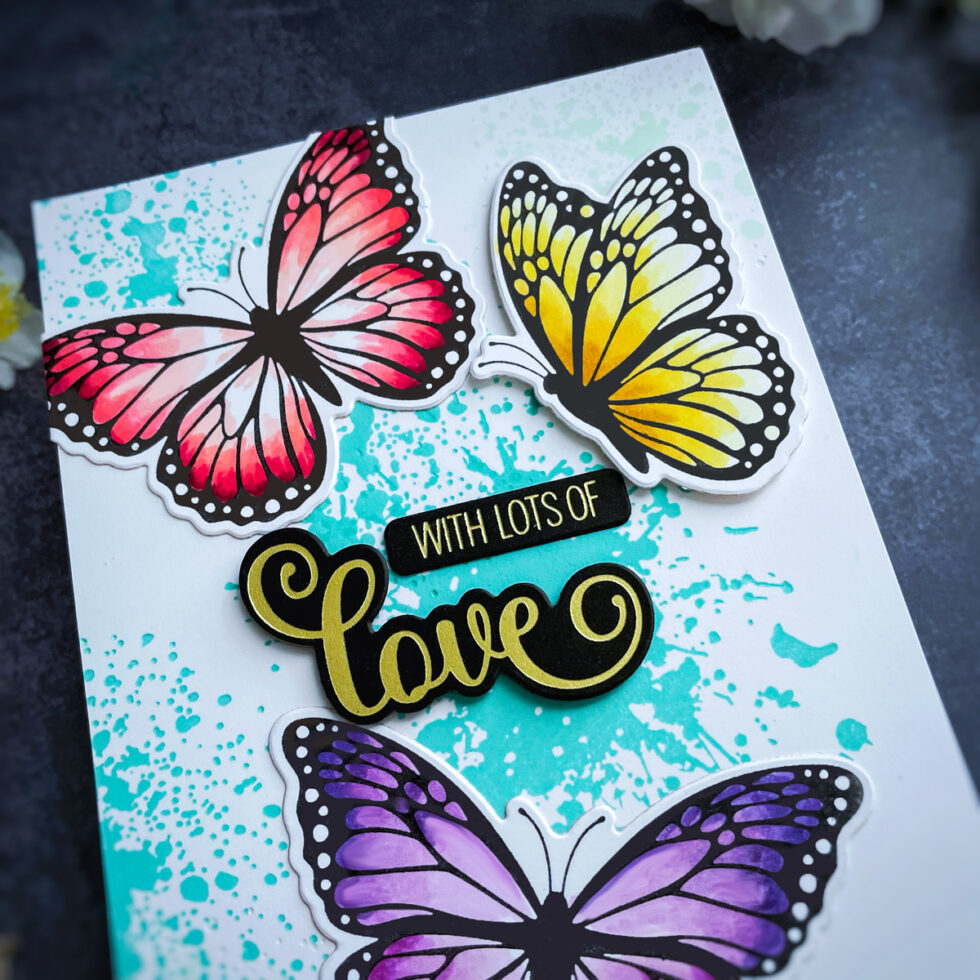
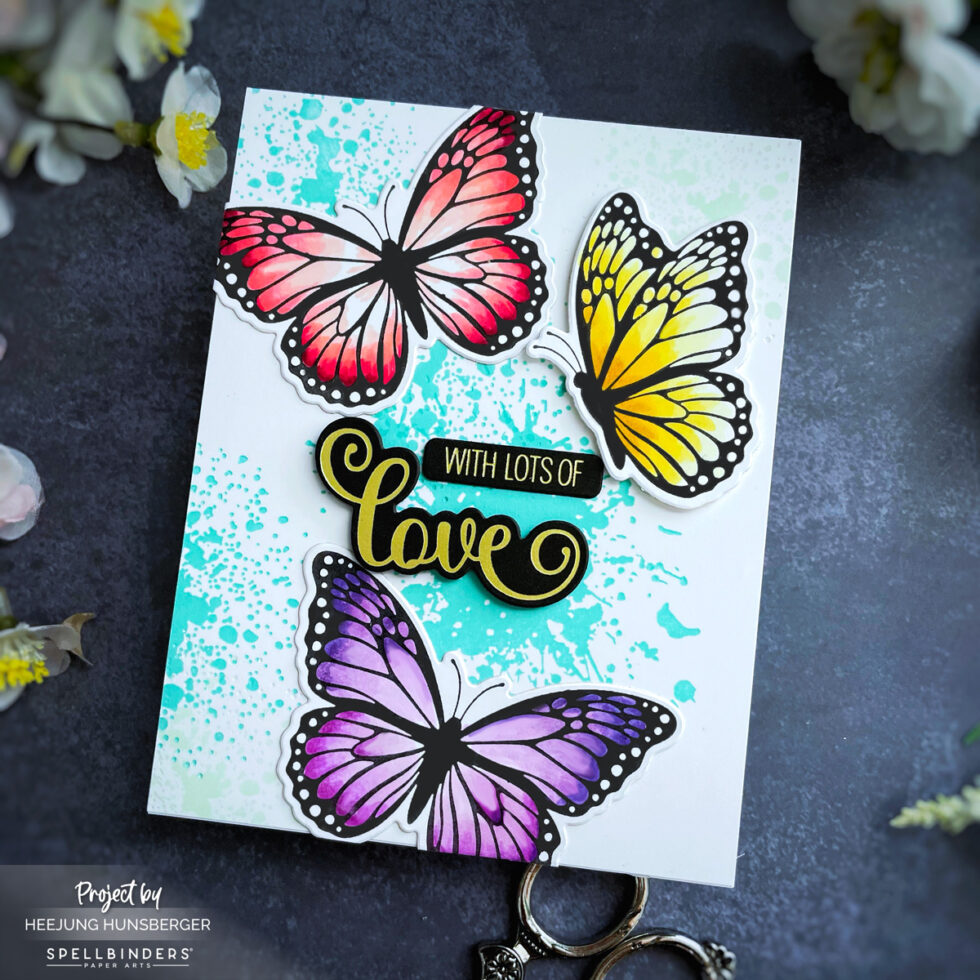
Butterflies: The stars of this card are the butterflies created with the Butterfly Silhouette Registration Press Plate & Die. I used shades of pink, red, and yellow markers to die-cut the butterfly layers and adhered them together to create vibrant and eye-catching butterflies.
Sentiment: I used the “WITH LOTS OF Love” sentiment from the Butterfly Silhouettes Registration Press Plate & Die Set.I hot-foiled the word “Love” in matte gold on black cardstock and then used the coordinating die to cut it out. After that, I added the phrase “WITH LOTS OF” above it.
Assembly: I arranged the three butterflies on the splattered background, adhering them with foam adhesive for dimension. I then placed the sentiment strip among the butterflies.
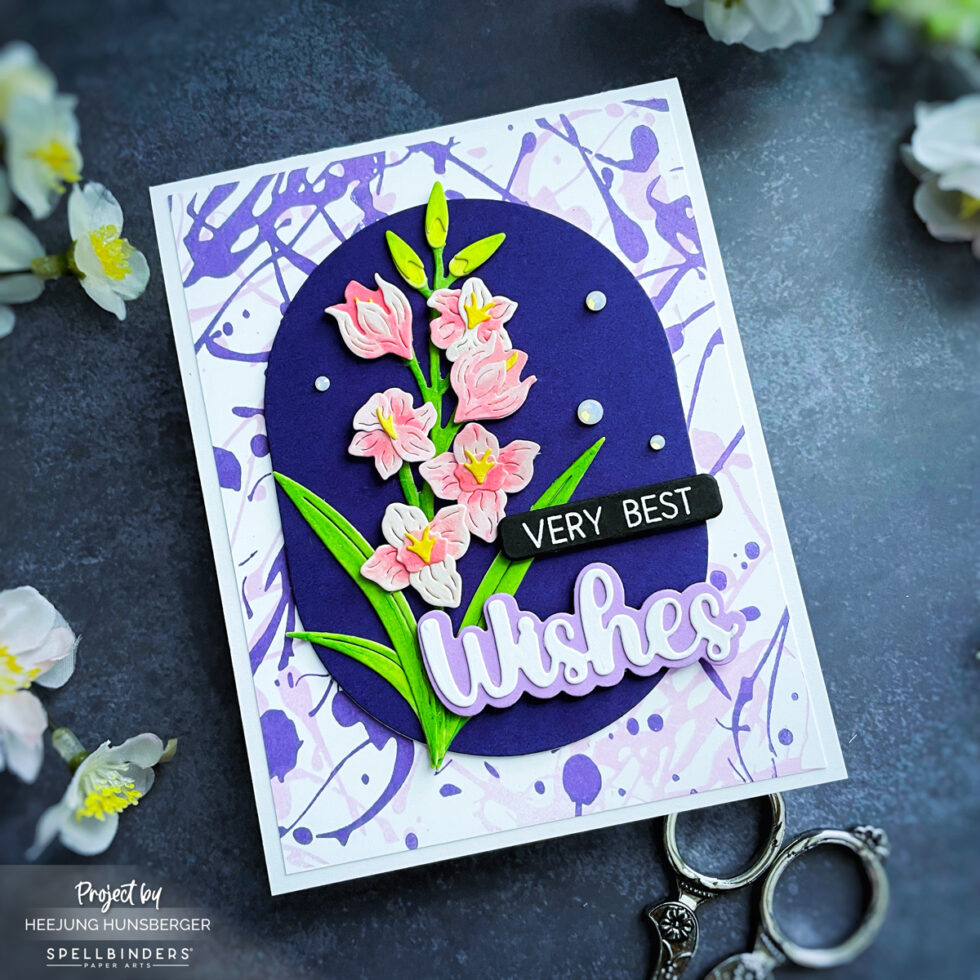
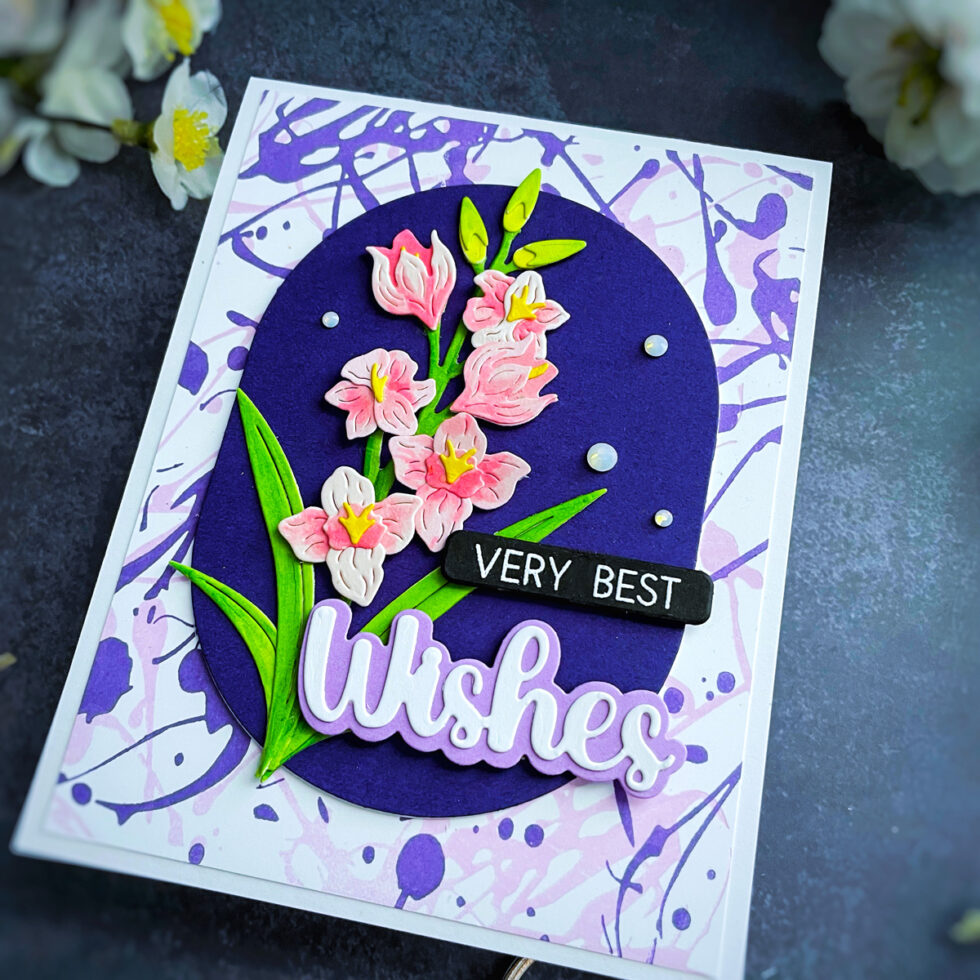
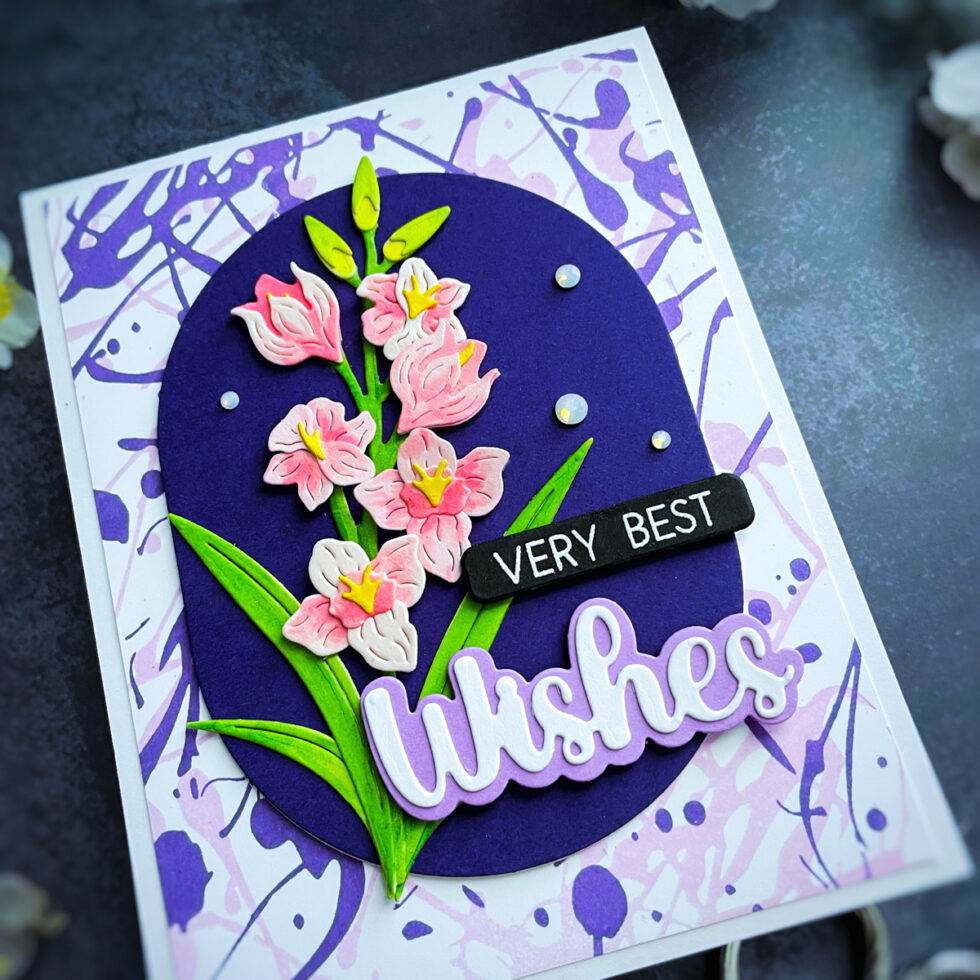
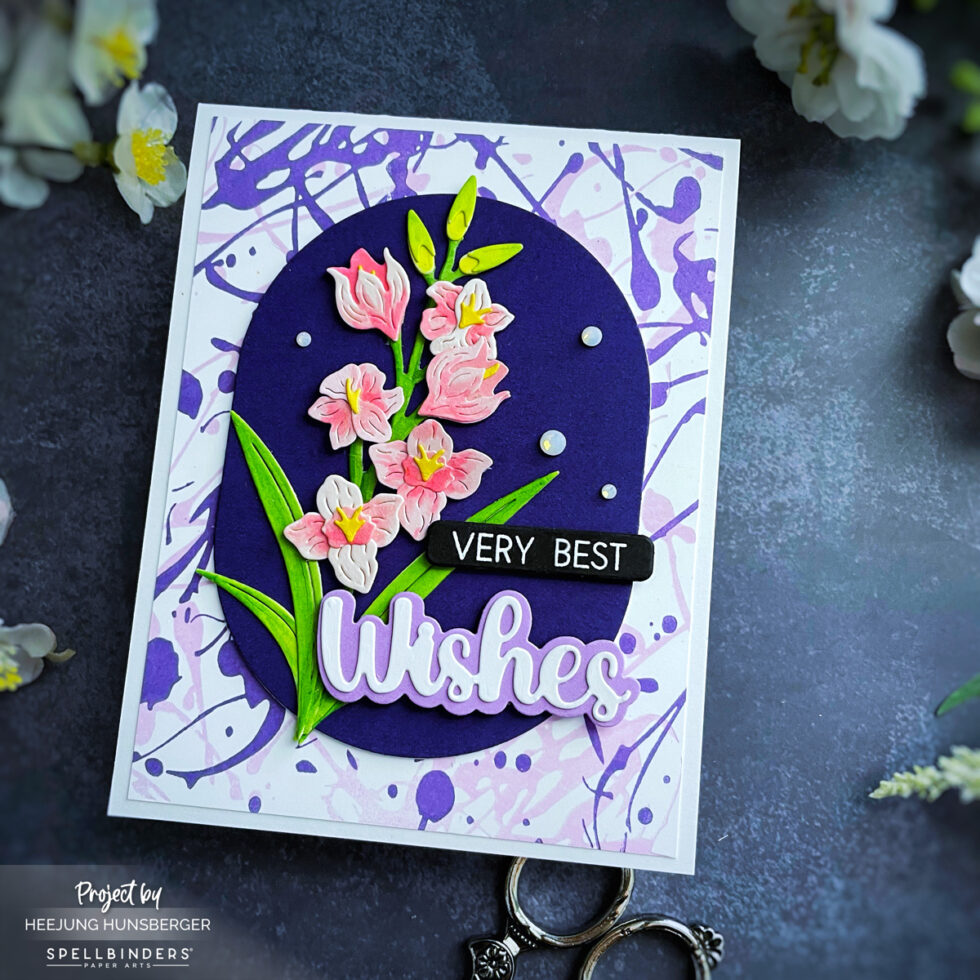
I created a textured background by die-cutting an oval from violet cardstock using the Scallop and Stitched Edges Ovals Die. And I pressed the Memo Splatter BetterPress Plate from the Take Note Collection in pink and purple ink on the porcelain BP Cotton card panel.
Focal Element: The stunning gladiolus was created using the Layered Gladiolus Die.I die-cut the various layers from shades of pink, white, and green cardstock, carefully layering them to create a beautiful and dimensional floral spray.
Sentiment: I used the sentiment “VERY BEST Wishes” from the Very Best Wishes Sentiments Clear Stamp & Die set. First, I stamped “VERY BEST” onto black cardstock in VersaMark ink, then applied white embossing powder and heat set it. Next, I die-cut the word “Wishes” from purple cardstock using the matching die.
Embellishments: I added a few small Opal gems around the gladiolus for a touch of sparkle.
Assembly: I arranged the gladiolus on the violet oval and adhered it. Then, I positioned the sentiment strips to complement the floral design. Finally, I adhered the entire panel to a white card base.
I hope you enjoyed seeing how these cards came together! The Wildflowers Collection by Lisa Horton is truly versatile and allows for so many creative possibilities. Happy crafting!
SUPPLIES LIST
When you make purchases through affiliate links, it won’t cost you anything extra. I am grateful for your support!