Spellbinders- DOM of May 2025
Showing Appreciation with a Handmade Teacher Card featuring Spellbinders May 2025 Clubs!
Hello creative friends!
Today, I’m thrilled to share a special card I made to show appreciation for the incredible teachers in our lives. With the end of the school year approaching for many, or simply as a year-round token of gratitude, a handmade card makes a meaningful impact. For this project, I leaned heavily on some fantastic products from Spellbinders’ May 2025 Club releases – specifically the Small Die Club and the BetterPress Club. I even incorporated the 3D Embossing Folder Club for a lovely textured detail!
I absolutely love how this card turned out, especially the chalkboard effect, which was a lot of fun to create, and the dimension on the books is just wonderful! Let’s dive into the details.

Supplies You’ll Need:
- Spellbinders Small Die Club (May 2025)
- Spellbinders BetterPress Club (May 2025)
- Spellbinders 3D Embossing Folder Club (May 2025)
- Raven Cardstock (for chalkboard background)
- Various colored cardstock scraps (Poppy for apple, Beewax Color for pencil, Rainforest Card Stock for apple leaf, brown/Indigo for book spines)
- Gold Metallic Cardstock (for book accents, “the” sentiment outline, and chalkboard frame)
- White Hot Foil
- Glimmer Hot Foil System
- Die-cutting Machine
- Adhesive (liquid glue, foam adhesive for dimension)
- White gel pen

Step-by-Step Instructions:
Here’s how you can recreate this heartfelt teacher appreciation card:
Step 1: Create the Chalkboard Background with BetterPress
- Take your Raven cardstock.
- Apply white hot foil to the Raven cardstock using your Hot Foil System (like the Glimmer Hot Foil System) and the BetterPress Plate from the May 2025 BetterPress Plate Club (From A to Z). This will create a stunning chalkboard effect with crisp white “chalk” lettering.
- Trim this piece down to your desired chalkboard size.
- Cut a slightly larger frame from fawn color cardstock to create a border for your chalkboard. Adhere the foiled Raven cardstock onto the fawn frame. Set aside.
Step 2: Create the Textured Bottom Book
- Take a piece of dark green cardstock.
- Use your Spellbinders 3D Embossing Folder from the May 2025 3D Embossing Folder Club ( Stacked Stories) to emboss the green cardstock. This will create a lovely textured effect for the bottom book.
- Trim the embossed cardstock using one of the book spine dies from the Small Die Club to create the shape of the bottom book.
- Add gold metallic cardstock accents using the detail dies from the Small Die Club.

Step 4: Die-Cut the Apple and Pencil
- From red cardstock, die-cut the main apple shape from your May 2025 Small Die Club.
- From Rainforest cardstock, die-cut the small leaf for the apple.
- From gold metallic cardstock, die-cut the glasses.
- From Beewax cardstock, die-cut the pencil.
- Assemble the apple: Adhere the green leaf to the top of the red apple, and then carefully glue the gold glasses onto the apple. If desired, you can add tiny dots of white cardstock or use a white gel pen for the “eyes” on the apple.
Step 5: Create the “the BEST” Sentiment
- Using the dies for “the” and “BEST” from the May 2025 Small Die Club:
- Die-cut “the” from green cardstock.
- Die-cut an outline layer for “the” from gold metallic cardstock (if the die set includes one, or you can carefully trim one). Adhere the green “the” onto the gold outline.
- Die-cut “BEST” from Beewax cardstock.
- Die-cut a shadow layer for “BEST” from rainforest cardstock. Adhere the yellow “BEST” onto the green shadow layer.
Step 6: Assemble the Card Front
- Take your Fog color cardstock base.
- Adhere the prepared chalkboard element to the top half of the card front.
- Attach the “the BEST” sentiment onto the chalkboard using foam adhesive for dimension, positioning “the” above and slightly to the left of “BEST”.
- Adhere the assembled apple (with glasses) below the chalkboard, also using foam adhesive for a pop-up effect.
- Stack the three books below the apple, starting with the textured green book on the bottom, then the “TEACHER” book, and finally the “WISDOM” book on top. Adhere them down. You can use liquid glue for the base layer of the books, and foam adhesive for a few of them if you want more depth.
- Finally, tuck the yellow pencil next to the apple, as if it’s resting on the stack of books.

Step 7: Finishing Touches
- Optionally, use a white gel pen to add some faux “chalk” scribbles or outlines around the chalkboard or apple for extra detail.
- Add any personal touches or embellishments if desired.
And there you have it! A heartfelt and visually appealing card perfect for any teacher, showcasing the wonderful details from the Spellbinders May 2025 clubs! I hope this inspires you to create your own! What are your favorite ways to thank a teacher? Let me know in the comments below!
Happy crafting!
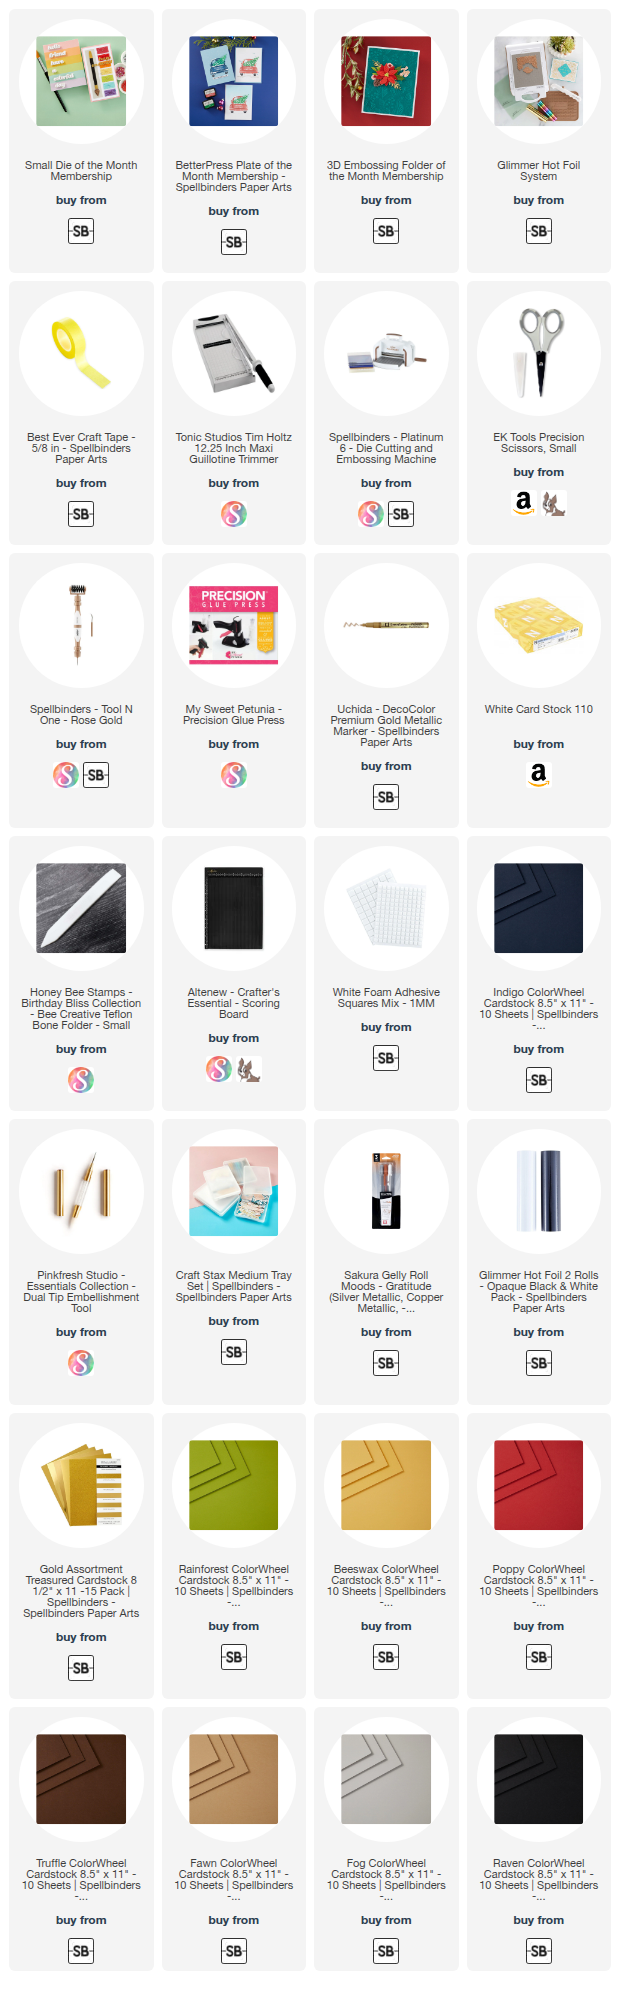
Supplies List
When you make purchases through affiliate links, it won’t cost you anything extra. I am grateful for your support!